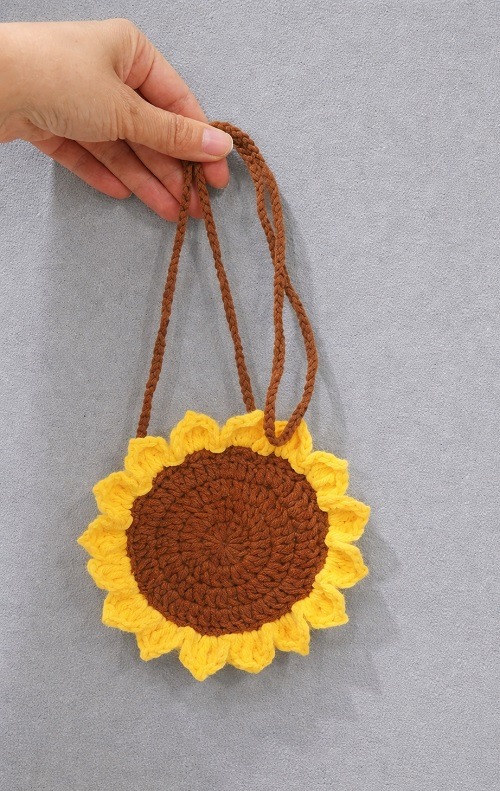
String Bag With Floral Motif - Tutorial

Creating handmade crafts is a rewarding experience, and one popular project among crocheters is a Crochet Coaster With Hearts – Pattern.
Coasters are a functional way to add charm and personality to any space, and when designed with hearts, they offer a beautiful and sentimental touch.
Whether you’re new to crochet or have some experience, this pattern is simple enough for beginners while still offering enough charm for experienced crafters.
In this article, we’ll walk you through the process of creating your very own Crochet Coaster With Hearts – Pattern, ensuring you understand every step along the way.
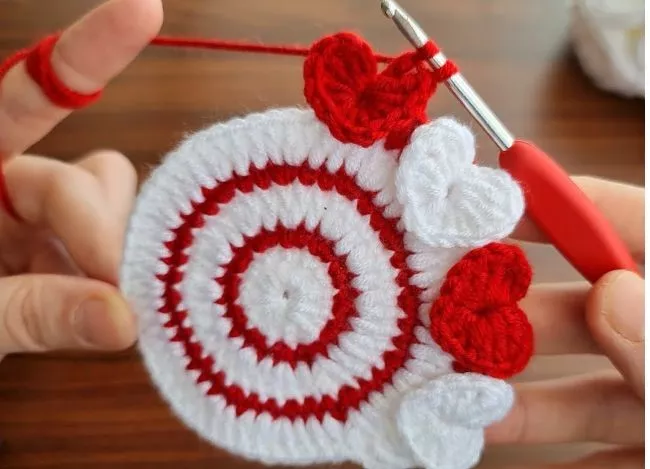
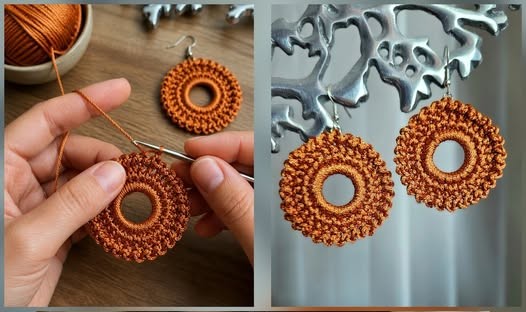
Image From Pinterest
Coasters serve as both decorative and practical items in any home, protecting surfaces from moisture or heat while also enhancing the aesthetic of a space. Adding heart motifs to your crochet coaster can transform it into something extra special. The Crochet Coaster With Hearts – Pattern is a perfect addition to any table, and it can also make for thoughtful gifts or party favors. It’s a lovely way to show your love and creativity, making your crochet projects more personal and meaningful.
One of the best things about crocheting coasters with hearts is the ability to experiment with different colors and textures. You can create a set of vibrant coasters for a festive occasion or opt for soft pastels for a more elegant look. The possibilities are endless! So, let’s dive into the Crochet Coaster With Hearts – Pattern and learn how to create this simple yet stunning project step by step.
Before you begin crocheting your Crochet Coaster With Hearts – Pattern, it’s important to choose the right yarn and supplies. The yarn you select will greatly impact the final look of your coaster, so it’s worth considering your options carefully.
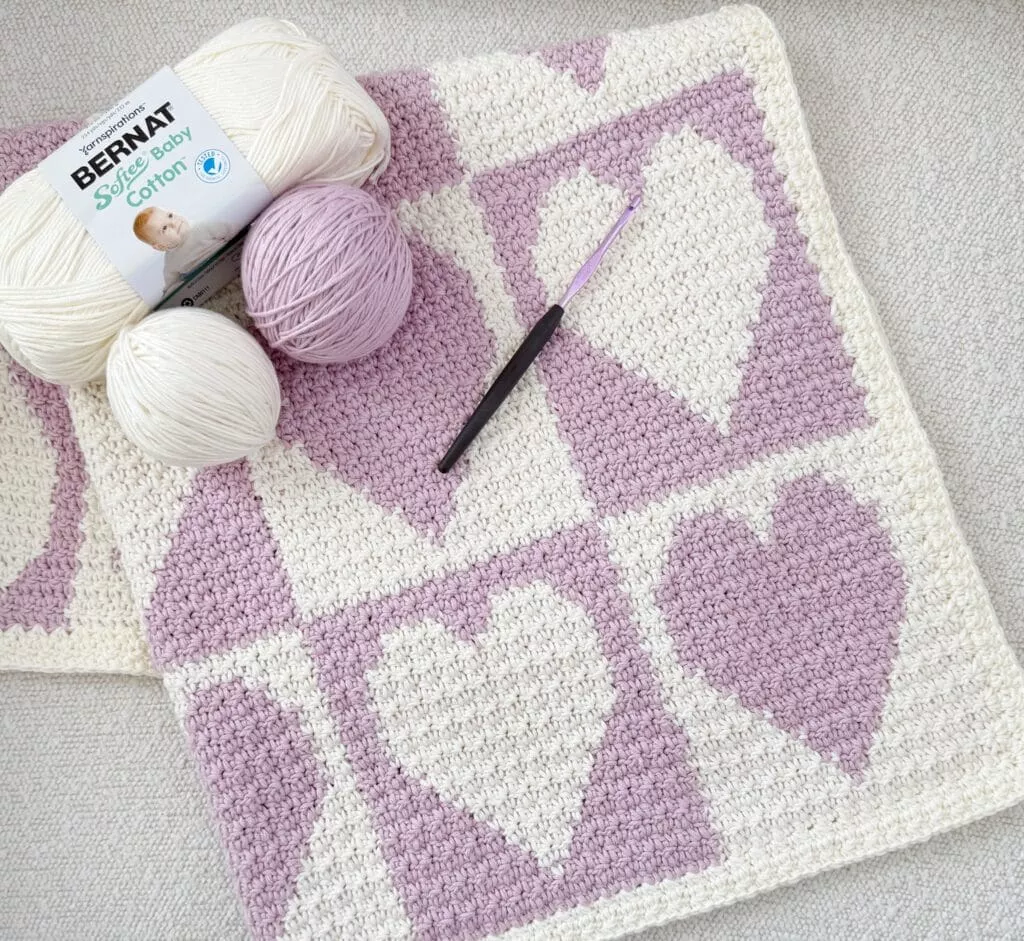
For a project like a coaster, cotton yarn is the ideal choice because it is absorbent and durable, which is essential for a functional coaster. Cotton yarn is also smooth and easy to work with, making it perfect for beginners. You can opt for a traditional, medium-weight cotton yarn (category 4), but if you want a thicker, sturdier coaster, you could go with a heavier cotton yarn (category 5). If you prefer a softer, more delicate touch, you might want to consider a cotton-blend yarn that contains a mix of other fibers.
In terms of colors, the Crochet Coaster With Hearts – Pattern allows for a variety of color combinations. For a classic look, you could choose a neutral color for the base of the coaster, such as white, gray, or beige, and then add vibrant hearts in shades of red, pink, or purple. If you’re looking to create a more playful design, you could experiment with contrasting colors, such as blue and yellow or green and orange.
Additionally, you’ll need a crochet hook that corresponds with the weight of the yarn you are using. For medium-weight yarn, a 4.0mm or 5.0mm crochet hook will work well. You will also need a yarn needle to weave in loose ends after completing your coaster, and scissors to cut the yarn.
Once you have your materials gathered, you’re ready to begin crocheting!
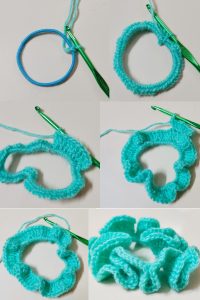
The first step in creating your Crochet Coaster With Hearts – Pattern is to make the base of the coaster. To start, you’ll need to create a magic ring (or adjustable ring). This technique allows you to crochet in a circle without leaving a hole in the center, which is essential for a smooth and professional-looking coaster.
Start by creating a slip knot and placing it on your crochet hook. Then, form a ring by wrapping the yarn around your fingers. After that, pull the working yarn through the loop, creating a ring. Once the magic ring is set, you’ll begin crocheting into it. Work a few single crochet (sc) stitches into the ring, and gradually increase the number of stitches to form the coaster base. Depending on your desired size, you will continue to work in rounds, increasing as you go.
For the Crochet Coaster With Hearts – Pattern, you will typically work about 12-15 stitches in the first round to form a solid circular base. Once you complete the first round, pull the magic ring tightly to close the hole in the center, and slip stitch to join the round. You can continue to build the base with additional rounds of single crochet or double crochet stitches, depending on the pattern instructions you are following.
As you work, ensure that the base remains flat. If your coaster starts to curl, you may need to adjust the tension of your stitches or reduce the number of increases in each round. Keep working in the round until the coaster is the desired size, typically around 4 to 5 inches in diameter.
Once you’ve completed the base of your coaster, the next step in the Crochet Coaster With Hearts – Pattern is to add the heart design. Hearts are a beautiful and symbolic motif that adds an extra level of charm to your coaster. The heart shape is typically created by working a combination of double crochet stitches, chain stitches, and slip stitches to form the outline of the heart.
To start, you’ll crochet a small heart in a contrasting color. Begin by chaining a few stitches to create the top of the heart, and then work double crochet stitches to create the curves. As you reach the point of the heart, you’ll join the two sides with a slip stitch, creating a classic heart shape. You can adjust the size of the heart by adding more stitches or rows, depending on your preference.
Once your heart is complete, you’ll need to attach it to the base of the coaster. To do this, use a slip stitch or a whip stitch to sew the heart onto the coaster in the desired position. Make sure the heart is centered and neatly aligned. You can even add multiple hearts around the coaster if you want a more intricate design.
If you want to make the hearts stand out even more, you can add an extra layer of color by outlining them with a contrasting color of yarn. This will create a more defined and bold heart shape, giving your coaster a unique look.
Once the heart motif is securely attached to your coaster, the final step is to finish off your Crochet Coaster With Hearts – Pattern. To do this, you will need to weave in any loose ends of yarn using a yarn needle. This ensures that the coaster is tidy and that no loose strands are visible.
After weaving in the ends, you may want to lightly steam block your coaster to help it maintain its shape. Simply place a damp cloth over the coaster and gently steam it with an iron to set the stitches. This is especially helpful if your coaster has curled edges or if you want to give it a more polished look.
Once the coaster is dry and fully shaped, you can use it immediately or create a whole set of coasters to gift to friends and family. These Crochet Coasters With Hearts – Pattern make wonderful gifts for birthdays, anniversaries, or as a lovely gesture for Valentine’s Day. You can even customize the colors and patterns to match the recipient’s personality or home décor style.
1. How long does it take to crochet a coaster with hearts?
The time it takes to crochet a coaster will depend on your experience and the complexity of the design. For beginners, it may take about 30 to 45 minutes per coaster, while experienced crocheters can complete them in about 20 minutes.
2. What is the best yarn to use for crochet coasters?
Cotton yarn is the best choice for crochet coasters because it is absorbent, durable, and easy to work with. It also provides a smooth finish that holds its shape well, making it perfect for functional items like coasters.
3. Can I make larger crochet coasters with hearts?
Yes, you can easily adjust the size of your coaster by increasing the number of stitches in each round of the base. Larger coasters are perfect for bigger mugs or serving dishes.
4. How can I make the hearts more defined?
To make your hearts stand out, you can outline them with a contrasting color or add extra rows of stitches to increase the definition of the heart shape.
5. Can I use other motifs besides hearts in this pattern?
Absolutely! The technique for creating the base and adding motifs can be applied to various designs. Feel free to experiment with flowers, stars, or any other shapes that fit your style.
6. How do I block my crochet coaster?
To block your coaster, lightly steam it with an iron, placing a damp cloth over the coaster to prevent direct heat contact. This will help set the shape and remove any curling.
Creating a Crochet Coaster With Hearts – Pattern is a fun and rewarding project that adds charm and personality to your home décor. Whether you’re crocheting for yourself or creating handmade gifts, this pattern is simple to follow and offers endless opportunities for customization. In this article, we’ve explored how to select the right materials, create the coaster base, add the heart motifs, and finish your project for a polished and functional design.
If you found this guide helpful, please feel free to share your thoughts and suggestions in the comments. Your feedback is always welcome, and it helps us improve future tutorials. Happy crocheting!

