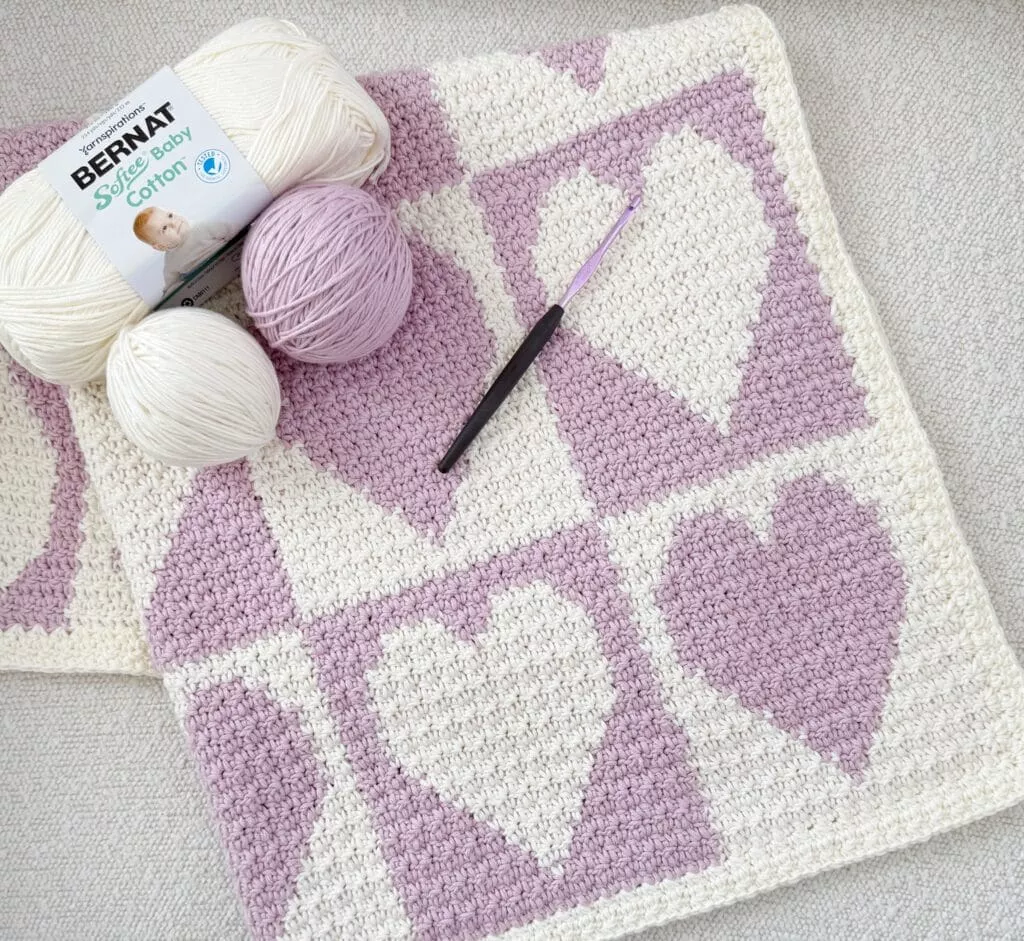
If you are looking for a crochet project that combines beauty, texture, and love, the Crochet Textured Inverse Hearts Blanket – Pattern is an excellent choice.
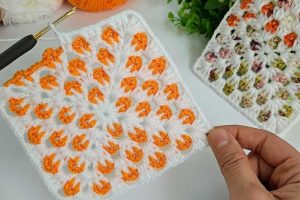
This stunning blanket features a lovely heart pattern that is inverted, giving it a unique and elegant appearance.
The textured stitches not only add a visual dimension to the design but also make it incredibly soft and warm, making it perfect for cozy nights and as a gift for loved ones.

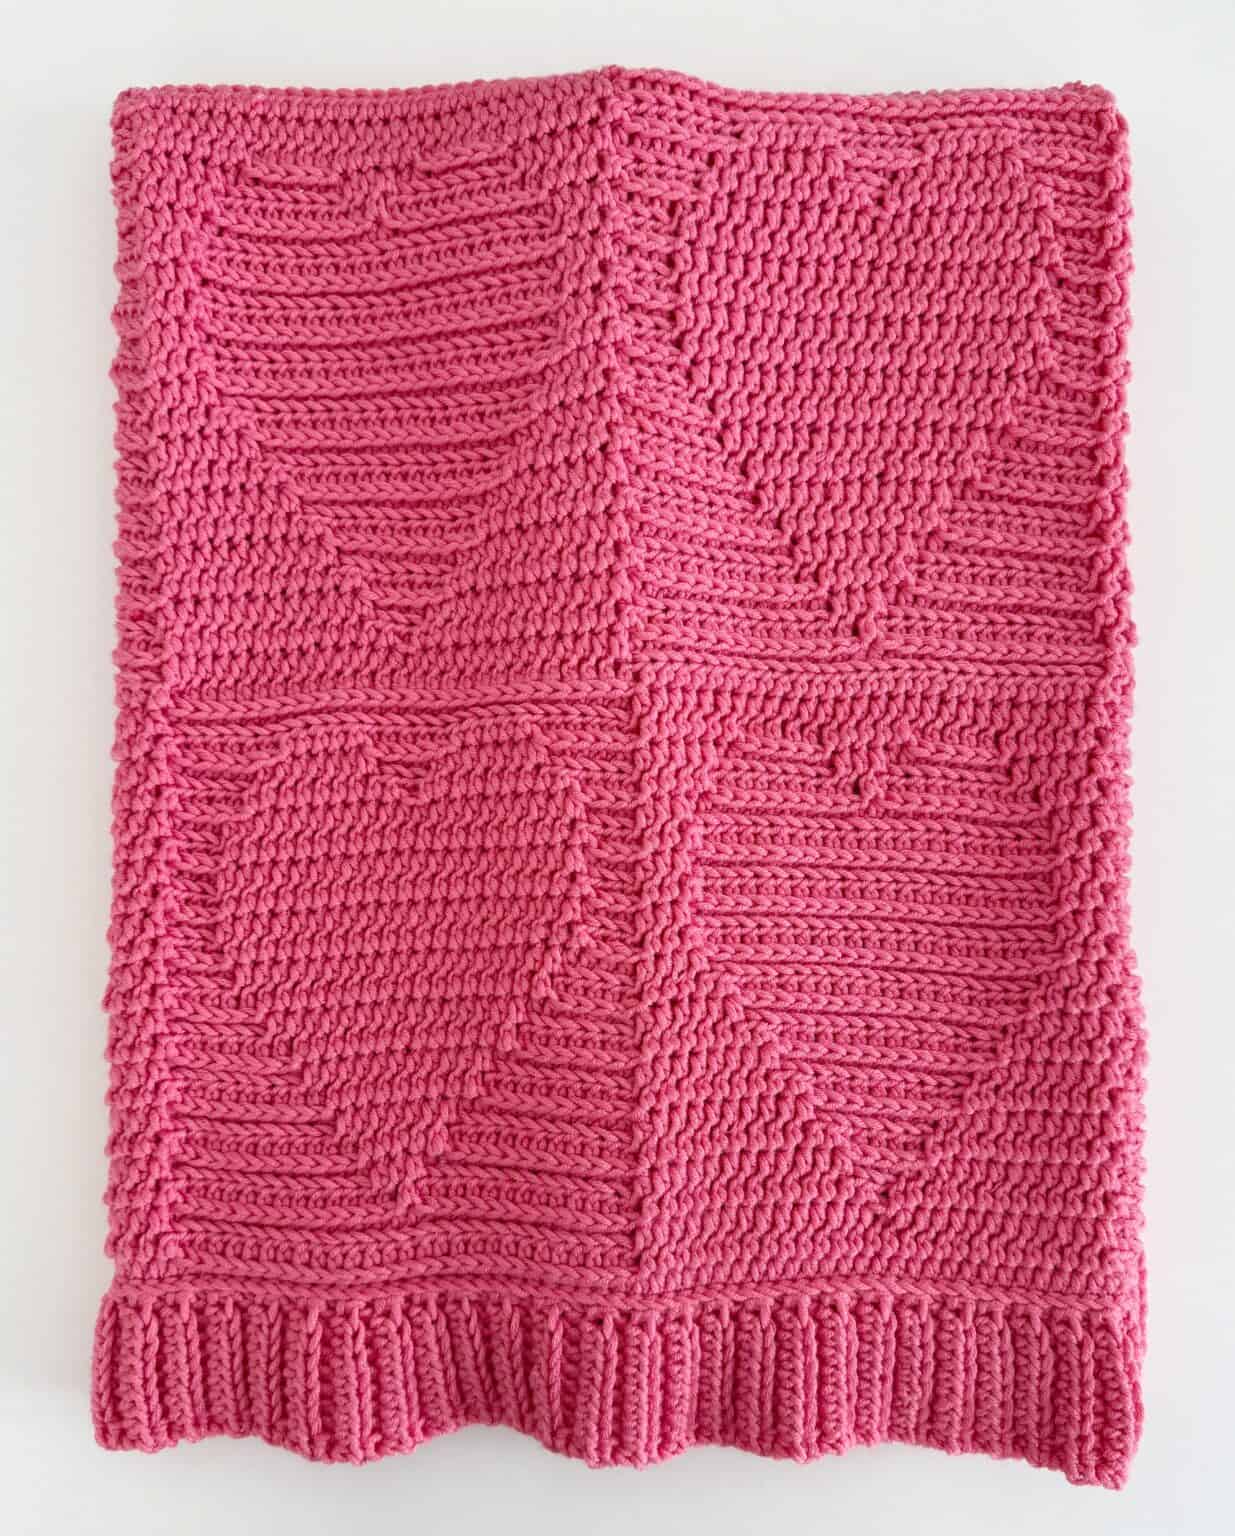
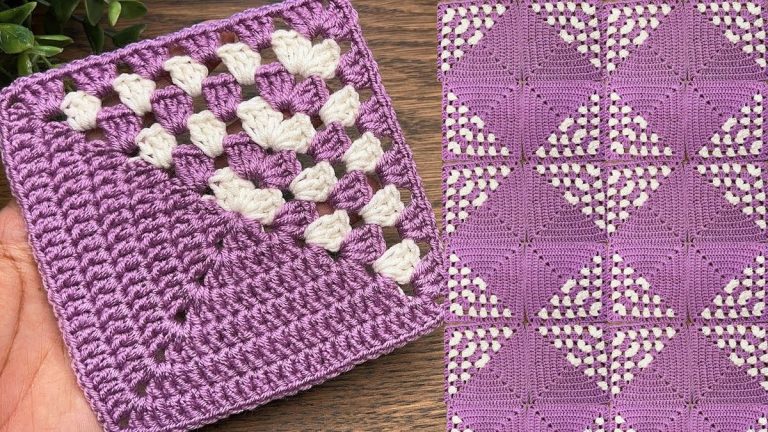
Image From Pinterest
The crochet textured inverse hearts blanket pattern allows you to work in a repetitive yet satisfying rhythm, making it a great project for both beginners and experienced crocheters alike. The heart motifs are designed to be visually appealing, but the inversion of the hearts adds an interesting twist to the traditional heart patterns. By combining texture and color in your work, you can create a beautiful blanket that will last for years.
OTHER CROCHET PATTERNS HERE!
In this article, we’ll guide you through the steps required to make your own crochet textured inverse hearts blanket. We’ll cover everything from the basic materials to the specific stitch techniques, and provide helpful tips to make sure your blanket turns out beautifully. Let’s get started on this wonderful crochet adventure!
1. Materials Needed for the Crochet Textured Inverse Hearts Blanket
Before you begin crocheting, it’s essential to gather the right materials to ensure that your crochet textured inverse hearts blanket turns out as beautiful as you envision. Here’s what you’ll need:
- Yarn: Select a yarn that is soft and durable. A medium-weight yarn such as worsted weight (category 4) is ideal for this project. Consider using a blend of acrylic, cotton, or wool for softness and ease of care. Choose one color for a more classic look or multiple colors to highlight the inverse hearts pattern.
- Crochet Hook: A size H-8 (5.0 mm) crochet hook is recommended for worsted weight yarn. However, you can adjust the hook size according to your tension and the thickness of your chosen yarn.
- Stitch Markers: Stitch markers are useful for marking the beginning of each row and keeping track of your progress throughout the pattern.
- Yarn Needle: This is important for weaving in any loose ends when you finish your blanket.
- Scissors: You’ll need scissors to cut the yarn when you are changing colors or finishing off your project.
- Measuring Tape: A measuring tape helps ensure you’re working to the desired size and making the blanket the right length.
Once you’ve gathered these materials, you’re ready to dive into the pattern and begin crocheting your textured inverse hearts blanket.
2. Understanding the Inverse Hearts Design
The central element of this pattern is the inverse hearts motif. Unlike traditional heart designs, the hearts in this pattern are inverted, creating a stunning visual effect. The key to this design is the use of texture to make the hearts pop against the background of the blanket. By using different crochet stitches, such as double crochet (DC), half double crochet (HDC), and front post stitches, you can achieve the textured look that adds depth and richness to the blanket.
Here are some key points to understand before beginning:
- Heart Motif: The heart motifs are created using a combination of increases and decreases, allowing the hearts to form within the stitches. The pattern alternates between increasing stitches to create the top of the heart and decreasing stitches to form the point of the heart, resulting in a beautiful, crisp heart shape.
- Inverse Design: The hearts in this pattern are designed to be flipped upside down, which creates a modern twist on the classic heart motif. The inverse hearts are formed by alternating the positioning of the stitches and their placement in each row. This inversion brings a playful yet sophisticated element to the design.
- Textured Stitches: The blanket also uses textured stitches, such as the front post double crochet (FPDC) and back post double crochet (BPDC), to give the hearts a raised appearance. These textured stitches add a dynamic quality to the design, making it visually striking.
Understanding the structure and techniques behind the inverse hearts pattern will help you follow the instructions more easily. Now that we have a grasp of the design, let’s move on to the step-by-step process of crocheting this beautiful blanket!
3. Step-by-Step Instructions for the Crochet Textured Inverse Hearts Blanket
Creating the crochet textured inverse hearts blanket is a fun and rewarding process. Follow these step-by-step instructions to bring this stunning design to life:
- Foundation Chain: Begin by chaining a multiple of 20 plus 2 additional stitches. This will give you the foundation to start the heart pattern. The number of chains will determine the width of your blanket, so adjust based on your desired size.
- Row 1: Work in double crochet (DC) for the first row, making sure to skip the first chain stitch and work into the second chain from the hook. Follow the chevron pattern using increases and decreases to form the heart shapes. Make sure to crochet through both loops to keep the hearts flat and defined.
- Row 2: In this row, you will begin the textured stitches. Work front post double crochet (FPDC) and back post double crochet (BPDC) along the row, alternating between the two. The textured stitches will give the blanket its raised effect, adding a 3D quality to the hearts.
- Subsequent Rows: Continue following the pattern, alternating rows of DC and textured stitches. Each new row will follow the inverse heart pattern, ensuring that the hearts are positioned in an alternating way. You can change colors between rows to create a striped effect or to highlight the hearts more vividly.
- Color Changes: If you want to add some color to your blanket, you can switch yarns at the end of any row. Changing colors every few rows will make the hearts stand out and add a vibrant, playful element to your blanket.
- Finishing the Blanket: Once you’ve reached your desired length, finish the blanket with a simple border. A single crochet (SC) border is a great choice to frame the edges of the blanket neatly.
4. Tips for Creating the Perfect Textured Inverse Hearts Blanket
To ensure that your crochet textured inverse hearts blanket turns out perfectly, here are a few tips and tricks to keep in mind:
- Keep Your Tension Even: Consistent tension is key when crocheting any pattern. Try to maintain an even tension throughout the entire project to avoid any tight or loose stitches that could distort the chevron pattern.
- Use Stitch Markers: Since this pattern involves repeating rows with intricate stitches, using stitch markers will help you keep track of where each row begins, especially when alternating between textured and standard stitches.
- Choose the Right Yarn: For the best results, choose a yarn that is soft and easy to work with. Acrylic or cotton blends are great choices because they’re durable and wash well, but you can use other yarns to suit your preferences.
- Blocking the Blanket: After finishing your crochet blanket, consider blocking it to help the chevron pattern and textured hearts hold their shape. Gently steam block the blanket to flatten out any uneven sections and give the piece a professional, finished look.
- Adjust the Size: If you need to adjust the size of the blanket, simply add or reduce the number of chains at the beginning of your project. You can also adjust the length by crocheting more rows or fewer rows as needed.
- Personalize Your Blanket: Feel free to add your personal touch to the blanket! You can experiment with different color combinations, or add extra embellishments like fringes, tassels, or decorative edges.
FAQ
1. What is the difference between front post and back post stitches in crochet?
Front post stitches are worked around the post of a stitch in the previous row, creating a raised effect. Back post stitches are similar, but they’re worked around the post from behind, which creates a deeper raised texture.
2. Can I use any type of yarn for this crochet blanket?
Yes, you can use any yarn, but a worsted weight yarn is recommended for this pattern. It gives the blanket a soft yet sturdy feel, perfect for cozying up during cooler months.
3. How can I change colors in the crochet blanket?
To change colors, simply finish the current row and begin the next row with your new color. You can carry the yarn along the edge or cut the yarn and weave in the ends when you’re finished.
4. How long does it take to complete the crochet textured inverse hearts blanket?
The time it takes depends on the size of the blanket and your skill level. On average, it might take a few days to a couple of weeks to finish, depending on how much time you dedicate each day.
5. Can I make a smaller version of this blanket?
Absolutely! You can adjust the number of chains at the start to make a smaller version, such as a baby blanket, pillow cover, or even a decorative throw.
6. How do I block my crochet blanket?
To block your blanket, gently wet it and pin it to the desired shape. You can also use a steam iron to lightly steam the blanket, but avoid applying direct heat to the yarn.
PATTERN HERE
Conclusion
In this article, we’ve explored the crochet textured inverse hearts blanket pattern, offering a comprehensive guide to creating a beautiful and unique blanket. From selecting the right materials to understanding the stitch techniques, we’ve covered everything you need to know to successfully crochet this stunning pattern.
By following these instructions, you can create a cozy, personalized blanket that features a gorgeous heart pattern with a modern twist. Whether you’re gifting it to a loved one or adding it to your own home, this blanket will undoubtedly be a cherished piece.
We hope you’ve found this guide helpful and inspiring! Please leave a comment with your thoughts, or share any questions or suggestions you have. We’d love to hear from you and see how your crochet project turns out!