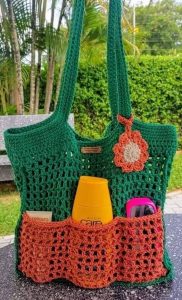
String Bag With Floral Motif - Tutorial

The crochet granny square – pattern is a beloved and versatile design in the world of crochet.
Whether you’re a beginner or an experienced crocheter, the granny square is a timeless motif that can be used in a variety of projects, from blankets to garments to home decor.
This pattern offers endless possibilities and is a great way to showcase your creativity.
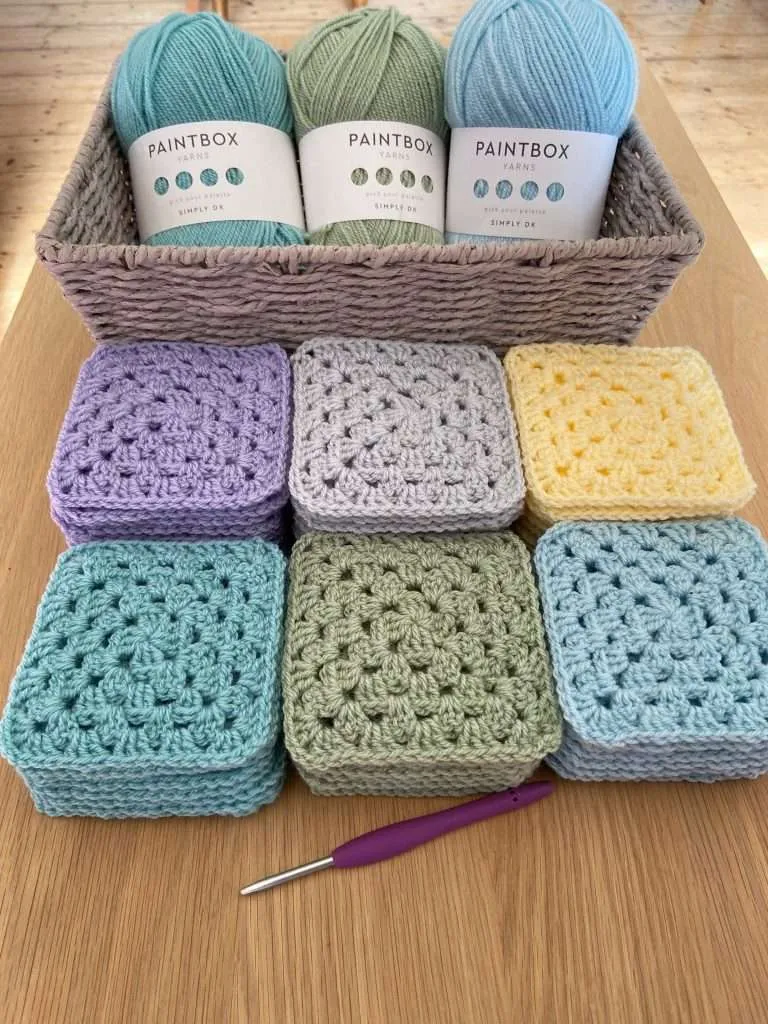
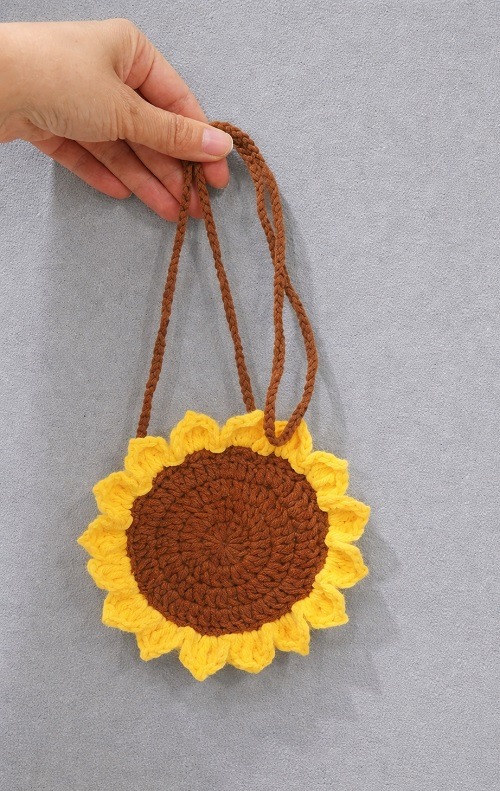
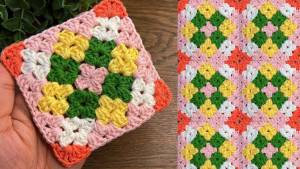
Image From Pinterest
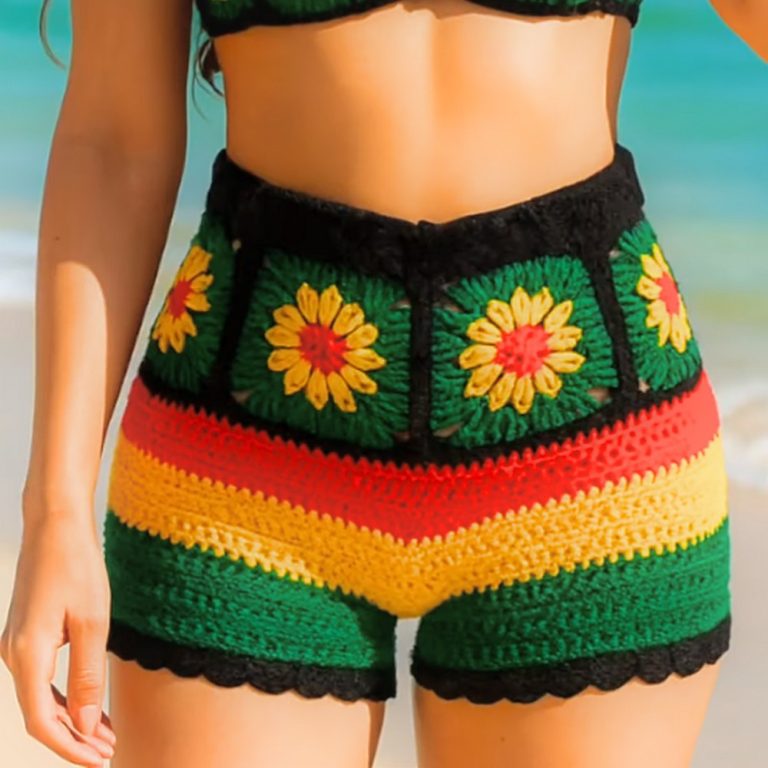
Granny squares are made up of small, square-shaped motifs that are crocheted in a variety of colors and then joined together to form larger designs. The classic granny square pattern usually involves a simple combination of chains, double crochets, and other basic crochet stitches, making it easy to follow. However, with countless variations and color combinations, the crochet granny square – pattern can be customized to suit any project or personal style.
In this article, we’ll guide you through the process of making a crochet granny square – pattern, offering step-by-step instructions, tips, and ideas on how to incorporate these beautiful motifs into your projects. Whether you’re looking to make a cozy blanket or a fashionable scarf, the possibilities with the crochet granny square are endless.
Before diving into the step-by-step process, it’s essential to understand the basic structure of the crochet granny square – pattern. Typically, a granny square begins with a small ring, and then you crochet around the ring to create multiple rounds of stitches that gradually expand the square shape. The design is usually based on a central motif that can be repeated and worked in different color combinations.
The most common stitch used in the crochet granny square – pattern is the double crochet, along with chain stitches to create the gaps that define the square’s shape. The square grows with each round, and you can mix and match colors to create intricate designs. Once you’ve made several granny squares, you can join them together to form a larger project.
A standard crochet granny square typically consists of three main components: the center, the corners, and the sides. The center is where you begin the square, and it’s often worked in a circular shape. The corners are formed by using specific increases to turn the square’s shape at the right angle. The sides are created by crocheting along the edges, keeping the stitches even and neat.
The flexibility of the crochet granny square – pattern allows for a variety of designs. You can change the number of rounds, the stitch combinations, or the colors to create unique patterns that suit your personal preferences. Many crochet enthusiasts enjoy experimenting with different techniques to make their granny squares stand out.
Before you start crocheting, it’s important to gather the materials needed to create your crochet granny square – pattern. The good news is that the materials are relatively simple and easy to find. Here’s a list of what you’ll need:
The type of yarn you use for your crochet granny square – pattern will determine the overall texture and feel of your finished project. For beginners, acrylic yarn is a great choice because it’s affordable, comes in a wide range of colors, and is easy to work with. You can also use cotton or wool for a more textured or luxurious finish.
Choosing the right crochet hook is essential for achieving the desired stitch size and tension. For most granny square patterns, a 4mm (G-6) crochet hook works well with worsted weight yarn. However, you may need to adjust the hook size depending on your yarn choice and the desired outcome.
You’ll need a pair of scissors to cut your yarn once you’ve completed each round of the granny square. Make sure to leave enough yarn to weave in the ends neatly.
A yarn needle is used to weave in the loose ends of the yarn after you finish crocheting. This helps give your project a polished and professional finish, especially when joining the granny squares together.
While stitch markers are not absolutely necessary, they can help you keep track of your rounds and ensure that your stitches are evenly spaced.
If you want to ensure that your granny squares are uniform in size, you may want to use a measuring tape to check the dimensions of each square as you work.
Now that you’ve gathered your materials, it’s time to start crocheting your granny squares. Follow these steps to create your own crochet granny square – pattern:
To start your granny square, make a magic circle, which is a flexible starting point for crocheting in the round. If you’re unfamiliar with the magic circle, you can also start with a chain of 4 and join it to form a ring.
For the first round, make 3 chain stitches to count as your first double crochet stitch. Then, work 2 double crochets into the magic circle, followed by 2 chain stitches. Repeat this pattern three more times, creating four sets of three double crochets with chain spaces in between.
For the second round, you’ll be working into the chain spaces from the previous round. Begin by making 3 chain stitches again. In each chain space, crochet 3 double crochets, followed by 2 chain stitches to form the corners of the square. Continue this pattern around the square.
Once you’ve completed the second round, continue working additional rounds by repeating the pattern of three double crochets in each chain space, with 2 chain stitches for each corner. As the rounds progress, you’ll see the square expand outward.
To add more variety and creativity to your crochet granny square – pattern, you can change colors for each round. Simply finish the round and change to a new color of yarn when you begin the next round.
Once you reach your desired size for the granny square, fasten off the yarn and use a yarn needle to weave in the ends. Be sure to keep your tension even so that the square maintains its shape.
Once you have created several granny squares, the next step is to join them together. There are several techniques for joining crochet granny squares, and the method you choose will depend on your project and personal preference.
The whip stitch join is one of the simplest ways to join your granny squares. Lay two squares side by side, then use a yarn needle to sew through the outer loops of both squares using a whip stitch. Repeat this process until all the squares are connected.
Another popular method is the slip stitch join. This technique creates a more seamless look by joining the squares with slip stitches instead of whip stitches. This join is ideal for projects where you want a flat, smooth finish.
The mattress stitch is a technique that allows you to join your granny squares while keeping the edges neat and even. It’s a great option for making a quilt-like finish for larger projects like blankets.
If you prefer to join your granny squares as you go, you can crochet the squares together by working a slip stitch into the corresponding spaces of two adjacent squares. This method eliminates the need for sewing later on.
Once all your granny squares are joined together, you can add a border around the entire project to give it a finished look. Use a complementary color or a simple single crochet border to frame your work.
Finally, after completing your project, make sure to care for it properly. If you’ve used acrylic yarn, most projects can be machine washed, but be sure to check the care instructions on your yarn label. Cotton yarn may require hand washing to preserve its softness.
To make a basic crochet granny square, start with a magic circle and work 3 double crochets, followed by chain stitches to form the corners. Continue adding rounds with three double crochets in each chain space and two chain stitches at the corners until your square reaches the desired size.
To change colors in a crochet granny square – pattern, simply finish the round with the current color, then fasten off. When you begin the next round, attach the new color and continue crocheting as usual.
The best yarn for a crochet granny square depends on your project. Acrylic yarn is a popular choice because it’s affordable and easy to work with, but cotton and wool also work well for different textures and finishes.
Yes! If you’re not comfortable with the magic circle technique, you can also start a crochet granny square with a chain of 4, joined into a ring to begin your project.
There are several ways to join crochet granny squares, including the whip stitch, slip stitch join, mattress stitch, and the join-as-you-go method. Each method results in a slightly different finish, so choose the one that best suits your project.
Absolutely! Crochet granny square – patterns are commonly used to create beautiful blankets. You can join multiple squares together to form a larger piece, adding a border for a polished finish.
In conclusion, the crochet granny square – pattern is a timeless and versatile design that can be used in a variety of crochet projects. From creating cozy blankets to stylish garments, the possibilities with granny squares are endless. By following the step-by-step instructions, choosing the right materials, and exploring different joining techniques, you can create beautiful, personalized pieces. Feel free to share your thoughts and suggestions on this pattern, and happy crocheting!

