
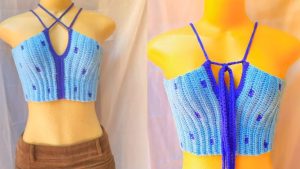
Crochet Triangle Shawl Stitch - Pattern

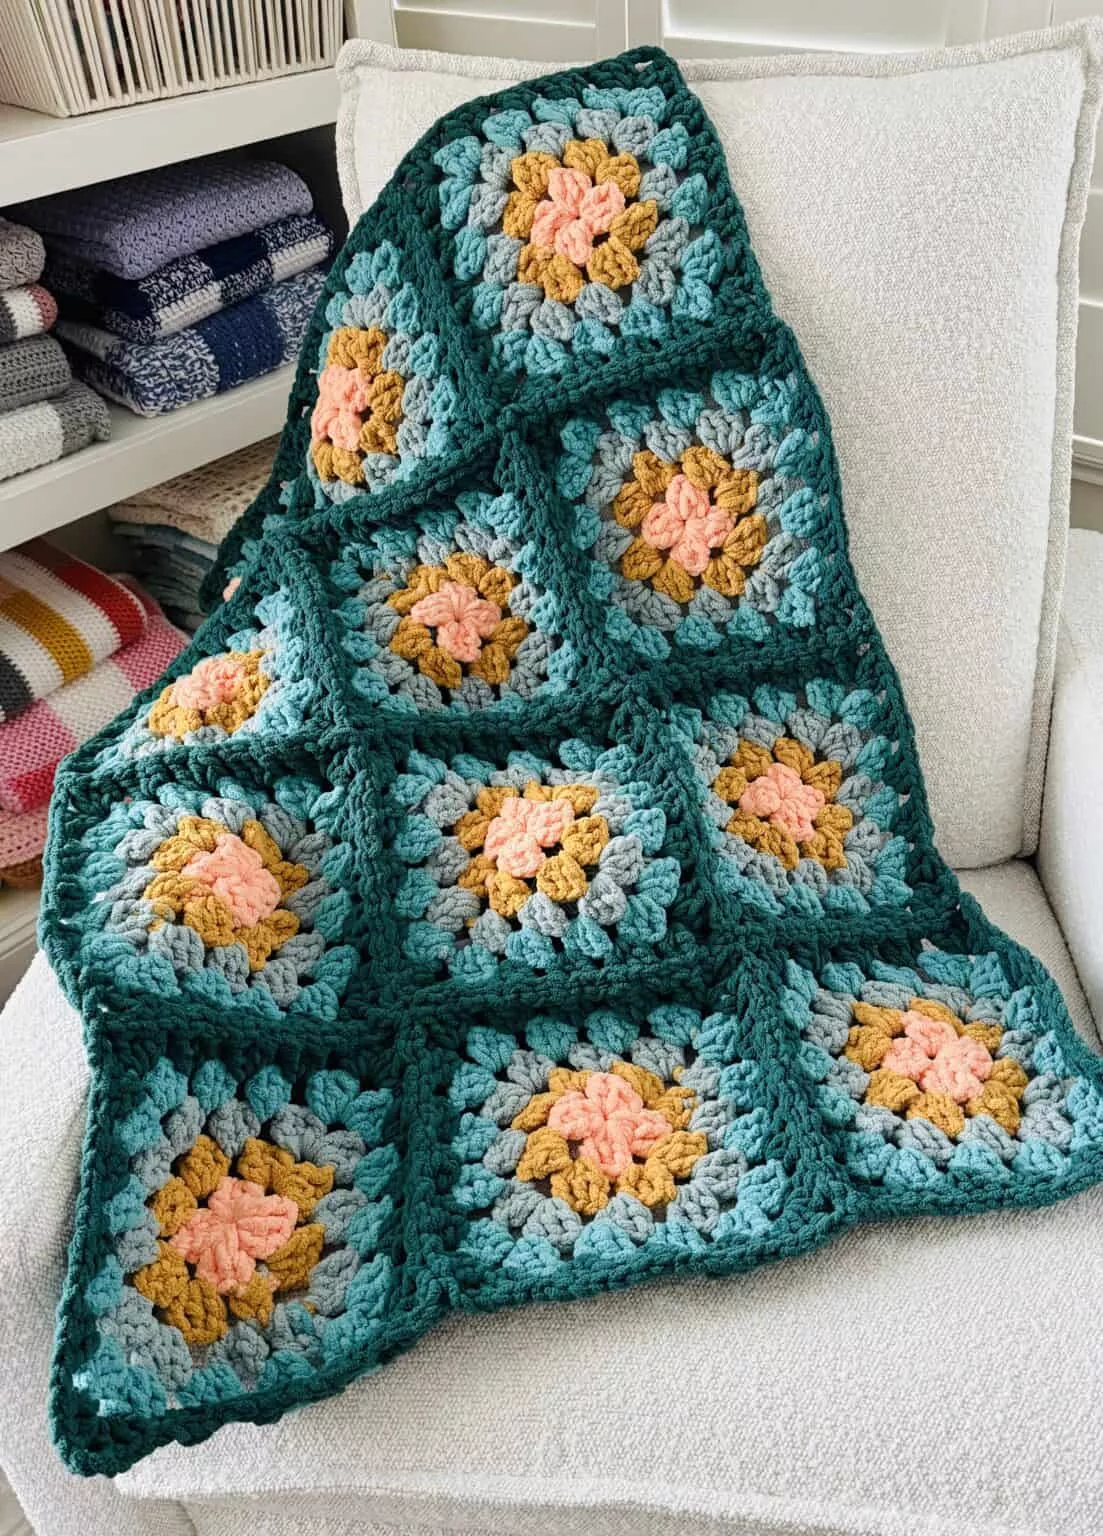
If you’ve ever wanted to start with crochet but felt overwhelmed by complicated patterns, this Easy Unique crochet granny square tutorial – pattern is the perfect place to begin. Granny squares are among the most iconic crochet motifs—timeless, versatile, and full of charm. This article will guide you step by step through a simple yet creative approach to making your own granny square that stands out from the rest.
The best thing about following an Easy Unique crochet granny square tutorial – pattern is that you don’t need to be an expert. Even if you’re just getting started with yarn and hook in hand, granny squares allow you to experiment with colors, textures, and stitches while learning valuable crochet techniques. They’re also quick to make, making them ideal for practice or crafting in short, satisfying bursts.
In the next sections, you’ll learn how to select the right materials, follow an easy-to-understand tutorial, explore customization options, and gain confidence in finishing and connecting your squares. By the end, you’ll not only understand the basics—you’ll have the inspiration and skills to make something beautifully your own.
To begin your Easy Unique crochet granny square tutorial – pattern, you’ll need to gather just a few essential materials. The beauty of granny squares is that they require minimal investment and are perfect for using up leftover yarn.
Start by selecting a medium weight (worsted) yarn. This type is ideal for beginners because it’s easy to see and work with. If you want a softer touch or lighter weight square, cotton yarn is a great choice too.
Next, choose a crochet hook that complements your yarn—usually a 4.5 mm to 5.5 mm hook works well with worsted weight yarn. Be sure to check your yarn label for hook recommendations to ensure the right tension and fabric feel.
You’ll also need scissors, a yarn needle, and optionally stitch markers if you want to track your rounds. These tools make the process smoother and help you maintain accuracy as you crochet.
Before starting, it’s helpful to understand the basic stitches used in this pattern: chain stitch (ch), slip stitch (sl st), double crochet (dc), and single crochet (sc). Don’t worry—these are all easy to learn and will become second nature with practice.
The traditional granny square starts in the center and builds outward in rounds, making it a repetitive and meditative process. As you continue, you’ll see the square shape emerge and can adjust the size depending on your project.
Take a moment to plan your color scheme if you want to use more than one color. Contrasting tones can highlight the square’s structure, while monochromatic palettes can give a subtle, elegant effect.
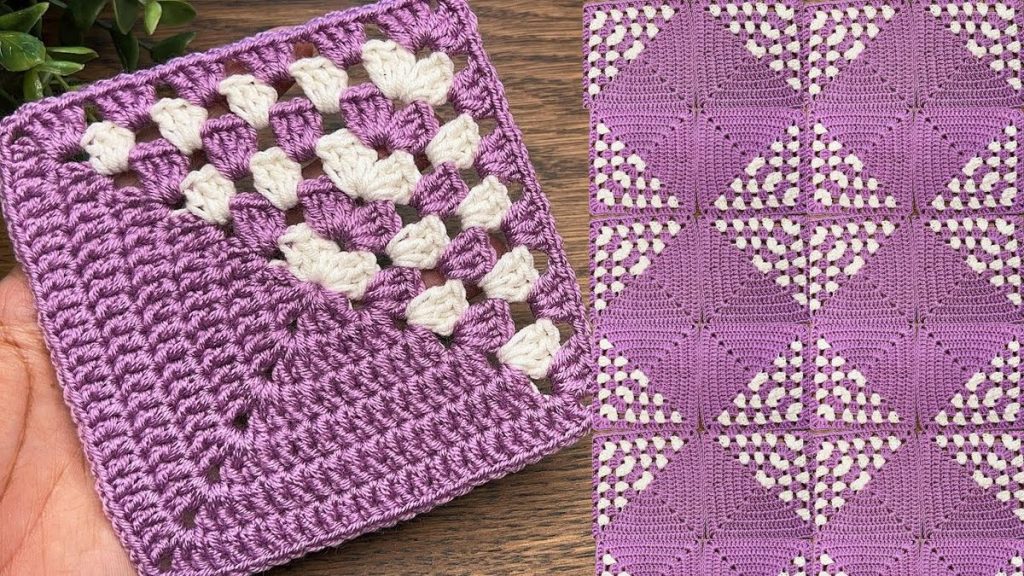
Now let’s dive into the actual Easy Unique crochet granny square tutorial – pattern. This version introduces a creative twist with puff stitches and a slightly raised center, giving it extra texture and uniqueness.
Start with a magic ring or ch 4 and join with a slip stitch to form a ring. This will be the center of your square. Into the ring, make 3 ch (counts as 1 dc), then work 2 dc, ch 2, (3 dc, ch 2) three more times. You should now have four clusters of 3 dc with ch-2 spaces between them. Join with a sl st to the top of the starting ch-3.
For Round 2, sl st into the next 2 stitches to reach the next corner. In the ch-2 space, work (3 dc, ch 2, 3 dc). In each of the remaining corners, work the same combination (3 dc, ch 2, 3 dc). This creates a square shape with growing clusters. Join with a sl st.
In Round 3, you can start adding a unique element such as a puff stitch in the middle of each side for a 3D effect. In each corner, continue with (3 dc, ch 2, 3 dc). On the sides, add (puff stitch, ch 1) between the corner clusters. Join as before.
Repeat this round structure, continuing to add puff stitches or bobbles along the sides and maintaining corner clusters. This creates a square with rich texture and a slightly raised appearance, making it more visually interesting than the classic version.
You can stop after a few rounds for a small square or continue growing it as large as you’d like. Be sure to fasten off when you’re done and weave in your ends using a yarn needle for a neat finish.
Congratulations—you’ve now completed your Easy Unique crochet granny square! Practice this a few times and experiment with new stitches to see how you can personalize each square.
One of the biggest advantages of the Easy Unique crochet granny square tutorial – pattern is its adaptability. You can take this basic square and modify it to suit all kinds of creative projects. Here are some fun ideas to get you started.
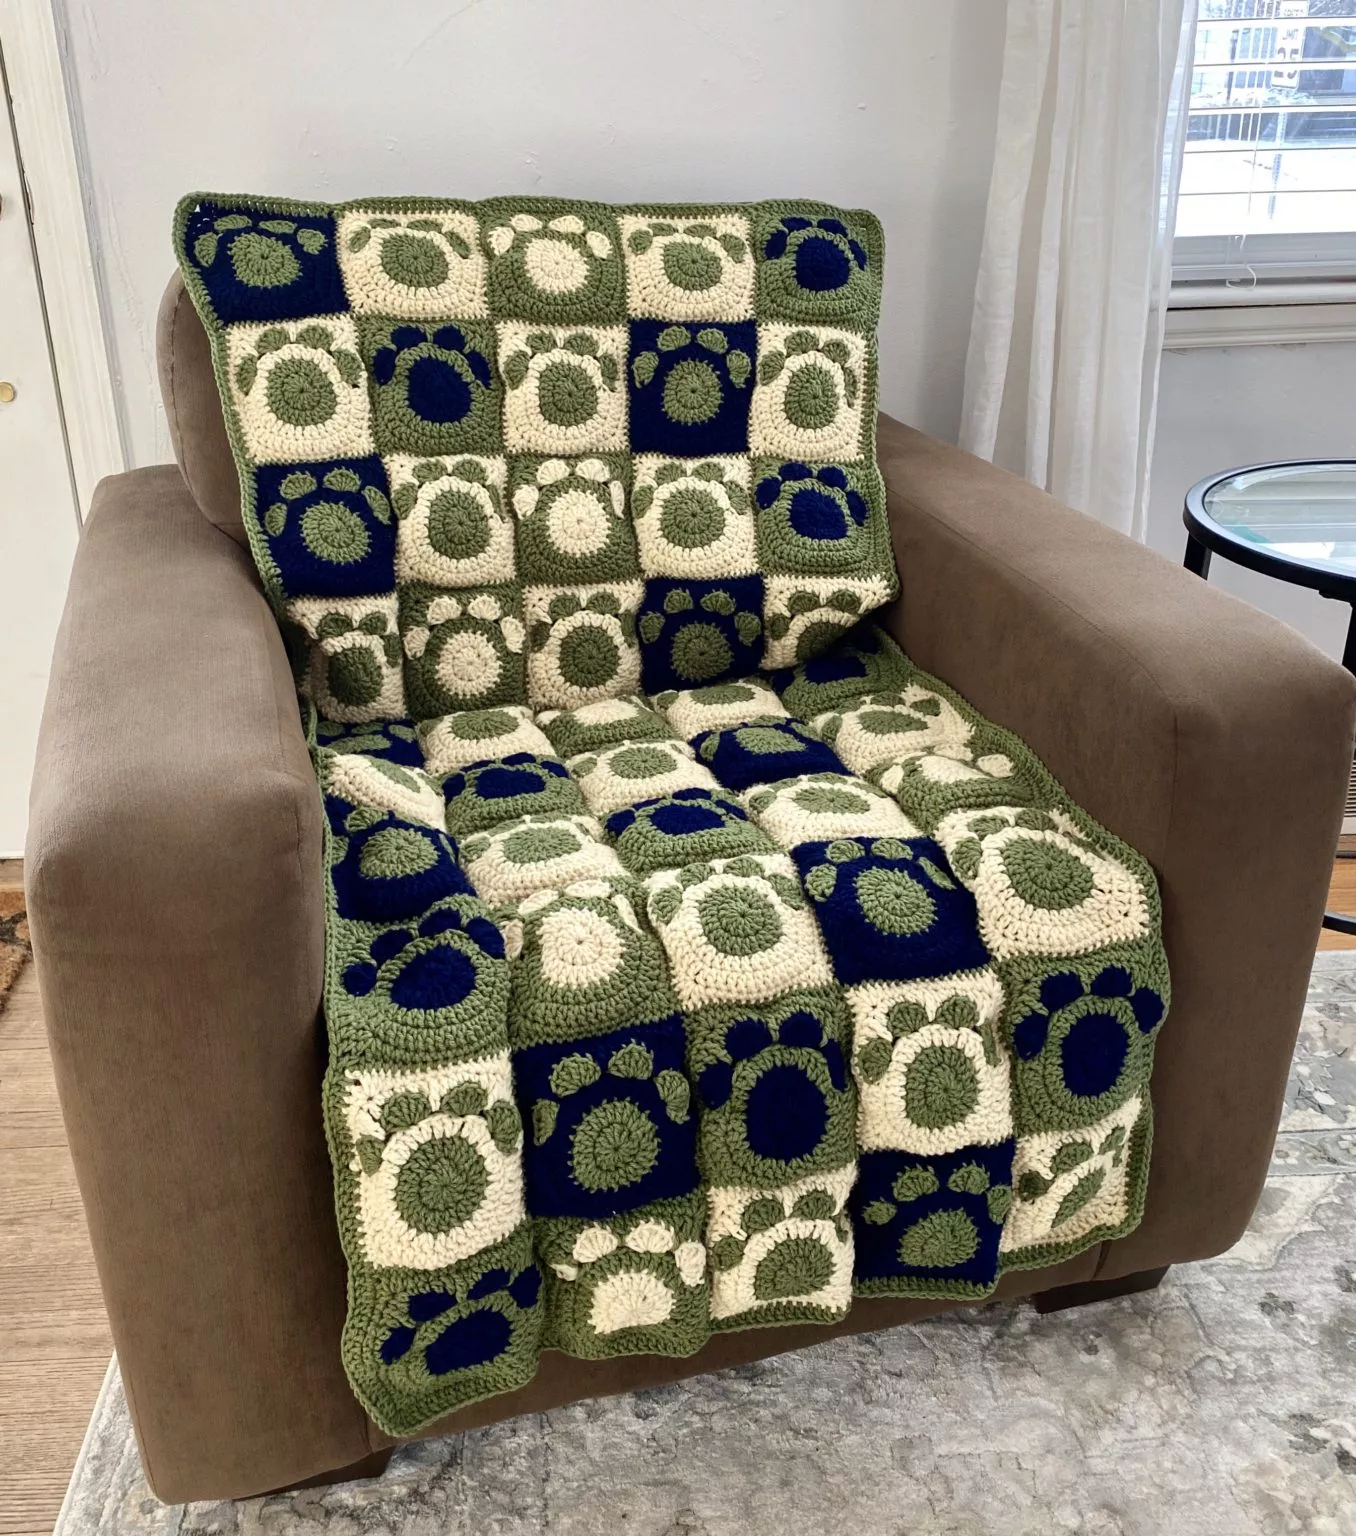
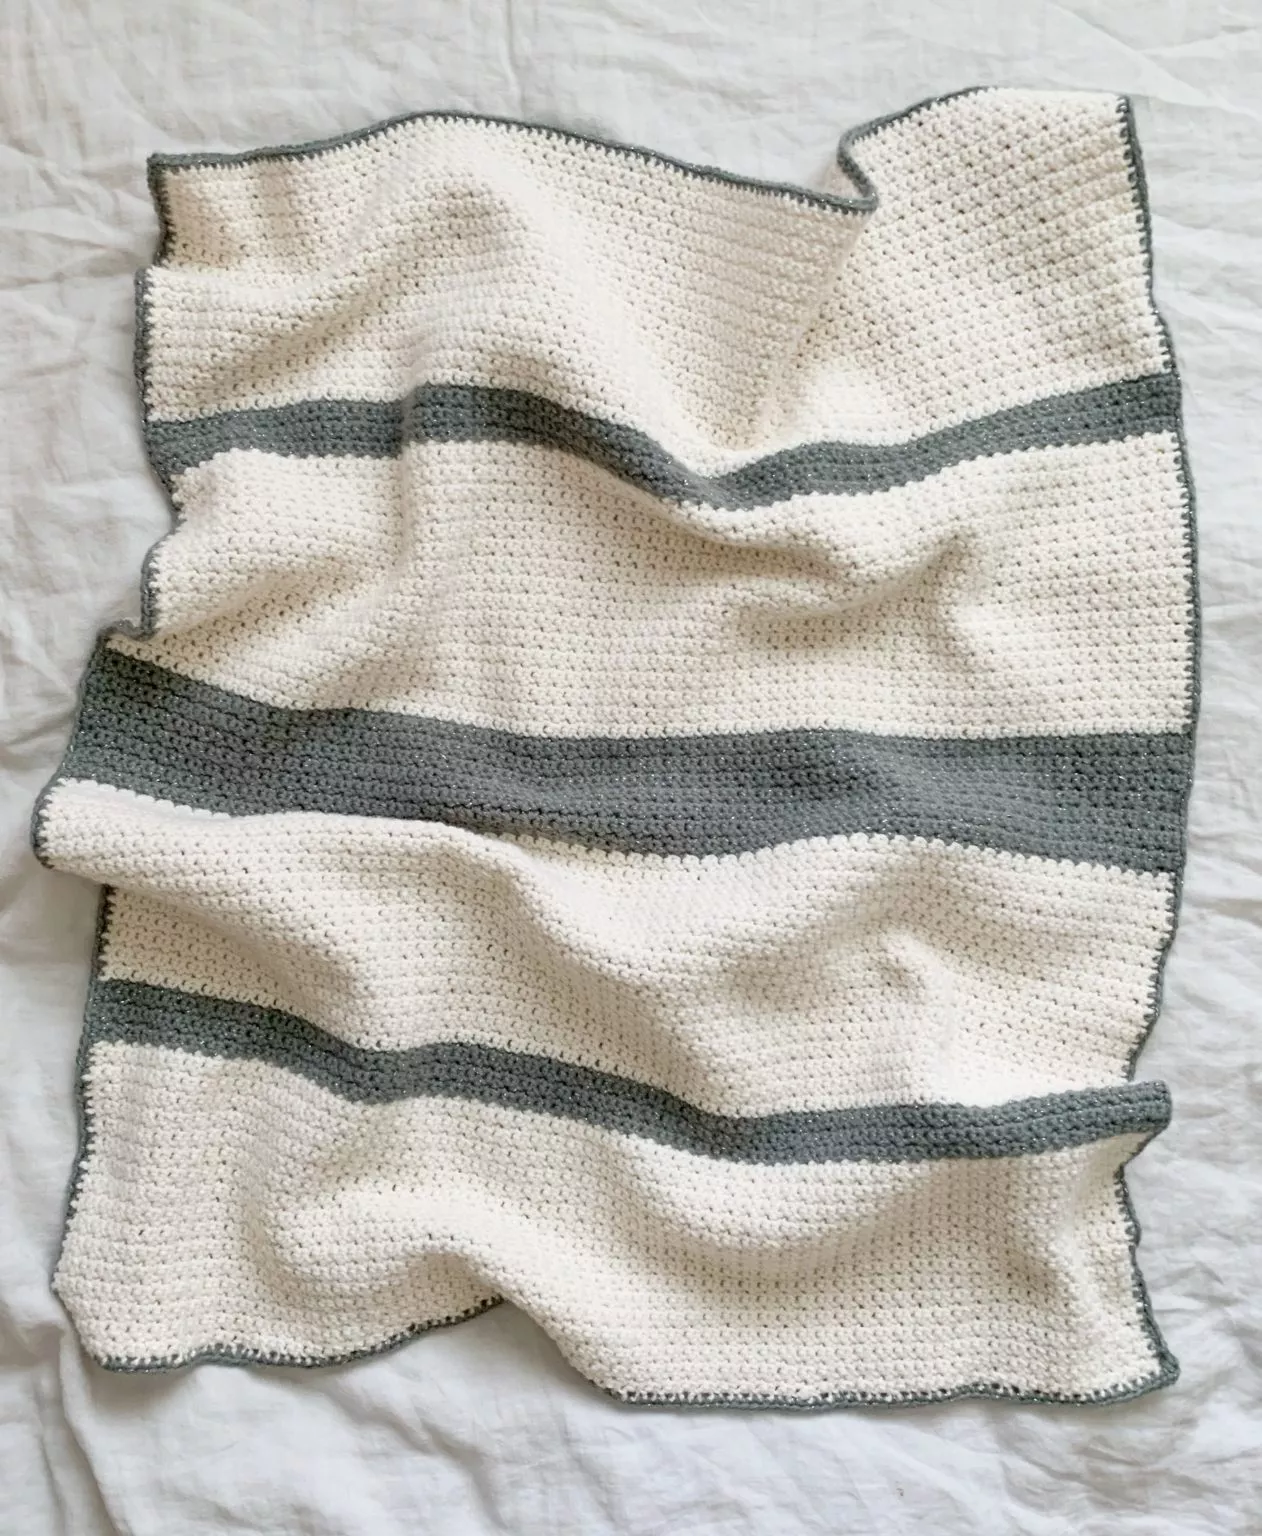
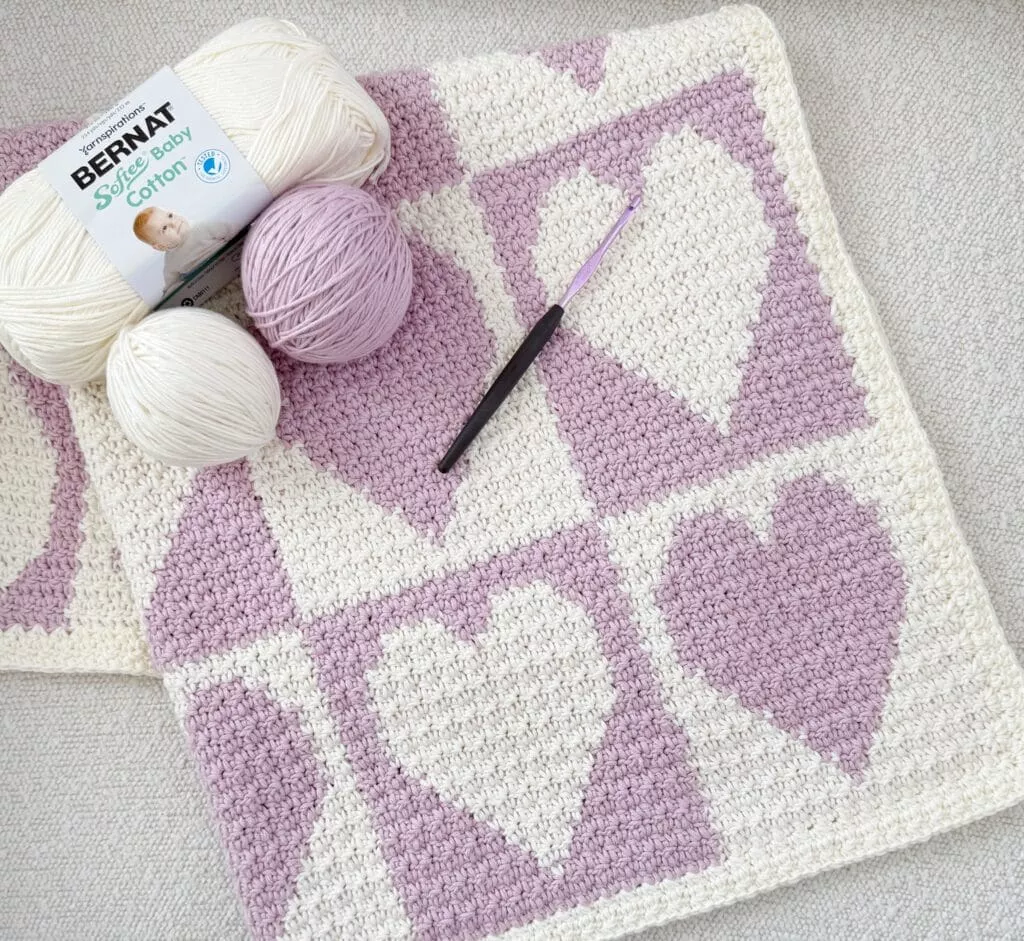
Blankets and throws are the most common use for granny squares. You can create dozens (or hundreds) of squares and join them together for a stunning patchwork blanket. Mixing colors and textures will make your blanket vibrant and cozy.
Make a granny square bag or tote by joining squares into a rectangular shape and adding a strap. These are fashionable, reusable, and an excellent eco-friendly alternative to plastic bags.
Turn your square into home décor! Sew several squares together to make pillow covers, table runners, or even wall hangings. Add fringe or tassels for an extra touch of flair.
Try making wearables, such as scarves, ponchos, cardigans, or vests. Fashion-forward crocheters often design clothing using squares as the building blocks—especially with unique patterns like puff stitches or bold colorwork.
If you’re crafting gifts, small granny squares can become coasters, pot holders, or bookmarks. You can even make festive ornaments or appliqués by adapting the pattern slightly and adjusting the yarn weight.
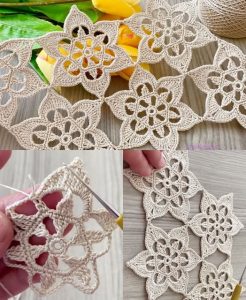
Lastly, don’t be afraid to experiment. Try combining your granny squares with lace patterns, filet crochet, or embroidery to bring your own artistic vision to life.
After completing your Easy Unique crochet granny square tutorial – pattern, the next step is deciding how to join your squares. The method you choose will impact the look, stretch, and durability of your final project.
One of the easiest ways to join squares is the whip stitch using a yarn needle. Lay two squares together (right sides facing) and sew through the back loops. This creates a flat seam and is great for beginners.
The join-as-you-go method is popular for reducing sewing time. It involves connecting each square to the previous one in the final round using slip stitches. This technique works best when all your squares are the same size and pattern.
For a bolder border, try the flat braid join, which uses chains and slip stitches to form a decorative, lacy seam between squares. It’s more advanced but adds elegance to projects like shawls or baby blankets.
Once all squares are joined, consider adding a border around the entire project. A simple row of single or double crochet evens out the edges, while scallops or shells give a fancy touch.
Don’t forget about washing and caring for your finished item. Most acrylic yarns are machine washable, but handmade items benefit from gentle cycles and air drying. Cotton pieces may shrink slightly, so blocking is advised after the first wash.
Finally, store your finished projects in a cool, dry place. Avoid direct sunlight to prevent fading. If gifting or selling, consider packaging your items with care tags or washing instructions.
Q1: Is this granny square pattern suitable for beginners?
Yes! This Easy Unique crochet granny square tutorial – pattern is designed with beginners in mind. The added texture is simple to learn and adds interest without being complicated.
Q2: How many squares do I need for a blanket?
It depends on the size of your blanket and squares. For a throw, you may need 49 to 100 squares. Measure your squares and calculate based on the desired dimensions.
Q3: What yarn is best for granny squares?
Acrylic yarn is affordable and versatile, great for everyday items. Cotton yarn gives a more structured feel. Stick to medium weight (worsted) yarn for a balanced result.
Q4: Can I use multiple colors in one granny square?
Absolutely! Changing colors between rounds is a great way to make your granny squares vibrant. Be sure to fasten off and weave in ends carefully.
Q5: How do I make my squares the same size?
Consistency in stitch tension is key. Use the same yarn and hook throughout. Blocking your squares after finishing can also help align their shape and size.
Q6: What projects can I make with just a few granny squares?
You can make coasters, bookmarks, mini bags, wall art, or decorative patches. Even a small collection of squares can be turned
into something special.
Creating your own Easy Unique crochet granny square is not only fun—it’s a foundational skill that opens the door to countless projects. We’ve explored the tools, the step-by-step process, customization ideas, and ways to care for your final pieces. Whether you want to build a full blanket or design your own accessories, this pattern is a great place to begin.
Crochet is more than a craft—it’s a way to relax, express yourself, and even connect with others through handmade gifts. So grab your hook and yarn, follow this Easy Unique crochet granny square tutorial – pattern, and let your creativity flow!
If you enjoyed this guide, please leave a sincere comment below with your thoughts and suggestions. What did you make? What would you love to see next? Your feedback means the world and helps build a stronger, more creative crochet community!

