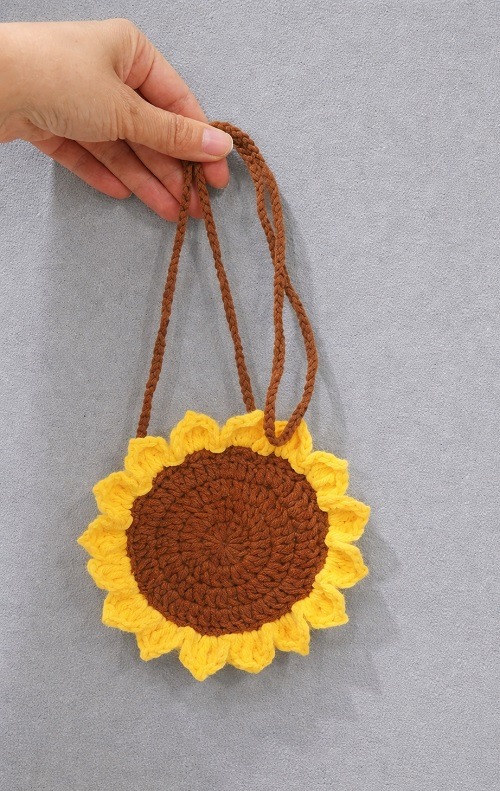
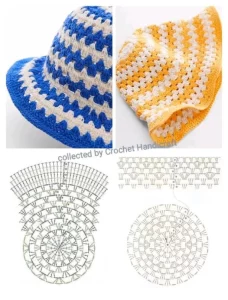
String Bag With Floral Motif - Tutorial

If you’re on the lookout for a quick, satisfying, and beginner-friendly crochet project, this Super Easy Crochet Hair Scrunchie – Pattern is exactly what you need. Whether you’re crafting for yourself, making gifts, or stocking your handmade shop, this pattern is a fantastic choice for using up leftover yarn and adding a pop of style to your wardrobe.
The best part? A Super Easy Crochet Hair Scrunchie – Pattern is not only cute and trendy—it’s practical. These scrunchies are gentle on the hair, reusable, washable, and so much more environmentally friendly than many store-bought alternatives. Plus, they take very little time to make, making them perfect for crafting in batches.
In this article, we’ll guide you through every step to make your own crochet scrunchies—from selecting the right materials to finishing them like a pro. By the end, you’ll be fully prepared to whip up these adorable accessories in all your favorite colors and yarns.
The Super Easy Crochet Hair Scrunchie – Pattern has become increasingly popular among both beginners and experienced crocheters. One of the biggest reasons is its simplicity. You don’t need to learn complicated stitches or techniques to make something beautiful and functional.
Crocheting scrunchies is also a fantastic way to use up yarn scraps. Those little leftover pieces that seem too small for a big project? Perfect for a colorful or multi-toned scrunchie. It’s a creative and sustainable way to reduce waste in your yarn stash.
Additionally, this pattern is incredibly customizable. You can use different yarn types, play with texture, and adjust the number of stitches to create different effects—from sleek and smooth to fluffy and full.
These scrunchies also make wonderful handmade gifts. Whether it’s for birthdays, holidays, or party favors, people of all ages appreciate a cute, functional accessory. Package a few together with a handwritten note and you’ve got a thoughtful present anyone would love.
Many crafters also love that this project is so portable. You can make one during a lunch break, while watching your favorite series, or even on the go. All you need is your yarn, hook, and a hair tie.
Lastly, selling handmade scrunchies is a smart idea for those with a small business. They’re quick to produce, easy to ship, and highly marketable, especially when offered in seasonal colors or trendy materials.
To get started with the Super Easy Crochet Hair Scrunchie – Pattern, you only need a few basic supplies. Most of them are inexpensive and easy to find at craft stores or online.
First, you’ll need yarn. While you can use almost any type, medium-weight (worsted) yarn works best for beginners. Cotton yarn provides structure and absorbs moisture—ideal for hair accessories. If you want something more luxurious, try velvet or chenille yarn for a plush texture.
Next, grab a crochet hook. Typically, a 4.0mm to 5.5mm hook pairs well with worsted yarn. Using a larger hook with lighter yarn can give the scrunchie a more ruffled look, while smaller hooks create a tighter, neater finish.
You’ll also need standard elastic hair ties. Try to choose ones that are sturdy but not too thick. Neutral colors work best, especially if the yarn doesn’t completely cover the elastic.
A tapestry needle will help you weave in your yarn ends securely. This ensures your scrunchie holds up through repeated use and washing.
Optional: scissors and stitch markers. While not essential, stitch markers can help you track the beginning of your rounds, especially when working in the round without joining.
Once you’ve gathered your materials, it’s time to start crocheting. Don’t worry if you’re new—this is a super easy crochet hair scrunchie – pattern, designed with simplicity and success in mind.
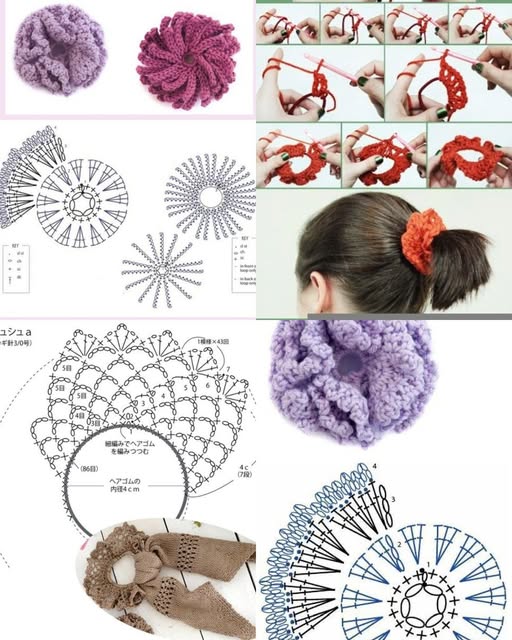
Let’s walk through the steps of the Super Easy Crochet Hair Scrunchie – Pattern. This version uses basic stitches and can be completed in under 30 minutes.
Start by attaching your yarn to the hair tie using a slip knot. Then, single crochet around the entire elastic band. Push your stitches together as you go to cover the whole tie. The more stitches you add, the more ruffled your scrunchie will look.
Once you’ve covered the band completely with single crochets, slip stitch into the first stitch to close the round. Now you’ll start building up the body of the scrunchie.
In the next round, work two double crochets into each stitch from the previous row. This increases the volume and gives that full, ruffled shape that makes scrunchies so stylish. You can also experiment with half-double or treble crochets for different textures.
After completing the second round, slip stitch to join, fasten off the yarn, and cut it—leaving a few inches for weaving in. Use your tapestry needle to weave in all ends securely.
Give your scrunchie a gentle tug and fluff to shape it nicely. If needed, use a little steam (carefully) to soften and set the yarn, especially for cotton-based scrunchies.
And just like that—you’ve made your very first Super Easy Crochet Hair Scrunchie – Pattern! Now make more in different colors and yarns to suit your outfits, seasons, or gift-giving plans.
Your handmade crochet hair scrunchies aren’t just adorable—they’re wearable, giftable, and even sellable. Let’s look at some creative ideas for putting them to good use.
For personal styling, pair your scrunchie with a ponytail, bun, or braid for an instant upgrade to your hairstyle. Velvet and plush scrunchies look great in cooler months, while cotton scrunchies suit summer styles.
Match your scrunchie to your outfit by choosing yarns in complementary colors. Or go bold with contrast colors to make a statement accessory that stands out.
If you’re gifting scrunchies, consider bundling 3–5 of them in a cute mesh bag or handmade pouch. They make lovely additions to birthday gifts, holiday baskets, or bridal party favor bags.
Selling your crochet scrunchies is a smart idea for makers who attend craft fairs or sell online. Offer different textures, seasonal collections (like pastels for spring or jewel tones for fall), or themed sets (e.g., retro, minimalist, or floral).
Add branding elements like simple tags or eco-friendly packaging to elevate your handmade business. People love supporting small makers, especially when the product is stylish and useful.
Don’t forget to share your creations on social media! Posting your versions of the Super Easy Crochet Hair Scrunchie – Pattern on Instagram, Pinterest, or TikTok can attract attention and inspire others.
Q1: How long does it take to make one crochet scrunchie?
On average, it takes about 20–30 minutes to make a basic scrunchie. With practice, you may finish even faster.
Q2: What’s the best yarn for making scrunchies?
Cotton yarn is durable and holds shape well, while velvet or chenille yarn creates soft, fluffy scrunchies. Avoid scratchy or stiff yarns.
Q3: Can I machine wash crochet scrunchies?
Yes—especially if you use cotton yarn. Place them in a mesh bag and wash gently. Air drying is recommended to maintain shape.
Q4: Are these scrunchies gentle on hair?
Absolutely! Crochet scrunchies are generally softer and more hair-friendly than rubber bands or plastic ties.
Q5: Do I need to line the scrunchie or use fabric inside?
No lining is needed. The yarn is crocheted directly around the elastic band, creating a secure and stretchy hold.
Q6: Can I sell the scrunchies I make from this pattern?
Yes! This pattern is simple and universal, making it great for small business use. Just be sure to take your own photos and write your own product descriptions.
The Super Easy Crochet Hair Scrunchie – Pattern is a perfect blend of simplicity, speed, and style. Whether you’re a complete beginner or an experienced crocheter, this quick project is rewarding and versatile.
From choosing yarn and materials to mastering the basic stitches and exploring ways to style and sell your scrunchies, you’ve now got all the tools to start making your own. They’re perfect for personal use, thoughtful gifts, or handmade business inventory.
We’d love to hear from you! Have you tried this Super Easy Crochet Hair Scrunchie – Pattern? Share your feedback, questions, or suggestions in the comments below. Let’s keep the creative conversation going!


