
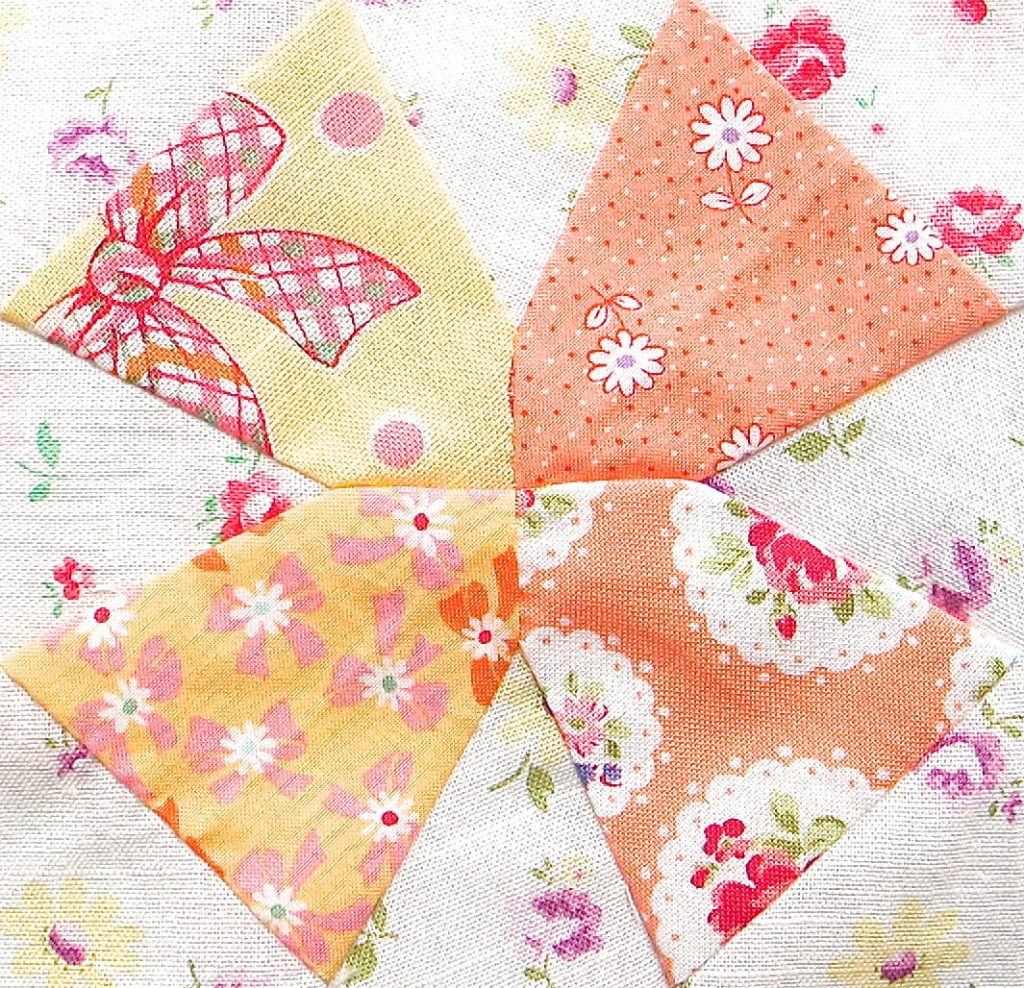
Patchwork Bird Tutorial

The Mayflower Quilt Block – Pattern is a timeless piece of American quilting history that captures the spirit of adventure and tradition in every stitch. For quilters looking to expand their repertoire, mastering the Mayflower Quilt Block – Pattern offers a perfect blend of geometric precision and storytelling through fabric. Whether you are a seasoned pro or a curious beginner, this specific pattern allows you to play with high-contrast colors and intricate shapes that bring a sense of movement to any quilting project.
Understanding the nuances of the Mayflower Quilt Block – Pattern is essential for creating a balanced and visually striking quilt. This design often features a central square surrounded by triangular “sails,” mimicking the iconic ship that carried the Pilgrims. By selecting the right quilt fabrics and following a structured cutting guide, you can transform simple scraps of cotton into a historical masterpiece that serves as a beautiful heirloom gift or a stunning wall hanging.
The beauty of the Mayflower Quilt Block – Pattern lies in its versatility across different quilt layouts. You can repeat the block for a uniform look or alternate it with solid squares to create secondary patterns that pop. As you dive into this guide, we will explore the technical aspects of the Mayflower Quilt Block – Pattern, ensuring your seam allowance is perfect and your points are sharp, resulting in a professional-grade finish that would make any quilting guild proud.
The Mayflower Quilt Block – Pattern is deeply rooted in American folk art, representing the famous ship that sailed in 1620. This block design symbolizes courage, new beginnings, and the rugged journey of early settlers. When you choose this pattern, you are not just sewing fabric; you are stitching a narrative that has been passed down through generations of textile artists.
Many traditional quilt patterns were named after historical events or everyday objects, and the Mayflower Quilt Block – Pattern is a prime example. The sharp angles of the triangles represent the sails catching the wind. Using a scrappy quilt approach can give it a vintage feel, while solid, modern fabrics can make the design look contemporary and sleek.
For many, the Mayflower Quilt Block – Pattern is a favorite for Thanksgiving-themed quilts or autumn decor. The color palette usually involves deep blues for the ocean, creamy whites for the sails, and warm browns for the hull. However, the modern quilting community often experiments with bright neons or pastel shades to give this classic block a fresh, updated look.
The geometric structure of the Mayflower Quilt Block – Pattern relies heavily on the Half-Square Triangle (HST) technique. This makes it an excellent teaching tool for those learning how to manage bias edges and prevent fabric stretching. Mastery of this pattern signifies a quilter’s ability to handle multiple intersecting seams with accuracy and patience.
In the world of quilt history, the Mayflower Quilt Block – Pattern is often grouped with other maritime-themed blocks like the “Ship to Shore” or “Sailboat.” It stands out because of its unique symmetry and the way the center square anchors the entire composition. It is a testament to how quilters use geometry to celebrate historical milestones.
Choosing the Mayflower Quilt Block – Pattern for your next project ensures a result that is both meaningful and aesthetically pleasing. It is a versatile template that works well in various sizes, from a small 6-inch sampler block to a large 12-inch main block. Its enduring popularity is a testament to its status as a staple in the quilter’s library.
Selecting the right materials is the first step toward a successful Mayflower Quilt Block – Pattern. High-quality 100% cotton fabric is the industry standard, providing the stability needed for the numerous seams involved. Look for fabrics with a tight weave to ensure your quilt lasts for decades without fraying or losing its shape.
To make your Mayflower Quilt Block – Pattern stand out, focus on color value and contrast. Using a dark background with light “sails” creates a dramatic effect that highlights the ship’s silhouette. Quilting experts often recommend using a rotating cutting mat to make the frequent angular cuts easier and more precise during the construction phase.
Essential tools for the Mayflower Quilt Block – Pattern include a sharp rotary cutter, an acrylic ruler, and a reliable sewing machine. A 1/4-inch presser foot is highly recommended to maintain a consistent seam allowance, which is critical for making sure all the pieces of the block align perfectly at the end.
Don’t forget the importance of fabric starching when working on the Mayflower Quilt Block – Pattern. Since this design involves many diagonal cuts, the fabric can easily become distorted. Applying a bit of starch before cutting helps the cotton stay crisp, making it much easier to achieve those perfect points that every quilter dreams of.
When picking your thread, choose a neutral color like grey or tan that blends well with all your fabrics. A high-quality 50wt cotton thread is ideal for the Mayflower Quilt Block – Pattern because it is strong yet thin enough to prevent bulk in the seams. This ensures that your quilt top stays flat and is easy to quilt later on.
Finally, consider the batting and backing you will use once your Mayflower Quilt Block – Pattern units are joined. A cotton or wool blend batting provides a nice loft that can accentuate the piecing of the block. Planning these details early in the process will lead to a more cohesive and professional-looking finished quilt.
The assembly of the Mayflower Quilt Block – Pattern begins with precise cutting of your fabric squares and triangles. Most versions of this pattern require a combination of squares, Half-Square Triangles (HSTs), and sometimes quarter-square triangles. Precision at this stage is the foundation for a flat and square quilt block.
Once your pieces are cut, you will start by sewing the smaller units of the Mayflower Quilt Block – Pattern. This usually involves pairing two triangles together to create the HST units. Always remember to sew with “right sides together” and press your seams toward the darker fabric to prevent “shadowing” on the front of your quilt.
After the units are sewn, it is vital to square up each piece of the Mayflower Quilt Block – Pattern. Use a square ruler to trim away any excess fabric, ensuring every sub-unit is the exact size required. This extra step prevents the “accordion effect” where the block becomes skewed as you add more rows.
The next phase is laying out your pieces to form the Mayflower Quilt Block – Pattern visual. Arrange them on a design wall or a flat table to check the orientation of the “sails.” It is very easy to flip a triangle accidentally, so take a moment to verify the layout against your pattern instructions before you start sewing the rows together.
Sew the pieces into horizontal rows first, then join the rows to complete the Mayflower Quilt Block – Pattern. Pinning at every intersection is a “must” here to ensure the corners meet perfectly. Use flat head pins to avoid distorting the fabric as it passes under the sewing machine needle, resulting in a crisp finish.
The final step in constructing your Mayflower Quilt Block – Pattern is the final press. Set your seams by pressing with a hot iron (no steam) first, then open the fabric and press again. A well-pressed quilt block is much easier to incorporate into a larger quilt top and makes the longarm quilting process much smoother later on.
To take your Mayflower Quilt Block – Pattern to the next level, consider using the “fussy cutting” technique. This involves centering a specific motif from your fabric—like a small flower or a nautical symbol—inside the center square of the block. This adds a layer of detail and personalization that makes your handcrafted quilt unique.
Another advanced tip for the Mayflower Quilt Block – Pattern is to use chain piecing. This method involves sewing multiple units one after another without cutting the thread in between. It saves time and thread, and it helps you maintain a rhythmic stitching speed, which often leads to more consistent seam allowances.
If you find that your points are getting cut off in the Mayflower Quilt Block – Pattern, try sewing a “scant” 1/4-inch seam. This means sewing just a thread’s width narrower than a full quarter inch. This tiny bit of extra space accounts for the fold of the fabric when you press the seam open, keeping your triangle points perfectly intact.
For those who enjoy digital tools, using quilt design software to preview your Mayflower Quilt Block – Pattern can be a game changer. You can upload photos of your actual fabric stash to see how the colors will interact before you make a single cut. This reduces fabric waste and gives you the confidence to try bold color combinations.
If you are making a large number of these blocks, consider die-cutting machines to speed up the process. Many companies offer dies specifically for the shapes used in the Mayflower Quilt Block – Pattern. This ensures every single piece is identical, which is particularly helpful for precision quilting projects where accuracy is paramount.
Lastly, don’t be afraid to experiment with the scale of the Mayflower Quilt Block – Pattern. While a 12-inch block is standard, making a “mini” version for a pincushion or a “jumbo” version for a baby quilt can be a fun challenge. No matter the size, the Mayflower Quilt Block – Pattern remains a classic design that celebrates the artistry of sewing.
1. Is the Mayflower Quilt Block – Pattern suitable for beginners?
Yes, while it looks complex, it primarily uses Half-Square Triangles. If a beginner takes their time with accurate cutting and pinning, they can successfully complete this pattern.
2. What is the best size for a Mayflower Quilt Block – Pattern?
The most common size is 12 inches, as it allows for easy math and fits well into standard quilt layouts. However, it can be scaled up or down depending on the quilter’s preference.
3. How much fabric do I need for one Mayflower Quilt Block – Pattern?
Generally, you will need about 1/4 yard of a background fabric and scraps or fat quarters for the ship and sails. It is a great scrap-buster project.
4. Can I use the Mayflower Quilt Block – Pattern for a modern quilt?
Absolutely! By using solid fabrics, monochromatic palettes, or negative space, the Mayflower Quilt Block – Pattern transforms into a very modern, geometric piece of art.
5. Why are my corners not lining up in the Mayflower Quilt Block – Pattern?
This is usually due to an inconsistent seam allowance. Ensure you are using a true 1/4-inch seam and that you have “squared up” your HST units before final assembly.
6. Is the Mayflower Quilt Block – Pattern the same as a Ship block?
They are very similar! The Mayflower version specifically refers to the historical arrangement meant to mimic the 1620 vessel, though many “ship” patterns share the same construction DNA.
In this article, we have explored the rich history, essential tools, and detailed construction steps for the Mayflower Quilt Block – Pattern. We’ve covered everything from selecting the best cotton fabrics to advanced techniques like fussy cutting and chain piecing.
By following these guidelines, you can create a beautiful, historically-inspired quilt that showcases your skills and passion for the craft. The Mayflower Quilt Block – Pattern is more than just a design; it’s a bridge between the past and the present of American quilting.


