Crocheting an Amigurumi Lion is a fun and rewarding project that can be enjoyed by crocheters of all skill levels.
Whether you’re creating a playful lion for a child’s toy collection or a majestic lion as part of your personal amigurumi collection, this little lion is sure to be a hit.
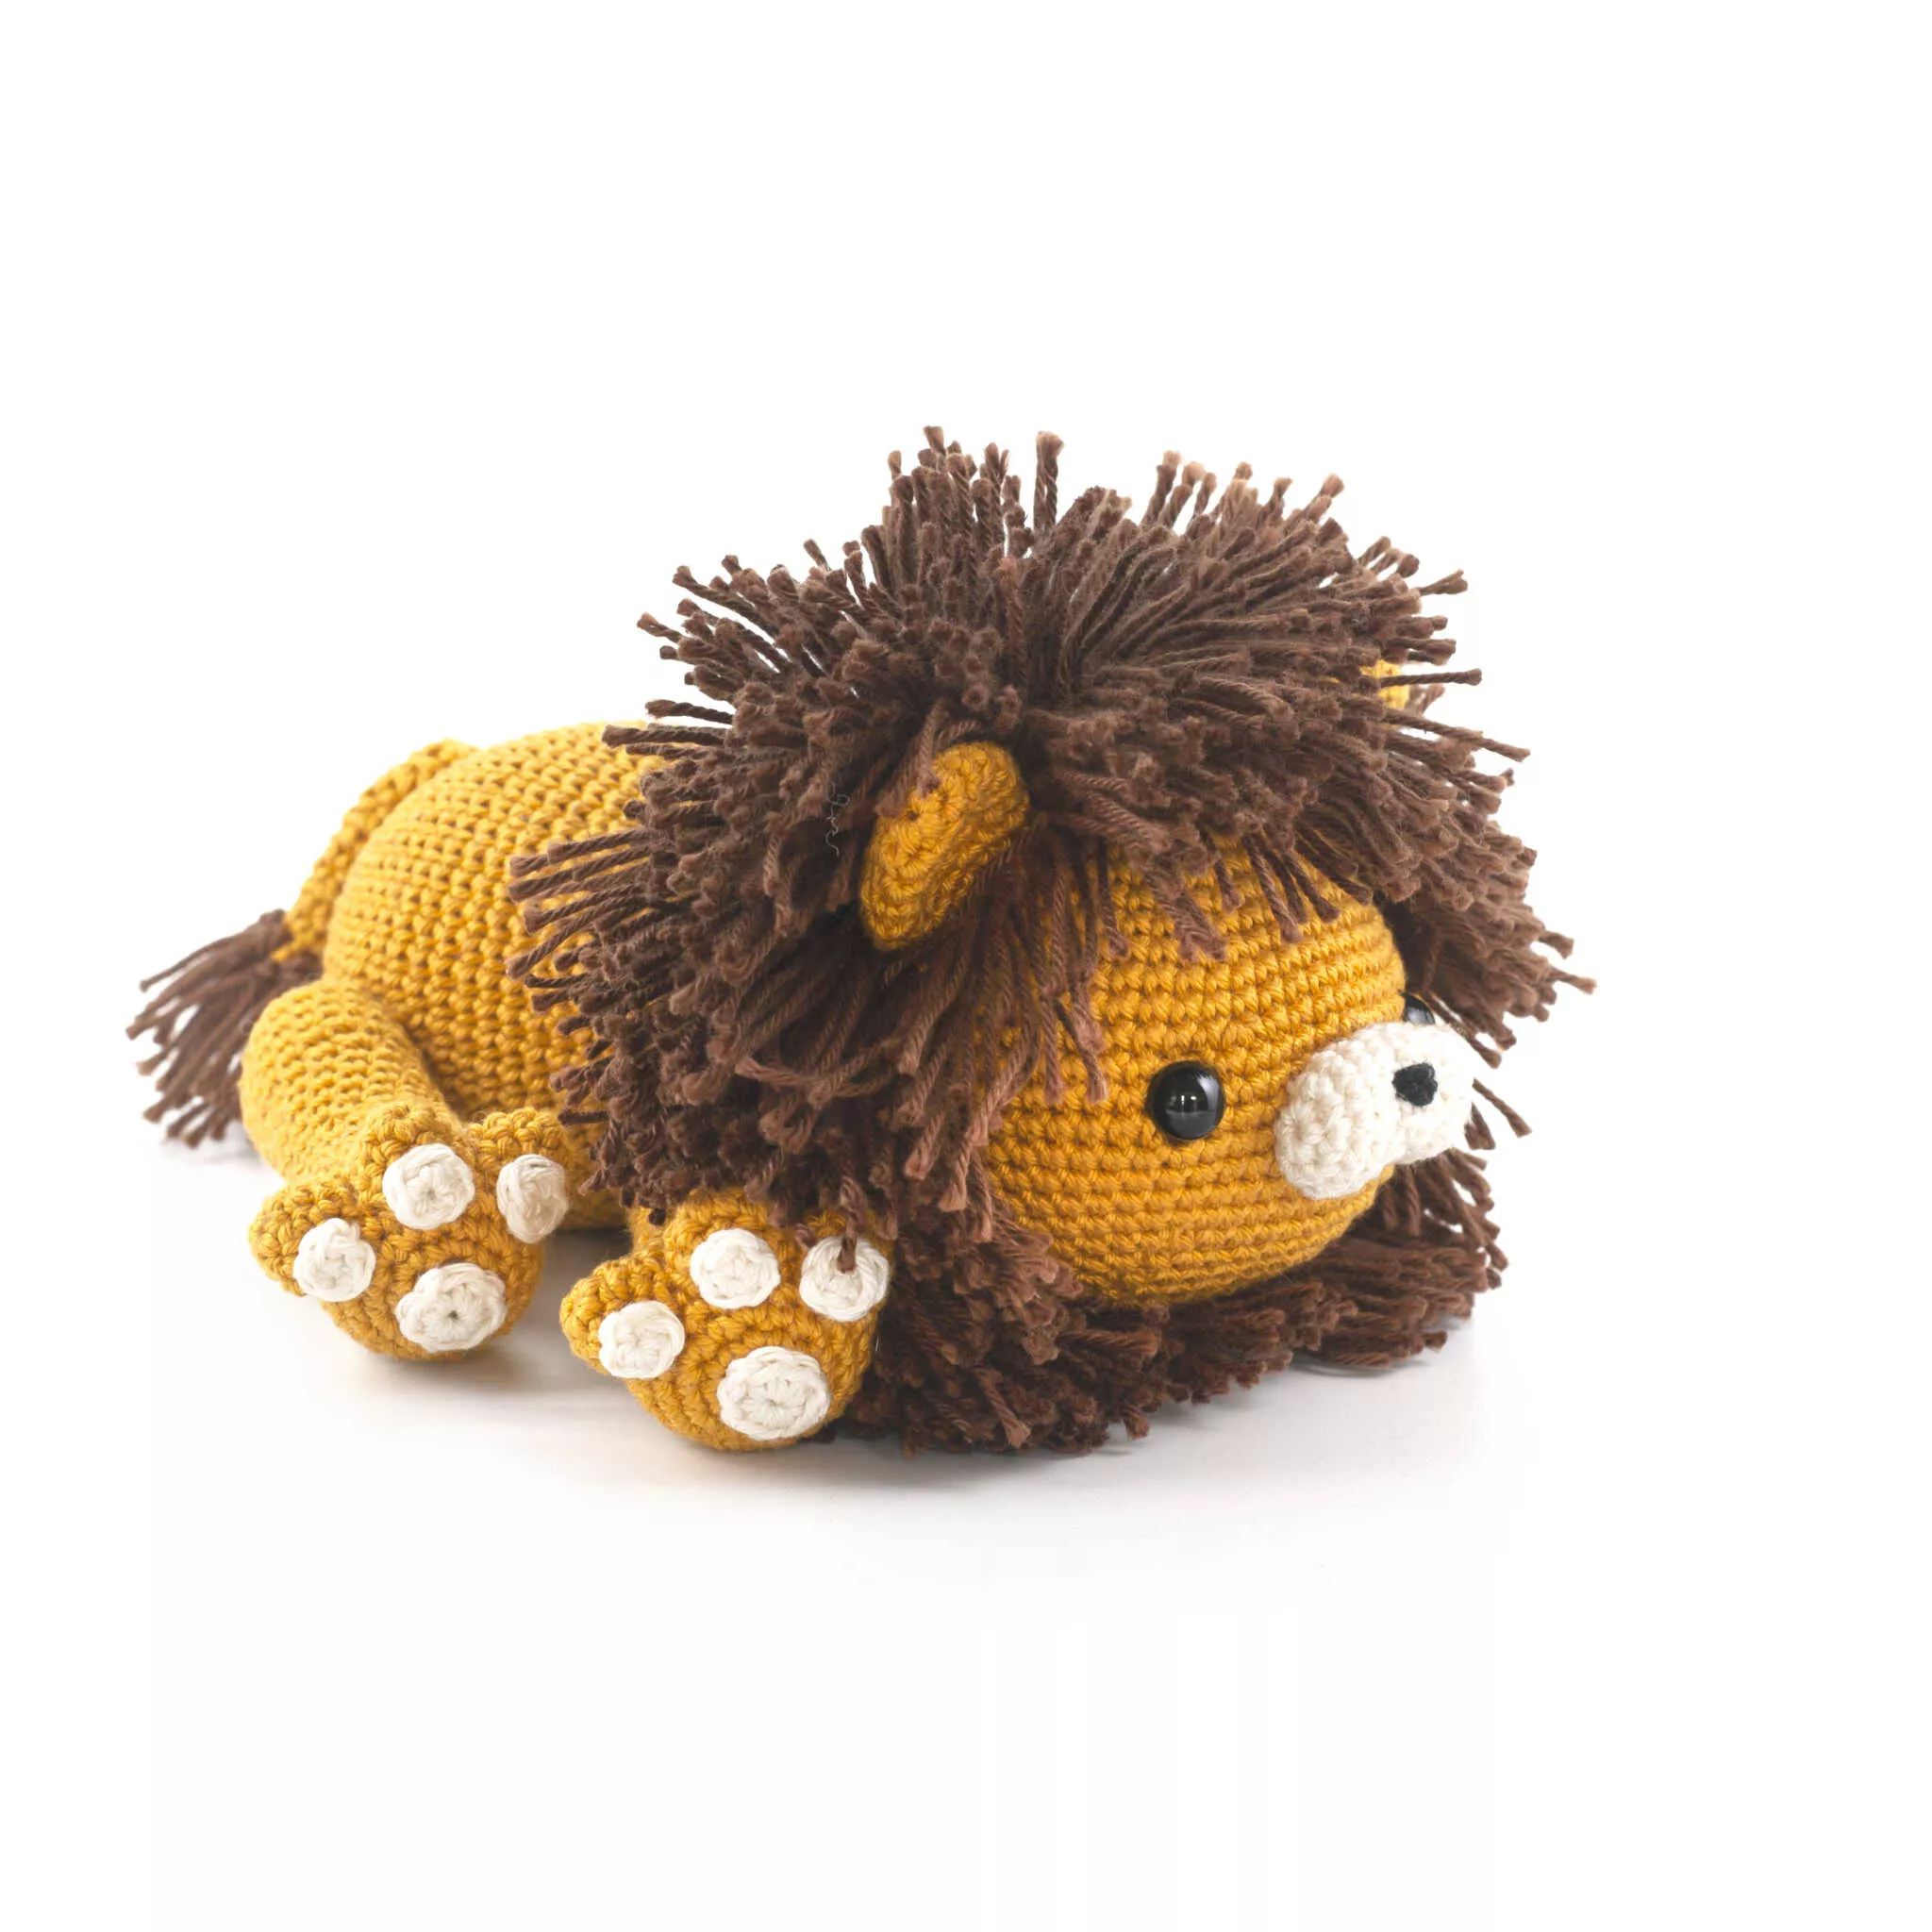
With its fluffy mane, cute face, and adorable paws, this crochet lion is bound to capture the hearts of anyone who lays eyes on it.
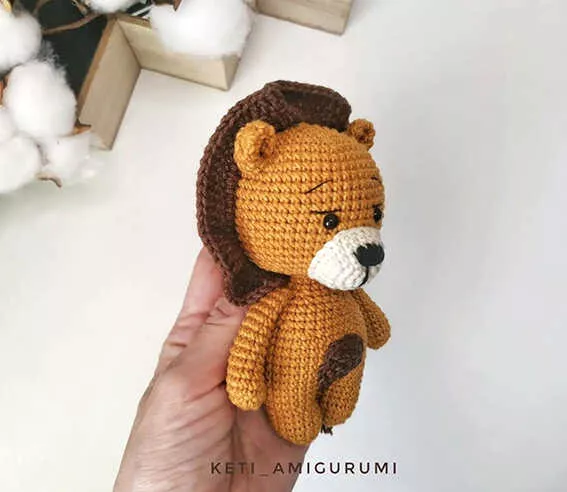
Image From Pinterest
In this guide, we’ll walk you through all the steps to create your very own Amigurumi Lion Crochet. From gathering the materials to attaching the final pieces, this detailed pattern will give you everything you need to create a lion that’s as unique as you are!
OTHER CROCHET PATTERNS HERE!
Let’s get started with creating this regal yet cute lion.
1. Materials Needed
Before we begin the actual crochet process, it’s important to gather all the necessary materials for the Amigurumi Lion project. Having everything ready will ensure that your crocheting experience goes smoothly. Here’s what you’ll need:
- Yarn: Choose medium-weight yarn (worsted weight) in colors such as yellow, orange, and brown for the lion’s body and mane. For the face details, a little bit of black yarn or embroidery thread will be perfect for the eyes, nose, and mouth.
- Crochet Hook: A 3.5mm to 4mm crochet hook is perfect for this project. It helps create tight stitches, which are important when crocheting amigurumi.
- Safety Eyes: Safety eyes around 10mm in size will work well for this lion’s face. They’ll give the lion a cute and expressive look.
- Polyester Fiberfill: This soft stuffing will help shape the lion and give it a plush, cuddly feel.
- Yarn Needle: You’ll need a yarn needle to sew the pieces of the lion together and weave in any loose yarn ends.
- Scissors: A sharp pair of scissors is essential for cutting the yarn and trimming any excess threads.
- Stitch Marker: A stitch marker is useful for keeping track of your rounds, especially when crocheting in a spiral.
- Thread for Embroidery: Use embroidery thread to add small facial details, such as the lion’s mouth or nose.
Once you have all your materials, you are ready to start crocheting your lion!
2. Basic Crochet Techniques
Before jumping into the pattern, it’s important to understand the basic crochet techniques that will be used throughout this project. These techniques are essential for creating the structure of your Amigurumi Lion Crochet.
- Magic Ring: The magic ring is a technique that allows you to crochet in the round without leaving a hole in the center. This technique is used for starting most amigurumi projects. To make a magic ring, wrap the yarn around your fingers, insert your hook, and crochet into the loop.
- Single Crochet (SC): Single crochet is the basic stitch used in amigurumi. It creates tight, dense fabric, which helps your pieces hold their shape. To make a single crochet, insert your hook into the stitch, yarn over, and pull through both loops on your hook.
- Increase and Decrease: In amigurumi, increases and decreases are used to shape the pieces. To increase, you crochet two single crochets into the same stitch. To decrease, you crochet two single crochets together to reduce the stitch count.
- Working in a Spiral: Most amigurumi projects are worked in a spiral, meaning that you don’t join each round with a slip stitch. Use a stitch marker to mark the beginning of each new round.
- Attaching Pieces: After crocheting all the individual parts of the lion, you’ll need to sew them together. Use a yarn needle to attach the head, body, arms, and legs securely.
Now that you know the basics, let’s dive into the pattern!
3. Step-by-Step Instructions
Here is the step-by-step guide to create your Amigurumi Lion Crochet. We’ll start with the head, move to the body, and then add the mane, ears, and other details.
Head:
- Start with a magic ring, and crochet 6 single crochets into the ring. (6)
- Increase in each stitch around, making 12 single crochets. (12)
- Work one single crochet in the next stitch, then increase in the next stitch. Repeat around. (18)
- Work one single crochet in the next two stitches, then increase in the next stitch. Repeat around. (24)
- Work one single crochet in the next three stitches, then increase in the next stitch. Repeat around. (30)
- Continue working evenly (without increasing or decreasing) until the head is the desired size.
- Stuff the head lightly with polyester fiberfill.
- Begin decreasing by crocheting one single crochet in the next three stitches, then crocheting two stitches together. Repeat around.
- Stuff the head more as you go along to maintain its shape.
- Continue decreasing until the hole is closed, and then finish off. Leave a long tail to attach the head to the body later.
Body:
- Start with a magic ring, and crochet 6 single crochets into the ring. (6)
- Increase in each stitch around to make 12 single crochets. (12)
- Work one single crochet in the next stitch, then increase in the next stitch. Repeat around. (18)
- Continue working evenly until the body reaches the desired size.
- Begin decreasing as you approach the bottom of the body.
- Stuff the body lightly with fiberfill.
- Attach the head securely to the body.
Mane:
- Using a contrasting color, cut several pieces of yarn (about 3-4 inches long) to form the mane.
- Attach the yarn to the head by crocheting individual strands around the entire head.
- Layer the strands to make the mane thicker and more dramatic. You can mix different colors of yarn to add texture to the mane, making it even more realistic and vibrant.
- Alternatively, you can create a full circle of yarn along the top of the head using longer pieces to give the lion a fuller mane.
Ears (Make 2):
- Ch 5.
- Turn, and crochet one single crochet in each chain.
- In the next row, increase in the first and last stitch, and work one single crochet in the middle stitches.
- Continue working until the ear is the desired size.
- Stuff the ears lightly with fiberfill.
- Attach the ears to the top sides of the head, placing them symmetrically.
Legs (Make 4):
- Start with a magic ring, and crochet 6 single crochets into the ring. (6)
- Increase in each stitch around to make 12 single crochets. (12)
- Work evenly for a few rows to form the legs.
- Stuff the legs lightly with fiberfill.
- Attach the legs to the bottom of the body.
Tail:
- Ch 10, and crochet single crochets along the chain.
- Continue crocheting evenly until the tail is the desired length.
- Stuff the tail lightly and attach it to the back of the lion’s body.
Nose and Mouth:
- To make the nose, you can crochet a small triangle or use felt and sew it onto the face.
- Use embroidery thread to embroider the mouth and any other facial features, such as whiskers or a smile.
4. Customization Tips
Here are a few ideas for customizing your Amigurumi Lion to give it your personal touch:
- Change the Mane Color: You can create a more colorful lion by using different colors for the mane. A rainbow-colored mane can give the lion a magical, playful look.
- Add Clothing: You could crochet a small scarf, vest, or even a crown for the lion to give it a unique personality. This would also make a great gift for someone!
- Different Eye Styles: Instead of using safety eyes, you could embroider eyes onto your lion or use felt to create different eye shapes.
- Add a Crown: You can crochet a tiny crown or crown-like shape for the lion’s head to make it look like a royal lion, perfect for a gift or a decoration.
- Create a Lion Family: If you want to make your lion amigurumi collection even larger, try creating a family of lions in different colors and sizes. You can make lion cubs, adults, and even a lioness!
FAQ
1. Can I make the lion bigger or smaller? Yes! Adjust the yarn thickness and hook size to make a larger or smaller lion. You can also increase or decrease the number of rounds to change the lion’s size.
2. How do I make the lion’s mane stand up? If you want the mane to stand up, you can use stiffer yarn or crochet the mane in layers. You can also use fabric stiffener or wire inside the mane for more volume and structure.
3. How do I attach the pieces securely? Use a yarn needle to sew the pieces together, ensuring they’re securely stitched. Attach the head to the body and the limbs evenly to create a balanced lion.
4. How can I make the lion’s face more expressive? Play around with the size and positioning of the safety eyes. You can also experiment with the embroidery of the mouth or add small eyebrows or cheeks for extra expression.
5. Can I crochet the lion in different colors? Absolutely! You can create a variety of lion colors, from traditional yellow to any color combination that inspires you. Personalize your lion to fit any theme!
PATTERN HERE
Conclusion
Now you have your very own Amigurumi Lion Crochet! Whether you’ve made it as a cute toy or a decorative piece, this lion is bound to bring joy to anyone who sees it. With endless options for customization, you can add your unique style and creativity to make this lion even more special. Happy crocheting, and feel free to share your finished creation with us! Let us know how it turned out and share any suggestions or tips in the comments below!

