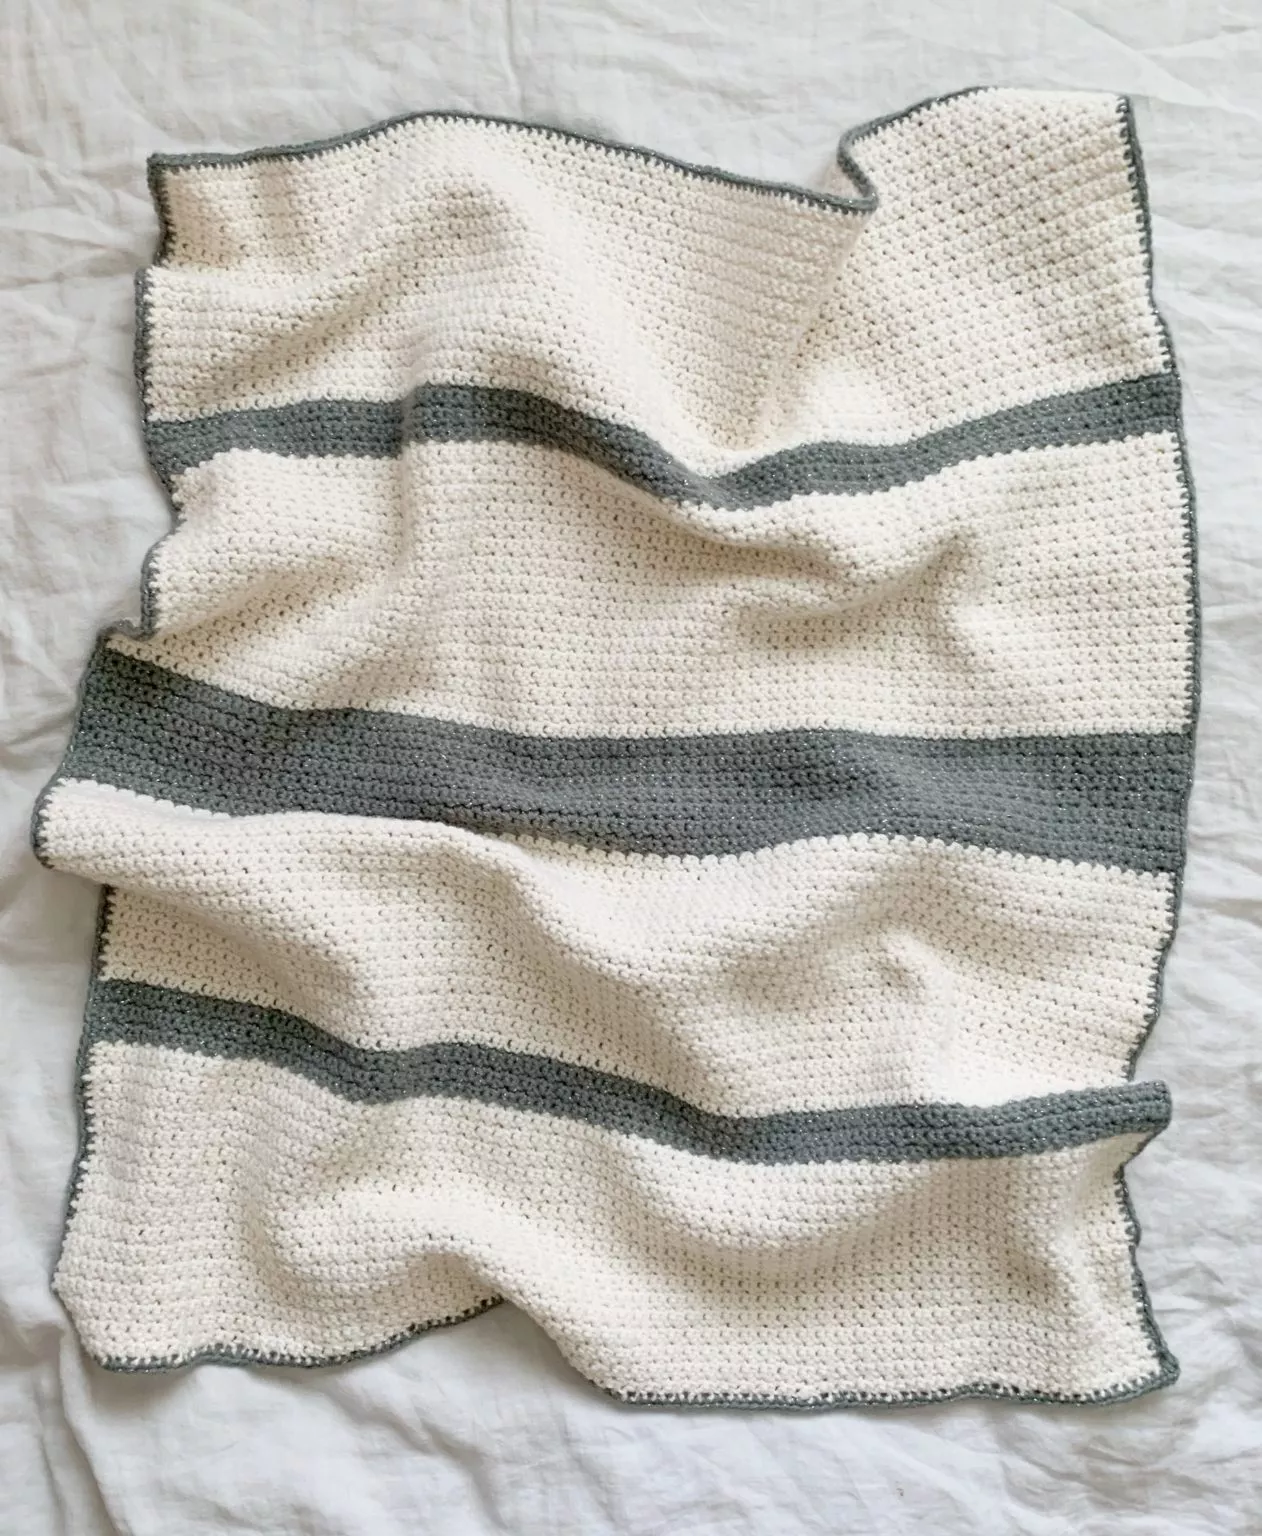
The Crochet Back Loop Simple Ripple Baby Blanket is an ideal project for those who love to create cozy, soft, and stylish blankets for babies.
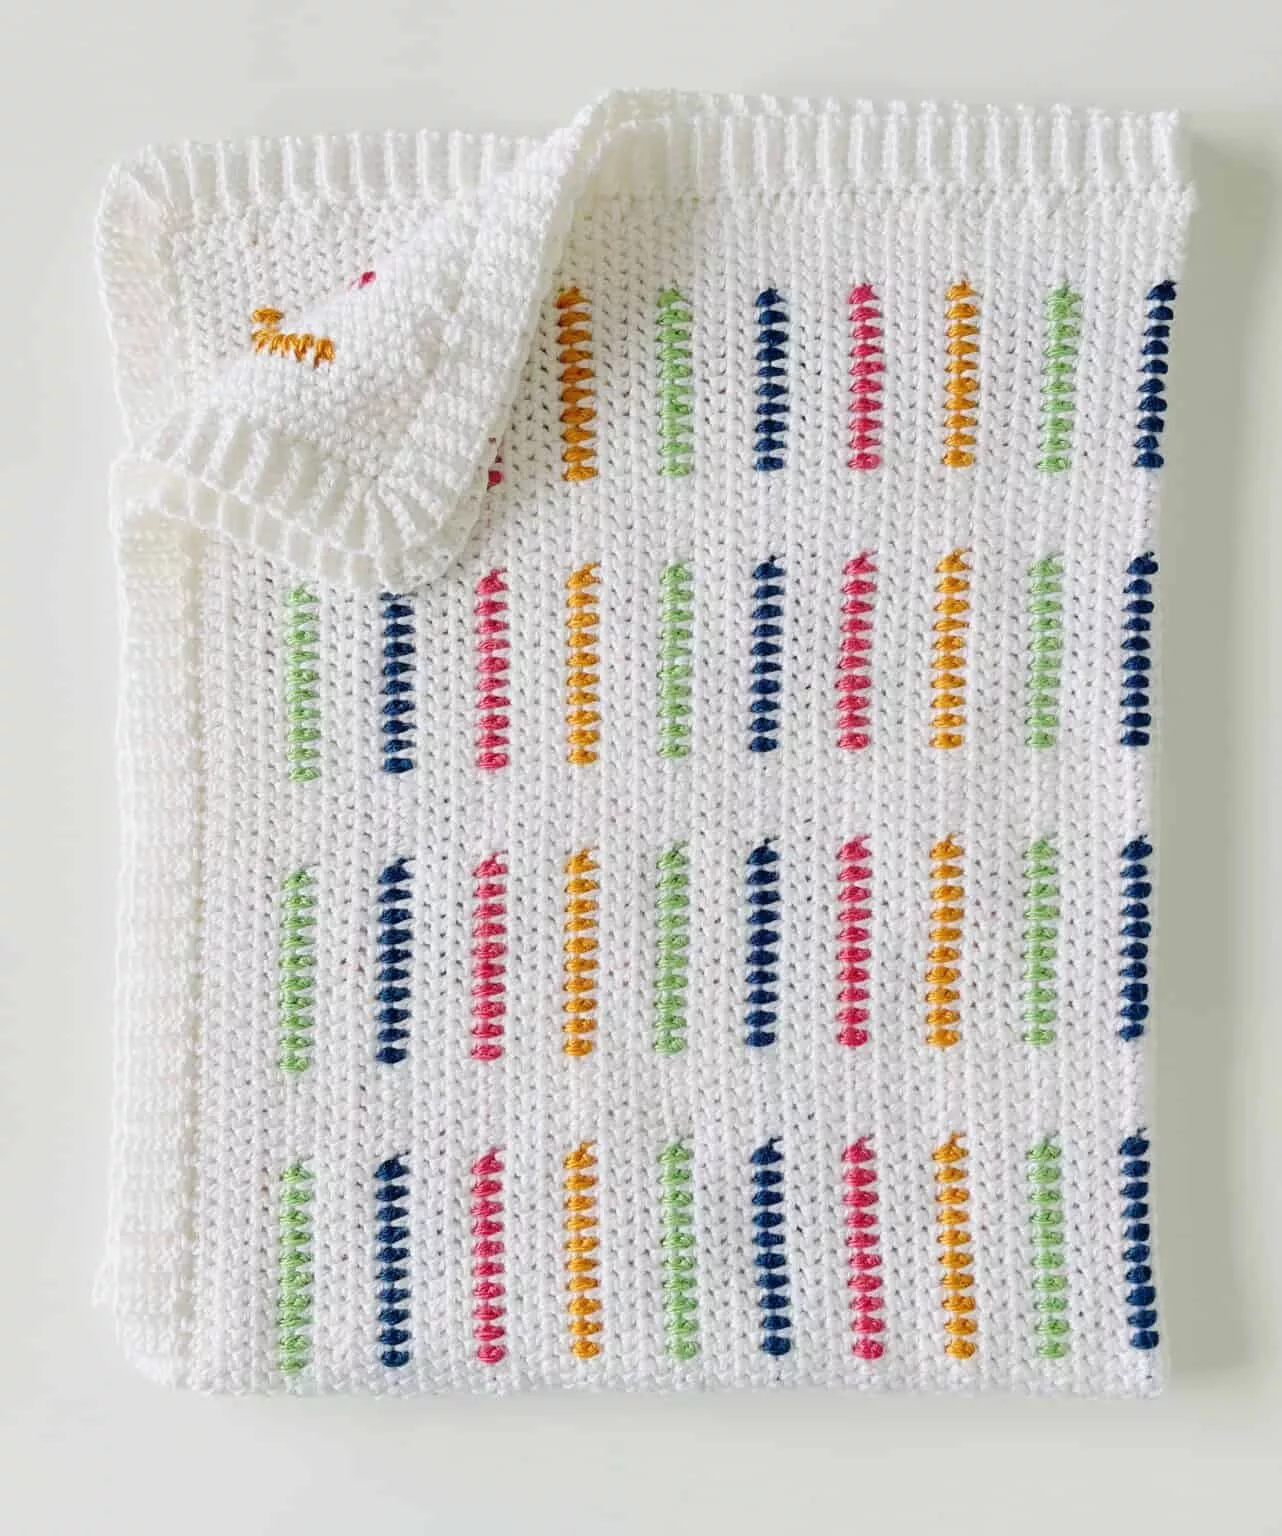
This pattern incorporates the classic ripple design but with a twist—it’s worked in the back loop only, which gives the blanket a subtle texture and a unique, elevated look.
The back loop simple ripple stitch creates a beautiful undulating pattern that is perfect for a baby’s blanket.
In this guide, we’ll walk you through the steps to crochet your own gorgeous ripple blanket using this simple yet effective technique.

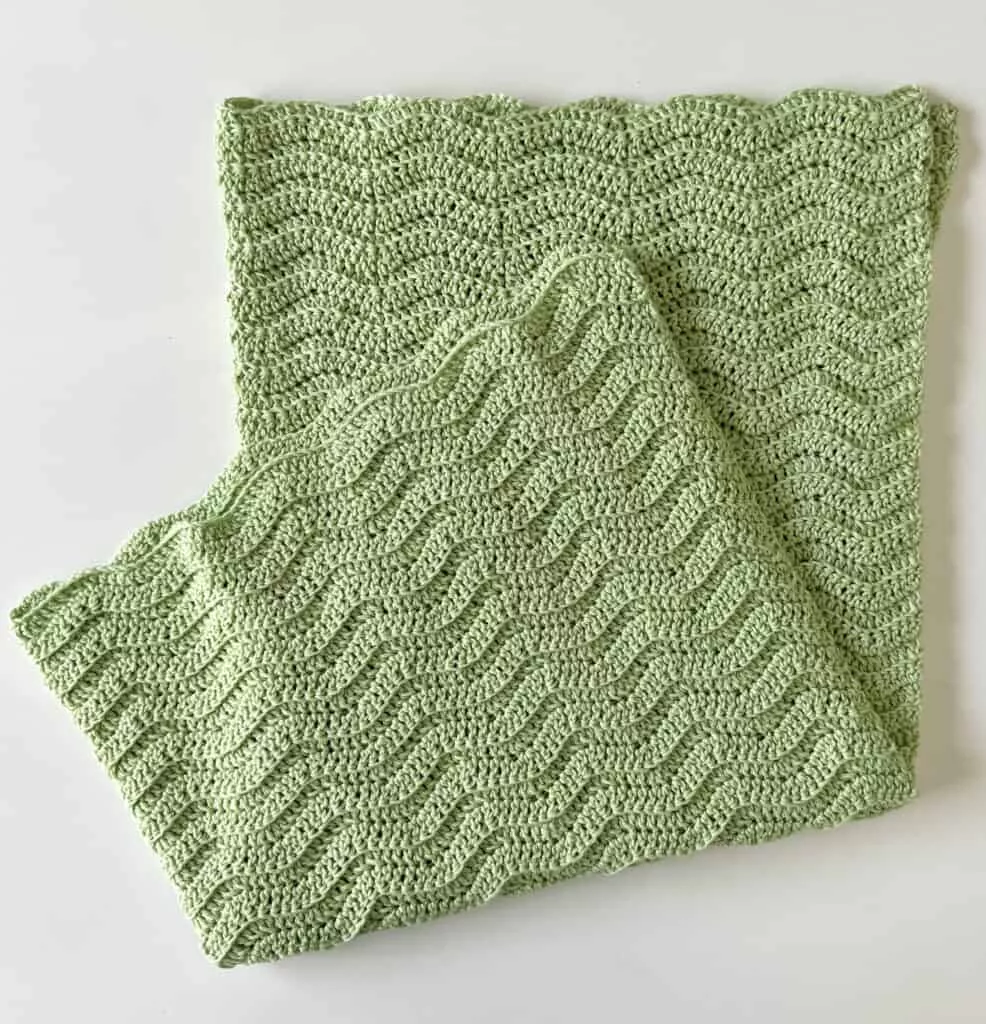
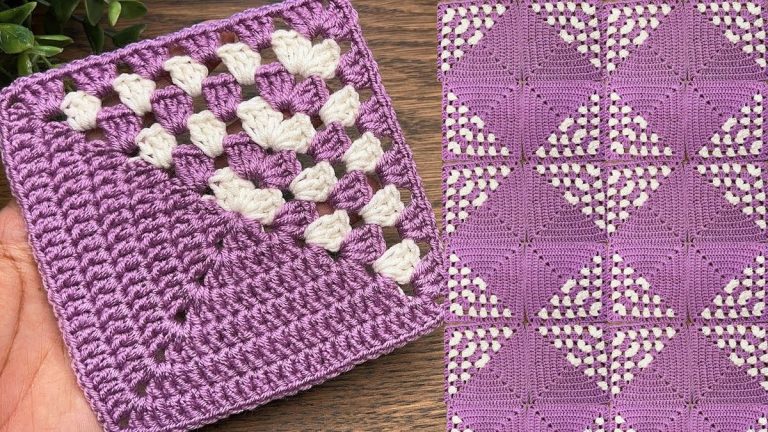
Image From Pinterest
When it comes to crocheting for babies, the softness of the yarn and the safety of the pattern are paramount. This back loop simple ripple baby blanket offers both comfort and style, making it the perfect gift for any new parent. The gentle waves of the ripple stitch are visually appealing, while the back loop technique provides texture without being too overwhelming. Whether you’re new to crochet or a seasoned crocheter, this project is both beginner-friendly and a satisfying experience.
OTHER CROCHET PATTERNS HERE!
Let’s get started and learn how to crochet the Back Loop Simple Ripple Baby Blanket that will become a cherished item for any baby!
1. Materials for the Crochet Back Loop Simple Ripple Baby Blanket
Before starting any crochet project, it’s important to gather all the necessary materials. For the back loop simple ripple baby blanket, here are the essential items you will need:
- Yarn: Choose a soft, baby-friendly yarn that is gentle on sensitive skin. Acrylic yarn is a popular choice for baby blankets as it is both soft and easy to care for. You may also consider cotton blends for a more breathable option. For a standard-sized baby blanket, worsted weight yarn (category 4) is ideal. You can choose one solid color or use a combination of colors to create a multi-colored ripple effect.
- Crochet Hook: A 5.0mm (H-8) crochet hook is recommended for worsted weight yarn. However, if you decide to use a different weight of yarn, you can adjust your hook size accordingly.
- Scissors: A good pair of scissors will be necessary to cut your yarn once your blanket is completed.
- Yarn Needle: A yarn needle is used to weave in the loose ends of the yarn once the blanket is finished.
- Measuring Tape: This will be helpful to ensure that your blanket is the desired size, especially if you want a specific length or width.
- Stitch Markers: These are useful to mark your first stitch or to keep track of the beginning of each row, especially if you’re changing colors for the ripples.
With all your materials prepared, you’re ready to begin crocheting your back loop simple ripple baby blanket!
2. Understanding the Back Loop Ripple Stitch
To crochet the back loop simple ripple baby blanket, it’s important to first understand the unique feature of the back loop technique. This method involves crocheting into the back loop of the stitches rather than both loops, which creates a textured fabric. The result is a soft, ribbed texture that adds an interesting effect to the classic ripple stitch pattern. Here’s how the technique works:
- Back Loop Only: Instead of inserting your hook under both loops of the stitch as you typically would, you insert it into the back loop only. This creates a slight ridge on the front side of the work, giving the fabric a more structured look.
- Ripple Effect: The ripple pattern is made up of a series of increases and decreases. The back loop only technique enhances this pattern by creating defined ridges that accentuate the undulating waves of the ripple design. As you crochet, the blanket will grow in a beautiful wave-like motion, with each ripple formed by alternating increases and decreases of double crochet stitches.
By using the back loop stitch, you add texture and depth to your blanket without overwhelming the eye. This technique is perfect for baby blankets, as it ensures softness and visual interest while maintaining a gentle feel against the skin.
3. Step-by-Step Instructions for the Crochet Back Loop Simple Ripple Baby Blanket
Now that you understand the back loop ripple stitch, it’s time to get started with the project. Here’s how to crochet your back loop simple ripple baby blanket:
- Foundation Chain: Start by chaining a multiple of 14 plus 3 additional stitches. This foundation chain determines the width of your blanket, so feel free to adjust the number of chains to achieve your desired size.
- Row 1: In the 4th chain from the hook, work a double crochet stitch (DC). Then, work a double crochet in the next 4 stitches. In the next stitch, work 3 double crochet stitches in the same stitch (this is the increase). Continue working 5 double crochet stitches in each stitch, with a 3 double crochet increase in every other stitch, until you reach the end of the row.
- Row 2: For the second row, turn your work and chain 3. Now, work a double crochet stitch in the back loop only of the first stitch. Continue working in the back loop only for the entire row, alternating between working 5 double crochet stitches and 3 double crochet increases in the appropriate spots to maintain the ripple pattern.
- Repeat: Continue repeating Row 2 until the blanket has reached your desired length. As you progress, the ripple pattern will become more defined, and the back loop technique will add texture to the fabric. If you want to change colors for the ripples, you can do so by switching yarn at the beginning of a row and cutting the yarn at the end of the previous row.
- Finishing: Once your blanket has reached the appropriate size, you can add a simple border if you wish. A single crochet border along the edges will give the blanket a clean and finished look.
4. Tips for Making the Perfect Back Loop Simple Ripple Baby Blanket
To help ensure that your back loop simple ripple baby blanket turns out just as you envision, here are some helpful tips:
- Consistency is Key: Make sure your tension is consistent throughout the project. Crocheting too tightly or too loosely can affect the texture of the ripple and the overall appearance of the blanket.
- Count Your Stitches: Keep an eye on your stitch count to ensure that the ripple pattern remains consistent. If you find that the pattern is not forming correctly, count the stitches in each section to make sure you’re increasing and decreasing at the right points.
- Choose Soft Yarn: Since this is a baby blanket, it’s important to use soft, non-irritating yarn. Acrylic yarn, cotton blends, or bamboo yarn are excellent choices for baby blankets.
- Color Combinations: Feel free to play around with color combinations to make your blanket as vibrant or subtle as you like. You can create alternating stripes for the ripples or stick to one solid color for a more uniform look.
- Use a Larger Hook for Looser Stitches: If you want a looser, more open look, you can try using a slightly larger hook than the one recommended for your yarn.
- Finishing Touches: After completing your blanket, don’t forget to weave in all the loose ends and finish any color changes neatly. A good finishing technique ensures that your blanket looks polished and professional.
FAQ
1. How can I make the blanket larger or smaller?
To make the blanket larger, simply increase the number of foundation chains you begin with. To make it smaller, decrease the foundation chain length. You can also add or remove rows to adjust the size.
2. Can I use a different stitch for the ripple pattern?
Yes! While the back loop double crochet stitch is ideal for texture, you can experiment with other stitches, such as half double crochet, if you prefer a different texture.
3. Is this pattern suitable for beginners?
Yes! This pattern is beginner-friendly, especially if you’re familiar with basic crochet stitches like chain, double crochet, and turning your work. The back loop technique may take a little practice, but it’s a simple adjustment to the standard double crochet stitch.
4. What yarn should I use for a baby blanket?
For baby blankets, it’s important to use soft, non-irritating yarns. Acrylic, cotton blends, and bamboo yarns are all great choices for baby blankets.
5. How can I change colors in the ripple pattern?
To change colors, finish the last double crochet in the old color and pull through the new color. Make sure to weave in the loose ends to keep your blanket neat.
6. How long will it take to finish the baby blanket?
The time it takes to complete your blanket depends on its size and your crochet speed. Generally, a baby blanket can be completed in a few days to a week.
PATTERN HERE
Conclusion
The Crochet Back Loop Simple Ripple Baby Blanket is a beautiful, practical, and fun project that yields a gorgeous textured baby blanket. With the combination of the ripple design and the back loop technique, you’ll create a cozy, soft blanket that is both visually striking and gentle on a baby’s skin. Whether you’re crocheting for a baby shower gift or making something special for your own little one, this blanket is sure to be loved and appreciated.
We hope this guide helps you get started with your blanket. If you have any questions or feedback, we’d love to hear from you in the comments below. Don’t forget to share your finished creations, and feel free to share your personal tips and tricks! Happy crocheting!