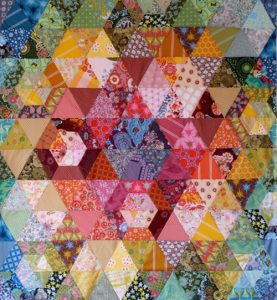
If you’re looking for a beautiful and versatile crochet project, the Crochet Front Loop Chevron Blanket – Pattern is a great choice.
This stunning design incorporates the classic chevron stitch, but with a twist—by focusing on crocheting through the front loop, the pattern creates a subtle texture and a unique, elevated effect.
Whether you’re a beginner or an experienced crocheter, this pattern will provide you with an engaging and satisfying project.

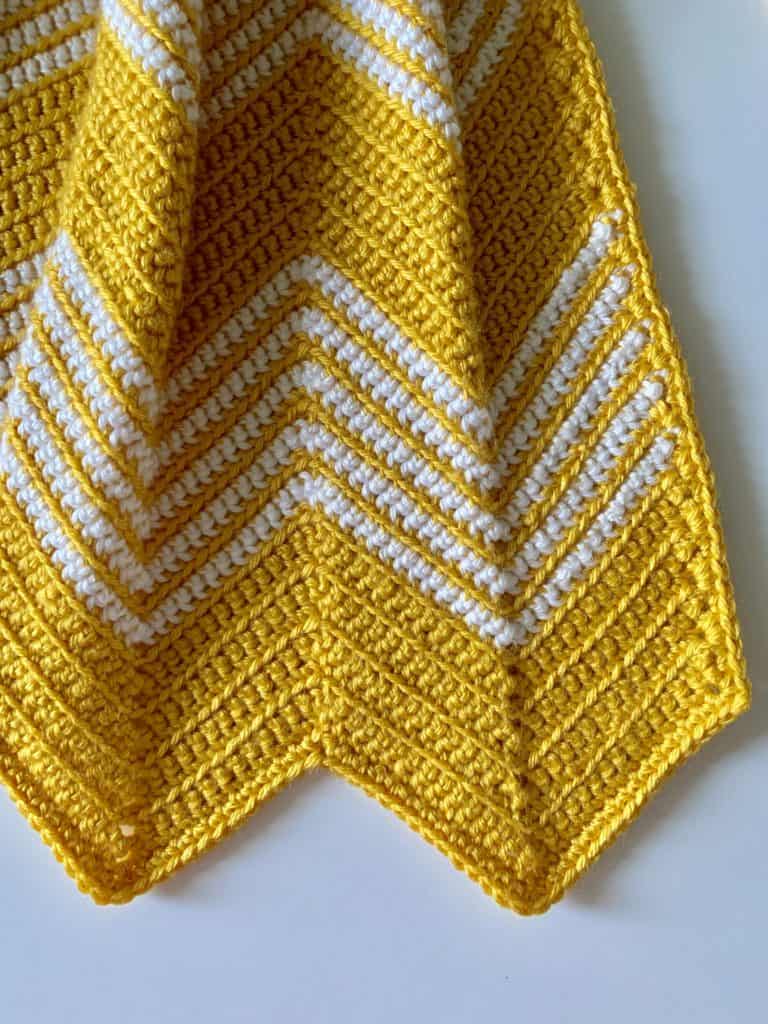
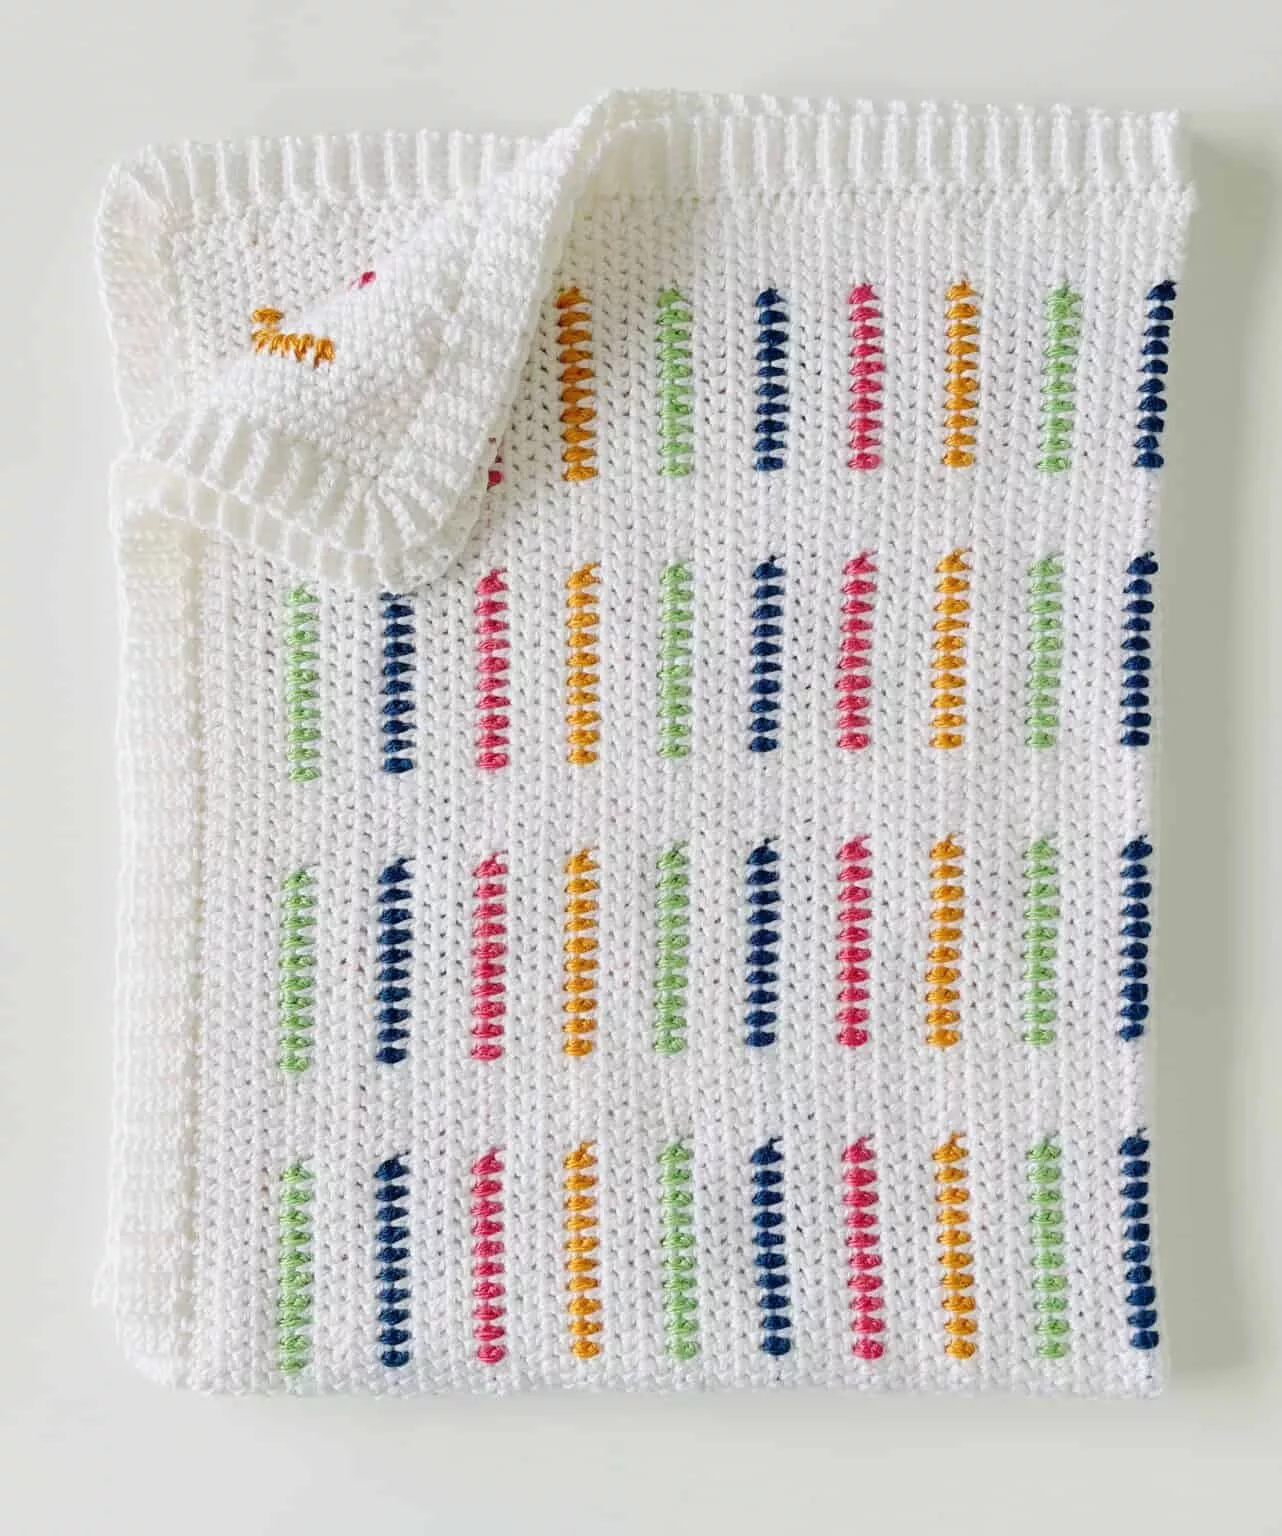
Image From Pinterest
The crochet front loop chevron blanket pattern is ideal for those who enjoy working with bold, geometric designs. The chevron pattern itself is a timeless classic, offering a rhythmic, zigzag effect that adds both visual interest and dimension to the blanket. By focusing on the front loop in your crochet stitches, the design becomes even more distinctive and structured.
OTHER CROCHET PATTERNS HERE!
In this article, we will guide you through the process of creating a crochet front loop chevron blanket. From selecting the right materials to learning the key stitch techniques, we’ll ensure you have all the information you need to successfully complete this project. So grab your yarn and hook, and let’s dive into the world of chevron crochet!
1. Materials Needed for the Crochet Front Loop Chevron Blanket
Before you start crocheting your beautiful front loop chevron blanket, you’ll need to gather some essential materials. Here’s what you’ll need to get started:
- Yarn: Choose a yarn that is soft, durable, and suitable for blankets. For this project, worsted weight yarn (medium weight) is a great option. Cotton yarn or acrylic yarn works well, but feel free to experiment with your preferred fiber.
- Crochet Hook: A size H-8 (5.0 mm) crochet hook is ideal for worsted weight yarn. However, you can adjust the hook size depending on your personal tension and the texture you want to achieve.
- Scissors: A pair of scissors is necessary for cutting the yarn when you finish a color section or need to weave in ends.
- Yarn Needle: A yarn needle will help you weave in the loose yarn ends once your project is complete, ensuring a clean and tidy finish.
- Stitch Markers: Stitch markers can be helpful for marking the beginning of your rows, especially when working with a repetitive pattern like chevrons.
- Measuring Tape: You might want to measure your blanket periodically to ensure you’re keeping the right size.
Once you have your materials ready, you’re all set to begin your crochet front loop chevron blanket pattern!
2. Understanding the Chevron Pattern and Front Loop Technique
The chevron pattern is a well-known crochet design that features a series of peaks and valleys, creating a zigzag shape. It’s a fun and rhythmic pattern that adds texture and dimension to your work. The key to the crochet front loop chevron blanket pattern lies in the way you handle your stitches. Normally, when crocheting, you work through both loops of each stitch. However, in this pattern, you’ll only work through the front loop of each stitch to create a raised texture.
- What is the Front Loop: Each crochet stitch has two loops—the front loop and the back loop. The front loop is the loop that is closest to you when you’re crocheting, while the back loop is the one furthest from you. Working through the front loop alone gives the fabric a textured, bumpy look.
- Creating the Chevron Shape: To create the chevron shape, you’ll alternate between increasing and decreasing the stitches in each row. The increases will form the peaks of the chevrons, while the decreases create the valleys. This combination of increases and decreases is what gives the blanket its zigzag design.
- The Front Loop Effect: By focusing on the front loop, you’ll get a cleaner, more structured chevron that stands out. It’s a great technique to create depth and add interest to an otherwise simple design.
Understanding these fundamental concepts will help you master the front loop chevron blanket. Now that you have the basics down, let’s move on to the actual process of crocheting this beautiful blanket!
3. Step-by-Step Instructions to Crochet the Blanket
Creating a crochet front loop chevron blanket requires precision and patience, but the end result is certainly worth the effort. Follow these steps to make your blanket:
- Foundation Chain: Start by creating a foundation chain. The length of your chain will determine the width of your blanket. For a standard throw blanket, a chain of around 120 stitches is a good starting point. Be sure to chain a multiple of 10, plus two additional chains for turning.
- Row 1: Begin by working your first row in double crochet (DC) into the second chain from the hook. Continue to work into the front loop of each stitch, following the chevron pattern by alternating between increases (two DC in the same stitch) and decreases (two DC together).
- Subsequent Rows: Continue crocheting the chevron pattern row by row. Be sure to keep track of where each peak and valley falls. Use a stitch marker to mark the beginning of each row to help you stay organized. As you continue to work through the front loop, the pattern will start to emerge, giving your blanket its beautiful chevron design.
- Color Changes: If you want to add color changes, simply switch yarns at the end of a row. You can choose a solid color blanket or opt for a multi-colored design. The front loop technique works equally well with both solid and striped patterns.
- Finishing the Blanket: Once you’ve reached your desired length, finish off the blanket by crocheting a simple border around the edges. This adds a polished touch and helps to frame your blanket. You can choose a single crochet border or get creative with a more intricate border design.
- Weave in Ends: Use a yarn needle to weave in any loose ends from color changes and the foundation chain. This will ensure your blanket is neat and tidy.
4. Tips and Tricks for a Beautiful Chevron Blanket
As you work on your crochet front loop chevron blanket, consider these tips to ensure your project turns out perfectly:
- Tension Matters: Maintain an even tension throughout the project to ensure your chevron pattern looks smooth and consistent. If you notice any tight or loose stitches, adjust your tension accordingly.
- Block Your Blanket: After completing your blanket, consider blocking it to help it maintain its shape. Lightly steam or wet block your blanket and pin it into place to create a crisp, even finish.
- Experiment with Colors: The chevron pattern lends itself well to color experimentation. You can use multiple colors for a vibrant, striped effect, or you can opt for a more subdued, monochromatic palette for a classic look.
- Check for Evenness: Occasionally check the evenness of your rows, ensuring the chevron shape remains consistent. If you notice any unevenness, gently adjust the stitches to maintain a uniform look.
- Choosing the Right Yarn: The texture of the yarn plays a significant role in how your chevron pattern turns out. A yarn with a bit of texture, such as a lightly spun wool or a blend, will highlight the front loop stitches even more.
- Add Personal Flair: Don’t hesitate to personalize your chevron blanket with additional embellishments, such as appliqué flowers, tassels, or fringe at the edges. These extra touches can give your blanket a unique character.
FAQ
1. What is the difference between the front loop and back loop in crochet?
In crochet, the front loop is the loop closest to you, while the back loop is the one furthest from you. By working only through the front loop, you create a raised, textured effect.
2. Can I use any yarn for the crochet front loop chevron blanket?
Yes, you can use any yarn you prefer. However, medium-weight yarn like worsted weight is a popular choice because it provides a nice balance of texture and durability.
3. How do I keep track of the chevron pattern while crocheting?
To keep track of your chevron pattern, use a stitch marker at the beginning of each row. This will help you stay organized and ensure that the increases and decreases are spaced correctly.
4. How long does it take to make a crochet front loop chevron blanket?
The time it takes to complete the blanket depends on its size, the complexity of the pattern, and your crochet speed. On average, it can take anywhere from a few days to a couple of weeks to finish the project.
5. Can I make a smaller version of this blanket?
Yes! You can adjust the number of stitches in the foundation chain and the number of rows to make a smaller version of the blanket, such as a baby blanket or a decorative throw.
6. Do I need to block my crochet blanket?
Blocking is optional but recommended, especially for larger projects like blankets. Blocking helps the blanket maintain its shape and smooths out any unevenness in the stitches.
PATTERN HERE
Conclusion
In this article, we’ve explored the crochet front loop chevron blanket pattern in detail, from the materials you’ll need to the step-by-step instructions for creating this beautiful and textured blanket. We’ve also shared helpful tips and tricks to ensure your project turns out perfect, along with answers to frequently asked questions about crochet.
Creating your own crochet front loop chevron blanket is a rewarding and creative experience. By following these instructions, you can craft a stunning, personalized blanket that adds warmth and beauty to any room. We hope this guide has inspired you to start your crochet journey!
Please feel free to leave a comment with your thoughts or share your experiences with this project. We’d love to hear how your crochet blanket turned out!