
Crochet Butterfly - Tutorial

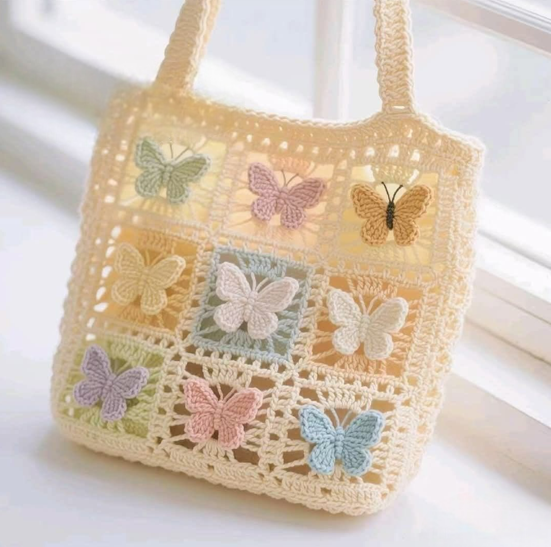
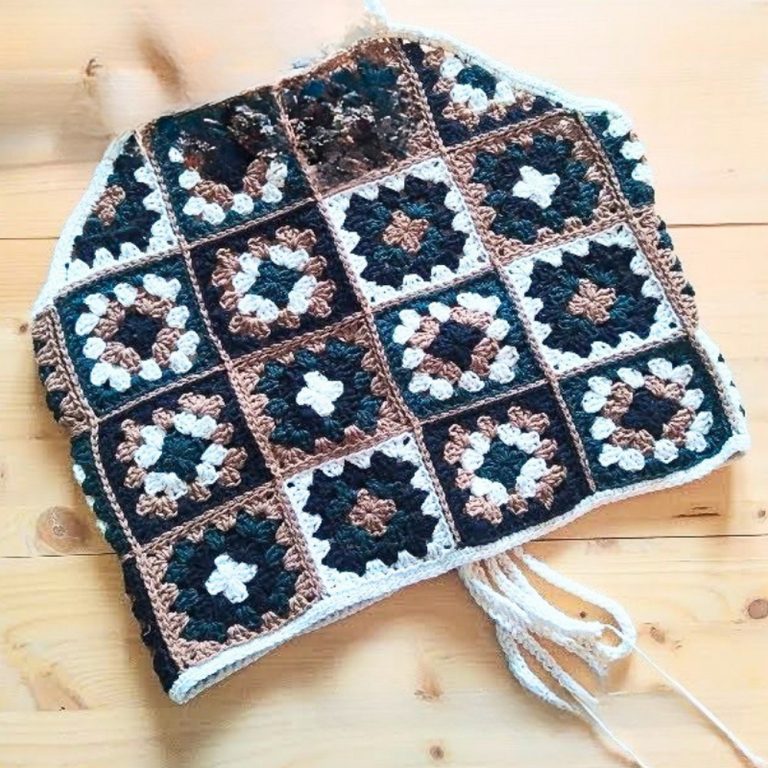
Learning how to create a Crochet Flower Square – Tutorial is one of the most rewarding journeys a fiber artist can embark on, blending the structural beauty of geometric shapes with the organic elegance of floral designs. These versatile motifs, often referred to as floral granny squares, serve as the foundational building blocks for countless projects ranging from heirloom blankets to trendy summer tote bags. By mastering this specific technique, you unlock the ability to play with color theory, yarn textures, and three-dimensional stitching, allowing your creativity to bloom alongside your handiwork.
The beauty of a Crochet Flower Square – Tutorial lies in its adaptability for crafters of all skill levels, offering a perfect bridge between basic stitches and more complex crochet patterns. Whether you are a beginner looking to move beyond simple rows or an expert seeking a relaxing “portable” project, the flower square provides immediate gratification. Each square is a miniature work of art, and when joined together using techniques like the invisible seam or slip stitch join, they transform into cohesive, breathtaking garments or home decor items that radiate a handmade charm.
In this comprehensive Crochet Flower Square – Tutorial, we will dive deep into the essential crochet supplies, the step-by-step construction of the center bloom, and the transition into a sturdy square frame. Optimization is key in modern crafting, so we will focus on SEO-friendly crochet tips like maintaining consistent stitch tension and choosing the right hook size for your specific yarn weight. Prepare your materials and clear your workspace, because we are about to turn simple strands of wool into a garden of everlasting, crocheted delight that adheres to the highest standards of the craft.

Starting your project with the right crochet tools is the first step toward professional-looking results. For this Crochet Flower Square – Tutorial, I recommend using a mercerized cotton yarn or a soft acrylic blend in at least three contrasting colors to make the flower petals pop against the background. A size G/4.0mm crochet hook is generally the “sweet spot” for medium-weight yarn, ensuring your stitches are tight enough to hold their shape but flexible enough for a soft drape.
Don’t forget the small but mighty accessories like stitch markers, a sharp pair of craft scissors, and a tapestry needle for weaving in those inevitable ends. Having a measuring tape nearby is also a great idea if you plan on making multiple squares for a larger blanket, as it helps maintain size consistency. Many crocheters find that using ergonomic hooks reduces hand fatigue during long sessions, which is vital when you are mass-producing these beautiful motifs.
The choice of yarn fiber significantly impacts the final look of your Crochet Flower Square – Tutorial. Cotton provides excellent stitch definition, making the petals look crisp and photographic, whereas wool blends offer a cozy, blurred vintage aesthetic. If you are a beginner, look for “worsted weight” or “number 4” yarn, as it is the easiest to manipulate and see where your hook needs to go. Always check the dye lot numbers on your yarn labels to ensure the colors match perfectly across your entire project.
Understanding yarn labels is a skill in itself that every crafter should master. Look for the recommended gauge on the packaging, but remember that in a Crochet Flower Square – Tutorial, your individual tension might vary. If your square turns out too “frilly” or wavy, your hook might be too large; if it curls inward like a bowl, try switching to a larger hook. This trial and error is a natural part of the handmade process and helps you grow as a creator.
Organizing your workspace can also enhance your focus and enjoyment. Using a yarn bowl prevents your skeins from rolling across the floor, keeping your thread clean and tangle-free as you work through the Crochet Flower Square – Tutorial. Lighting is equally important; a bright LED task lamp will help you distinguish between dark yarn colors and prevent eye strain when working on the intricate inner petals of your floral motif.
Lastly, keep a notebook or a digital app handy to track which hook size and yarn brand you used. There is nothing more frustrating than pausing a project and forgetting which tools you were using weeks later. As you follow this Crochet Flower Square – Tutorial, these preparation steps ensure that the actual “stitching” part of the process is smooth, meditative, and entirely successful from the very first loop.
The heart of every Crochet Flower Square – Tutorial is the central flower, which usually begins with a magic ring or a small chain loop. The magic circle technique is preferred by many because it allows you to pull the center tight, leaving no visible hole in the middle of your flower. Inside this ring, you will typically work a series of double crochet (dc) or puff stitches to create the textured “bullseye” or the pollen center of your bloom.
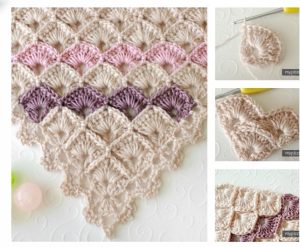
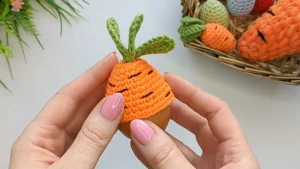
Once the center is secure, the second round introduces the petal stitches. In a classic Crochet Flower Square – Tutorial, petals are often formed using cluster stitches or popcorn stitches to give the flower a 3D effect. By working multiple stitches into a single base and joining them at the top, you create a raised, rounded shape that mimics real-world flora. This adds a tactile dimension to your work that flat squares simply cannot compete with.
Transitioning between colors is where the magic really happens. To keep your Crochet Flower Square – Tutorial looking neat, use the standing stitch method when joining a new color for the petals. This technique eliminates the “starting chain” look, making every petal appear identical and professional. It is these small advanced crochet techniques that separate a basic project from a high-quality, boutique-style finished piece.
As you work around the center, pay close attention to your stitch count. Most flower squares are built on a base of 8 or 12 petals, which allows the circle to be easily converted into a square later. If you find your petals are overlapping too much, you may be adding too many increase stitches. Consistency is the soul of crochet symmetry, so take a moment after each round to count your loops and ensure everything is aligning correctly.
The Crochet Flower Square – Tutorial often utilizes the treble crochet (tr) for longer petals, providing a dramatic, elongated look. These taller stitches require more yarn but create a beautiful “starburst” effect that draws the eye toward the center of the square. Experimenting with front post stitches can also add ridges to your petals, giving them an even more realistic, textured appearance that catches the light beautifully.
Finishing the flower portion requires a secure fasten off. Many crafters use the invisible join at this stage to create a seamless circle before moving on to the “squaring” phase. This ensures that when you look at your finished Crochet Flower Square – Tutorial, you can’t tell where one round ended and the next began. This attention to detail is what makes modern crochet so aesthetically pleasing and commercially viable for those who sell their work.
Turning a round flower into a four-sided motif is the most technical part of the Crochet Flower Square – Tutorial. To achieve this, you must use stitches of varying heights to fill in the “gaps” between the round edges of the flower. You will use tall stitches (like treble crochets) in the corners and shorter stitches (like half-double or single crochets) along the sides. This mathematical approach levels out the curves and creates a perfect 90-degree angle.
In the corners of your Crochet Flower Square – Tutorial, the standard formula is a “corner cluster”: typically (2 dc, ch 2, 2 dc) all worked into the same space. These chain spaces become the anchors for subsequent rows, allowing the square to grow outward while maintaining its shape. Understanding crochet geometry is fascinating; you are essentially building a bridge from a circular focal point to a linear perimeter.
The sides of your square should be worked with a consistent tension to prevent the edges from bowing. If the sides look “wavy,” you might have too many stitches; if they pull tight and distort the flower, you likely need a few more. A well-executed Crochet Flower Square – Tutorial will result in a flat piece of fabric that doesn’t need excessive stretching to look “square.”
Color choice for the “squaring” rounds is vital. Using a neutral shade like cream, white, or charcoal allows the colorful flower to remain the star of the show. This creates a “frame” effect, much like a painting. However, for a more bohemian crochet style, you might choose a high-contrast color that adds an extra layer of vibrancy to the overall design of your Crochet Flower Square – Tutorial.
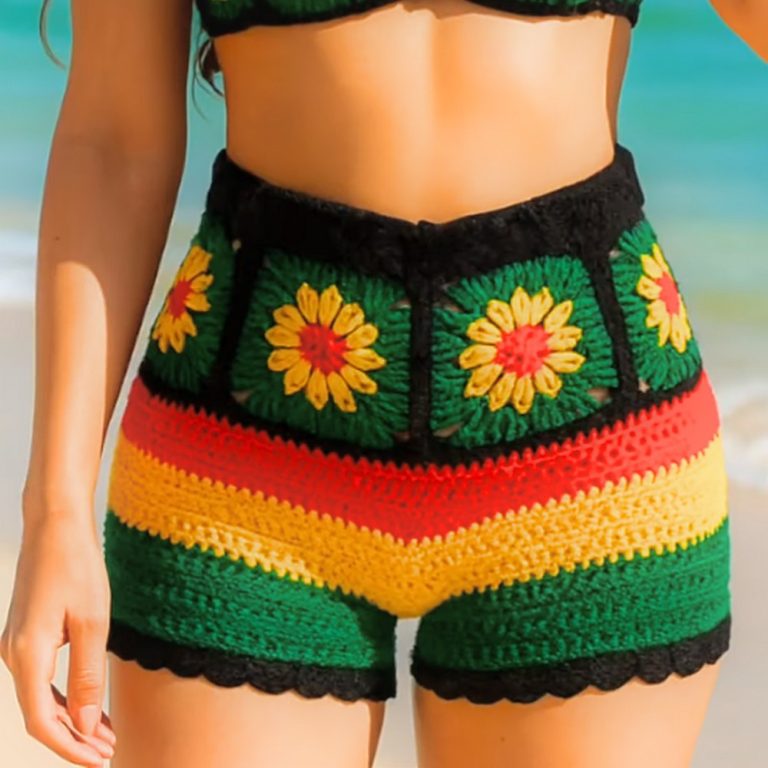
As you progress through the outer rounds, you can add decorative elements like v-stitches or eyelet rows. These add “breathability” to the square, making it lighter—perfect for crochet apparel like cardigans or shawls. Every round you add increases the size of the square, so make sure you decide on a final dimension early on if you are following a specific crochet pattern layout.
Finally, the last round of your Crochet Flower Square – Tutorial should ideally be a round of single crochet (sc). This creates a solid, stable edge that is much easier to join to other squares later. A solid border also provides a clean finish, preventing the more open decorative stitches from stretching out of shape over time. This structural integrity is what ensures your handmade blanket lasts for generations.
Once you have completed the stitching of your Crochet Flower Square – Tutorial, the work isn’t quite done. Blocking is the secret weapon of the professional crocheter. This process involves wetting your squares (or steaming them) and pinning them to a blocking board to set their final shape. Blocking relaxes the fibers and ensures that every square is exactly the same size, which is crucial for a flat, pucker-free assembly.
Weaving in ends is often the least favorite task, but it is essential for the longevity of your Crochet Flower Square – Tutorial. Use a bent-tip tapestry needle to weave the yarn tails through the back of the stitches in multiple directions. This “zig-zag” method locks the yarn in place, ensuring that even after multiple washes, your beautiful flower motif won’t unravel or show unsightly loose threads.
Joining your squares is the final evolution of the Crochet Flower Square – Tutorial. You can choose between a sewn seam for a flat look or a crocheted join for added texture. The whip stitch is the fastest method, while the join-as-you-go (JAYG) technique allows you to connect squares as you finish their final rounds, saving you a massive amount of sewing time at the end of a large project.
To keep your squares looking fresh, always follow the yarn care instructions on the original label. Most modern acrylics and cottons are machine washable, but high-end wools may require hand washing. If you are gifting a project made from this Crochet Flower Square – Tutorial, it is a lovely gesture to include a small “care card” so the recipient knows how to maintain the beauty of the handmade gift.
Consider adding a border to your finished project to tie all the squares together. A simple scalloped edge or a picot border can add a touch of whimsy to a floral blanket. This final frame acts as the “ribbon on the package,” completing the aesthetic journey that began with a single magic ring at the start of this Crochet Flower Square – Tutorial.
Finally, take pride in your work! Share your progress on social media using crochet hashtags like #CrochetFlowerSquare or #GrannySquareDay. Engaging with the fiber arts community is a great way to find inspiration for your next project and to see how others have interpreted this Crochet Flower Square – Tutorial. Your unique color combinations and stitch choices make your version of this classic motif a one-of-a-kind masterpiece.
1. What is the best yarn for a Crochet Flower Square – Tutorial? The best yarn is usually a DK weight (category 3) or Worsted weight (category 4) cotton or acrylic. Cotton offers great stitch definition for the petals, while acrylic is softer and more affordable for large blankets.
2. How do I stop my flower squares from curling at the corners? Curling is usually caused by tight tension or not having enough stitches in the corner chain spaces. Ensure you are following the corner increase rules (usually 2 or 3 chains between stitch clusters) and try relaxing your grip on the hook.
3. Can I make this Crochet Flower Square – Tutorial as a beginner? Absolutely! While it looks intricate, it only uses basic stitches like chains, single crochet, and double crochet. The most “difficult” part is the color changes, which you can master with just a little practice.
4. How many squares do I need for a full-sized throw blanket? For a standard 50″ x 60″ throw, you will typically need about 80 to 100 squares, depending on the size of your individual Crochet Flower Square. Always make a “test square” first to measure its final dimensions.
5. Do I really need to block my squares? While not mandatory, blocking is highly recommended. It makes the joining process much easier because the edges will be straight and the stitch counts will line up perfectly. It turns a “homemade” project into a “professional” one.
6. How do I join the squares without a visible seam? To get a nearly invisible look, use the mattress stitch with a tapestry needle. This method joins the “back loops” of the edge stitches together, creating a flat, hidden seam that allows the flower designs to take center stage.
In this Crochet Flower Square – Tutorial, we have covered everything from selecting the perfect yarn and hook to the delicate art of blocking your finished motifs.
We explored how to create a vibrant center bloom, how to transition into a sturdy square frame, and the technical steps required to ensure your project looks professional and polished. By following these steps, you have learned not just a pattern, but the fundamental principles of crochet construction and geometric design.


