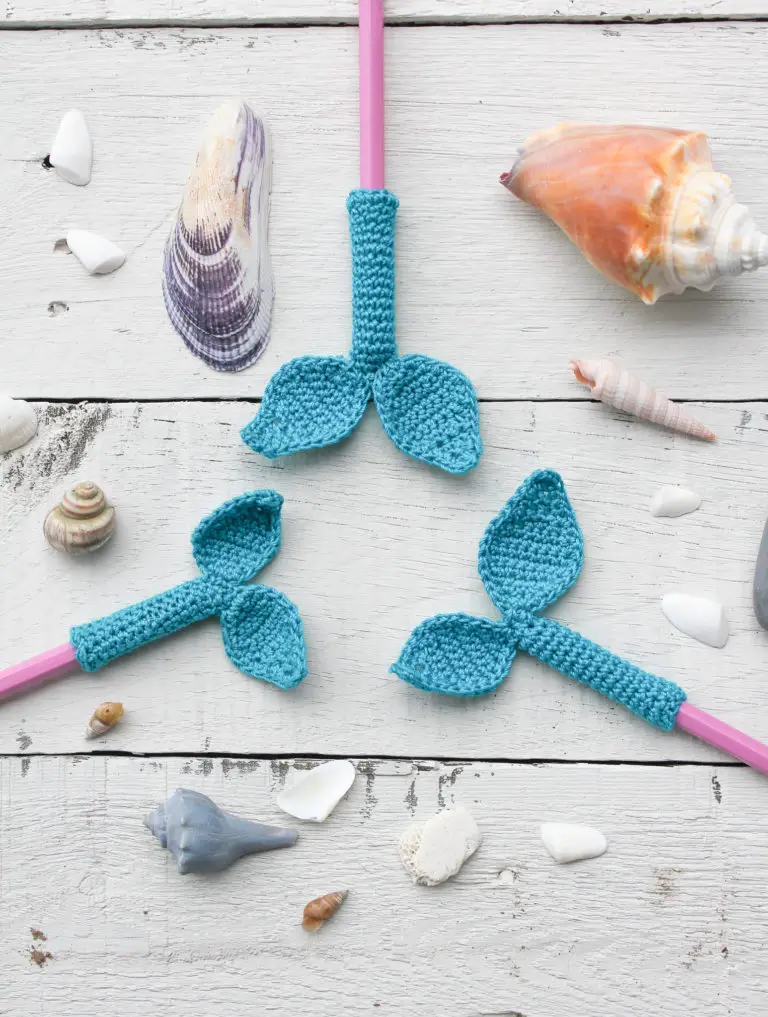
Mermaid Tail Pencil Topper Crochet - Pattern

The Crochet Skull Granny Square – Pattern is one of those rare projects that perfectly blends traditional crafting with a modern, edgy aesthetic. Whether you are preparing for Halloween decor or you simply love the “memento mori” vibe in your everyday accessories, mastering this specific design allows you to create everything from gothic blankets to unique tote bags. Many crafters find that the Crochet Skull Granny Square – Pattern offers a refreshing break from standard floral motifs, providing a sophisticated way to play with negative space and structural stitches.
If you have been searching for a way to level up your yarn craft, the Crochet Skull Granny Square – Pattern is the ideal gateway into intermediate techniques. It requires a bit of focus on stitch placement to ensure the facial features of the skull remain crisp and recognizable, but once you find your rhythm, the process becomes incredibly meditative. Using high-contrast yarn colors, such as a white skull against a deep charcoal or burgundy background, will make your Crochet Skull Granny Square – Pattern truly pop and catch the eye of anyone who sees your finished work.
In this comprehensive guide, we are going to dive deep into the world of the Crochet Skull Granny Square – Pattern, ensuring you have all the knowledge needed to execute this design flawlessly. We will cover the essential materials, the breakdown of the stitches involved, and how to join these squares into a larger masterpiece. By the end of this article, the Crochet Skull Granny Square – Pattern will feel like a staple in your crochet repertoire, ready to be customized for any season or style.

When you first look at a Crochet Skull Granny Square – Pattern, you’ll notice that the skull isn’t just an appliqué sewn on top; it is integrated directly into the square using clever increases and decreases. This Crochet Skull Granny Square – Pattern typically starts from the center, forming the “forehead” and “eye sockets” of the skull before transitioning into the jawline. Understanding this structure is vital for maintaining the correct proportions.
The “eyes” in a Crochet Skull Granny Square – Pattern are usually created by using chain spaces or large clusters of stitches that leave an intentional gap. This use of negative space is what gives the skull its character without requiring complex embroidery later. If you miss a stitch here, the skull might look lopsided, so keep a close eye on your stitch count during these initial rounds.
As you move toward the bottom of the skull in your Crochet Skull Granny Square – Pattern, you will work on the “teeth” or jaw area. This is often achieved through a series of treble crochets or elongated stitches that provide the height needed to distinguish the lower face from the rounded cranium. It is a brilliant display of how crochet geometry can mimic organic shapes.
Once the skull shape is complete, the Crochet Skull Granny Square – Pattern requires you to “square off” the design. This involves filling in the corners with taller stitches (like double or triple crochets) and the sides with shorter stitches (like single or half-double crochets). This transition is what turns a circular or anatomical shape into a perfect granny square that can be easily joined to others.
Choosing the right yarn weight is essential for a successful Crochet Skull Granny Square – Pattern. Most designers recommend a worsted weight (Level 4) yarn because it provides enough stitch definition to show off the skull’s features without being too bulky. Using a mercerized cotton can also be a fantastic choice, as it offers a slight sheen and very little “fuzz,” making the lines of the skull appear sharper.
Finally, don’t forget the importance of tension in your Crochet Skull Granny Square – Pattern. If your tension is too loose, the skull might look stretched or “holey” in the wrong places. If it’s too tight, the square might curl at the edges. Consistency is the secret ingredient that makes a professional-looking Crochet Skull Granny Square – Pattern stand out from a beginner’s attempt.
To begin your Crochet Skull Granny Square – Pattern, you need to gather the right supplies to ensure a smooth crafting experience. Your primary tool will be an ergonomic crochet hook, typically in the size of 4.0mm (G) or 5.0mm (H), depending on your yarn choice. Having a comfortable hook is important because the Crochet Skull Granny Square – Pattern involves repetitive movements that can strain the hand over time.
Yarn selection for the Crochet Skull Granny Square – Pattern usually involves two contrasting colors. You will need a “bone” color (white, cream, or light grey) for the skull itself and a “background” color (black, navy, or even a variegated yarn) to create the square border. Opting for acrylic-wool blends can give your Crochet Skull Granny Square – Pattern a soft feel while maintaining the durability needed for blankets or pillows.
Beyond the hook and yarn, a pair of sharp embroidery scissors is a must-have. You will be changing colors and fastening off frequently in a Crochet Skull Granny Square – Pattern, so clean cuts are necessary to keep your work tidy. Managing your yarn tails as you go will save you hours of tedious work at the end of your project.
You will also need a tapestry needle (also known as a yarn needle) with a large eye. This tool is used to weave in the ends of your Crochet Skull Granny Square – Pattern securely so that the work doesn’t unravel during washing. Some crafters also use the needle to add small decorative touches, like French knots for pupils or extra “stitching” on the jaw.
Stitch markers are highly recommended for the Crochet Skull Granny Square – Pattern, especially when you are working on the eye sockets. Placing a marker at the start of a round helps you track your progress without having to recount every single stitch. Since the Crochet Skull Granny Square – Pattern relies on symmetry, markers act as your safety net.
Lastly, consider having a blocking mat and T-pins ready. Because the Crochet Skull Granny Square – Pattern has a dense center (the skull) and a more open border, the squares can sometimes come off the hook slightly distorted. Blocking your finished squares ensures they are all exactly the same size, which makes the final assembly of your project much easier and more professional.
The foundation of the Crochet Skull Granny Square – Pattern usually begins with a Magic Ring (or Magic Circle). This technique allows you to pull the center tight, ensuring there is no visible hole in the top of the skull’s head. Inside this ring, you will work your first set of stitches that form the crown of the Crochet Skull Granny Square – Pattern.
As you progress into the second and third rounds of the Crochet Skull Granny Square – Pattern, you will encounter the Double Crochet (dc) and the Chain (ch) stitch. The combination of these creates the “eye holes.” In many versions of the Crochet Skull Granny Square – Pattern, you will skip several stitches and chain across to create that hollow, sunken look that is iconic to a skull.
The “nose” of the skull in the Crochet Skull Granny Square – Pattern is often a small gap created by a single chain or a slip stitch. It is a subtle detail, but it’s what differentiates a skull from a generic ghost shape. Precision is key here; ensure your Crochet Skull Granny Square – Pattern instructions are followed closely regarding where to skip stitches to maintain facial symmetry.
The jawline is perhaps the most technical part of the Crochet Skull Granny Square – Pattern. You may be asked to work Half-Double Crochets (hdc) followed by Treble Crochets (tr) to create a tiered effect. This mimics the narrowing of the human jaw. Many Crochet Skull Granny Square – Pattern designs use the “front post” or “back post” techniques here to add texture and depth to the teeth.
Once the facial features are complete, you will transition to the “background” color of your Crochet Skull Granny Square – Pattern. This is where the Granny Stitch (groups of 3 double crochets) usually comes into play. You will work these groups into the spaces around the skull, gradually transforming the irregular skull shape into a perfect four-cornered Crochet Skull Granny Square – Pattern.
To finish the square, a round of Single Crochet (sc) around the very edge provides a clean, stable border. This makes it much simpler to use the invisible join or the whip stitch when connecting multiple units of the Crochet Skull Granny Square – Pattern. A well-finished edge is the hallmark of a high-quality Crochet Skull Granny Square – Pattern project.
One of the most popular uses for the Crochet Skull Granny Square – Pattern is creating a “Lost Souls” style afghan. By joining dozens of these squares, you can create a large, cozy blanket that is both edgy and comforting. The repetitive nature of the Crochet Skull Granny Square – Pattern makes it a great “couch project” while you watch your favorite movies.
If you prefer smaller projects, the Crochet Skull Granny Square – Pattern is perfect for making a statement tote bag. You can join two large squares or several small ones to form the panels of the bag. Lining the bag with a contrasting fabric will not only make it more durable but will also highlight the lace-like details of the Crochet Skull Granny Square – Pattern.
For fashion enthusiasts, the Crochet Skull Granny Square – Pattern can be turned into a trendy cardigan or a “festival top.” By arranging the squares in a grid, you can construct garments that have a custom, handmade feel. The Crochet Skull Granny Square – Pattern adds a touch of “Goth-Core” or “Grunge” aesthetic that is currently very popular in DIY fashion circles.
Don’t overlook home decor! A single Crochet Skull Granny Square – Pattern can be used as a coaster, or you can join four to create a striking cushion cover. If you use a glow-in-the-dark yarn for the skull portion of the Crochet Skull Granny Square – Pattern, you can create spooky decorations that light up at night, perfect for a personalized Halloween party.
You can also experiment with “Micro-Crochet” by using embroidery thread and a tiny hook to create a miniature Crochet Skull Granny Square – Pattern. These tiny versions can be turned into earrings, pendants, or keychains. The versatility of the Crochet Skull Granny Square – Pattern means it can be scaled up or down depending on your choice of yarn and hook.
Lastly, the Crochet Skull Granny Square – Pattern makes for a fantastic gift for friends who appreciate alternative styles. Whether it’s a scarf made of interconnected skulls or a simple wall hanging, a handmade item using the Crochet Skull Granny Square – Pattern shows a level of effort and creativity that store-bought items simply cannot match.
1. Is the Crochet Skull Granny Square – Pattern suitable for beginners?
While it is slightly more complex than a basic solid granny square, a confident beginner who knows the basic stitches (dc, hdc, tr) can definitely tackle a Crochet Skull Granny Square – Pattern. It requires careful counting, but the repetitive nature helps you learn quickly.
2. What is the best yarn for a Crochet Skull Granny Square – Pattern?
A non-fuzzy yarn like cotton or a tightly twisted acrylic is best. This ensures that the holes for the eyes and the shape of the jaw are clearly defined.
3. How long does it take to make one Crochet Skull Granny Square – Pattern?
For an intermediate crocheter, one square usually takes between 20 to 40 minutes. Once you have the Crochet Skull Granny Square – Pattern memorized, you’ll find you can complete them much faster.
4. Can I change the size of the square?
Yes! To make the Crochet Skull Granny Square – Pattern larger, you can simply add more rounds of traditional granny stitches or double crochets around the outside of the finished skull motif.
5. How do I stop my Crochet Skull Granny Square – Pattern from curling?
Curling usually happens due to tight tension or the nature of the stitches. Blocking your squares with steam or water is the most effective way to flatten them and ensure they are perfectly square.
6. Can I use multiple colors within the skull itself?
While most Crochet Skull Granny Square – Pattern designs use one solid color for the skull, you can certainly use “cake yarn” or “ombre yarn” to give the skull a colorful, psychedelic appearance.
Mastering the Crochet Skull Granny Square – Pattern opens up a world of creative possibilities for any yarn enthusiast. We have explored the structural anatomy of the design, the essential tools required, and a step-by-step approach to the stitches that bring the skull to life.
Additionally, we looked at how the Crochet Skull Granny Square – Pattern can be adapted for everything from home decor to high fashion. This project is a wonderful way to challenge your skills while producing something truly unique and stylish.


