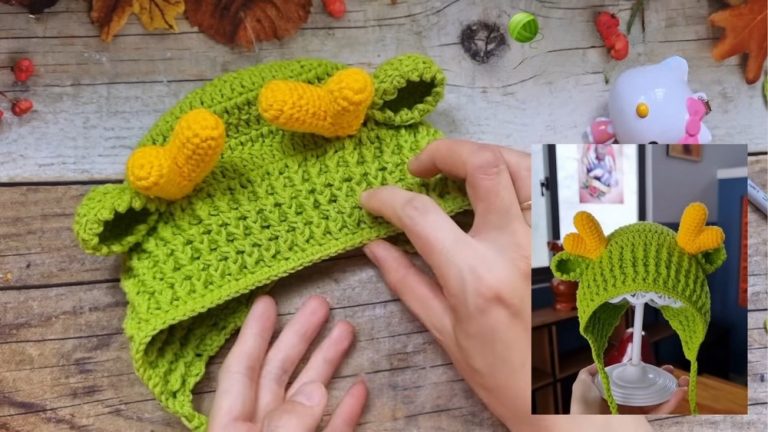
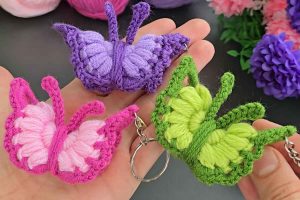
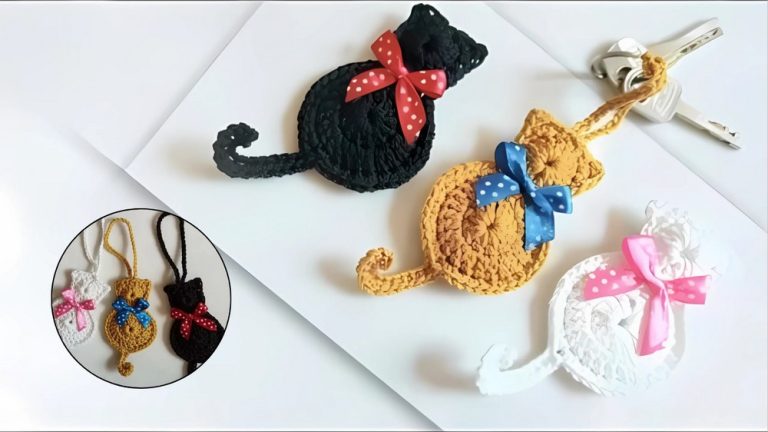
Crochet Dragon Hat - Pattern

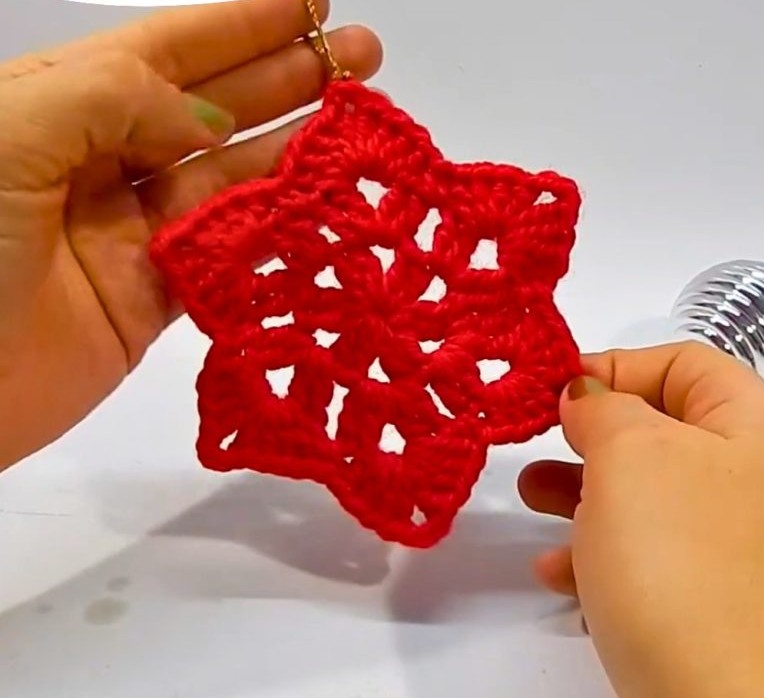
The Crochet star – Pattern is one of the most versatile and enchanting projects any fiber artist can undertake, blending mathematical symmetry with the cozy warmth of handmade decor. Whether you are looking to create a celestial nursery mobile, festive holiday ornaments, or unique appliques for a denim jacket, mastering this specific design allows you to add a touch of starlight to any everyday object. The beauty of a Crochet star – Pattern lies in its scalability, as you can easily transition from a tiny, delicate star made of lace weight yarn to a giant, plush floor pillow using chunky wool.
Starting your journey with a Crochet star – Pattern is often a rite of passage for beginners because it introduces the concept of working in the round and creating “points” through strategic increases and decreases. Unlike a simple circle or square, the star shape requires a bit of rhythmic counting, which many crocheters find meditative and deeply satisfying once the rhythm is established. By choosing the right hook size and yarn texture, you can transform the basic Crochet star – Pattern into something that looks professionally manufactured yet retains that irreplaceable soulful quality of a handcrafted item.
In this comprehensive guide, we will explore everything you need to know about successfully navigating a Crochet star – Pattern, ensuring your edges are sharp and your centers are tight. We will dive into the technicalities of stitch selection, the importance of tension, and how to troubleshoot common issues like curling or “lazy” points. If you have been searching for the perfect Crochet star – Pattern to brighten up your home or to give as a thoughtful, personalized gift, you have come to the right place for inspiration and technical mastery.
When you begin working on a Crochet star – Pattern, the yarn choice is your foundation for success. For beginners, a medium-weight cotton yarn is highly recommended because it offers excellent stitch definition, allowing you to see exactly where your hook needs to go. Cotton also holds the shape of the star’s points much better than slippery acrylics, ensuring your Crochet star – Pattern doesn’t look wilted after a few days.
Selecting the appropriate crochet hook is the next vital step in the process. Most Crochet star – Pattern instructions will suggest a specific size, but your personal tension matters immensely. If you tend to crochet tightly, consider moving up half a millimeter in hook size to prevent the center of the star from puckering or becoming too stiff to work with comfortably.
Color selection can completely change the vibe of your project. A Crochet star – Pattern worked in classic yellow or gold evokes a traditional celestial feel, while using variegated yarn can create a “galaxy” effect with shifting hues. For holiday themes, white, silver, or deep red are popular choices that make the Crochet star – Pattern stand out against a green Christmas tree.
Don’t forget the essential notions like a sharp pair of scissors and a blunt-tipped tapestry needle. Because a Crochet star – Pattern involves working in the round, you will inevitably have tails of yarn to weave in at the end. Using a needle ensures that these ends are tucked away securely, preventing your beautiful star from unraveling during use or washing.
Stitch markers are another “secret weapon” for anyone following a Crochet star – Pattern. Since stars are symmetrical, it is very easy to lose your place or miscount the number of stitches between the peaks and valleys. Placing a marker at the tip of each point helps you maintain symmetry and ensures that your Crochet star – Pattern remains perfectly balanced.
Lastly, consider if you want to stuff your star or keep it flat. If you are making a 3D version of the Crochet star – Pattern, you will need high-quality polyester fiberfill. Stuffing can be tricky; you want enough to make the star firm, but not so much that the stitches stretch apart and reveal the white fluff inside your colorful Crochet star – Pattern creation.
To truly master the Crochet star – Pattern, you must understand the “Magic Ring” or “Magic Circle” technique. This is the gold standard for starting any project in the round because it allows you to pull the center hole completely shut. A tight center is crucial for a professional-looking Crochet star – Pattern, as it prevents a gap from forming right in the middle of your celestial shape.
The “valleys” of your Crochet star – Pattern are created using stitches like the slip stitch or the single crochet. These shorter stitches pull the fabric inward, contrasting with the taller stitches used for the points. This tension between high and low stitches is what gives the Crochet star – Pattern its iconic jagged silhouette, and maintaining consistent height in these areas is key.
The “peaks” or points of the Crochet star – Pattern usually involve a combination of half-double, double, and sometimes triple crochets. Often, a “picot” stitch or a series of chains is worked at the very tip to create a sharp, defined corner. Learning how to execute these increases smoothly is the most important technical skill for a beautiful Crochet star – Pattern.
Tension control is the silent partner in every successful Crochet star – Pattern. If your tension is too loose, the points of the star will floppy and lose their definition; if it is too tight, the star will begin to “bowl” or curl upward like a small dish. Finding that “Goldilocks” zone of tension ensures your Crochet star – Pattern lies perfectly flat on a table.
Blocking is a step that many hobbyists skip, but it is vital for a high-quality Crochet star – Pattern. By pinning your finished star to a foam board and lightly steaming it or misting it with water, you “set” the stitches into their final shape. This process sharpens the points and evens out any minor inconsistencies in your Crochet star – Pattern work.
Understanding stitch heights is also part of the anatomy. A Crochet star – Pattern relies on the mathematical difference between a slip stitch ($1$ unit of height) and a double crochet ($3$ units of height). By manipulating these heights in a specific sequence, you are essentially drawing a star with yarn, using the stitches as your “ink” to create geometric perfection.
The most common term you will encounter in a Crochet star – Pattern is “inc” or increase. This means placing two or more stitches into the same base stitch. In the context of a star, increases are typically used to build the bulk of the points, allowing the fabric to expand outward from the center of your Crochet star – Pattern without causing the material to pucker.
Another vital term is the “hdc” or half-double crochet. This stitch is the “bridge” of the Crochet star – Pattern, sitting perfectly between the height of a single and a double crochet. It provides a smooth transition as you work your way up the side of a star point, ensuring there are no awkward gaps or jagged steps in the finished Crochet star – Pattern.
The “dc” or double crochet is usually the workhorse for the body of the star points. In most Crochet star – Pattern variations, the double crochet provides the necessary height to make the points look long and elegant. Mastering the yarn-over technique for this stitch will help you maintain a consistent speed while working through your Crochet star – Pattern.
“Sl st” stands for slip stitch, and in a Crochet star – Pattern, it is used for two main reasons: joining rounds and creating the deep “valleys” between points. Because the slip stitch has almost no height, it forces the yarn down to the base level, which emphasizes the height of the peaks. It is the secret to a high-contrast Crochet star – Pattern silhouette.
“Ch” or chain is used to create the “turning height” or the very tips of the star. In a more intricate Crochet star – Pattern, you might see a “chain-3 picot,” which creates a tiny, decorative decorative bump at the end of a point. This adds a sophisticated, “lace-like” quality to your Crochet star – Pattern that looks great on ornaments.
Finally, “yo” or yarn over is the basic movement of wrapping yarn around the hook. While it seems simple, the way you yarn over can affect the “lean” of your stitches. For a perfectly symmetrical Crochet star – Pattern, keeping your yarn overs consistent ensures that the left side of your star point looks exactly like the right side, maintaining the visual balance.
Once you have completed your first Crochet star – Pattern, you might wonder how to display it. One of the most popular uses is creating a “star bunting” or garland. By crocheting several stars using the same Crochet star – Pattern and joining them with a long chain of yarn, you create a whimsical decoration for a mantle, a bookshelf, or a child’s bedroom window.
The Crochet star – Pattern is also perfect for “upcycling” old clothing. You can sew a flat star onto the elbows of a sweater or the back pocket of a pair of jeans. Because the star is a universally recognized symbol of excellence and magic, adding a handmade Crochet star – Pattern applique instantly elevates a generic garment into a piece of wearable art.
Holiday decorating is perhaps the most common application for the Crochet star – Pattern. Small stars can be used as gift toppers instead of plastic bows, adding a sustainable and reusable touch to your presents. Larger versions of the Crochet star – Pattern can be stiffened with a mixture of water and glue to serve as a beautiful, rustic tree topper.
For those who enjoy functional art, a Crochet star – Pattern can be adapted into a coaster or a trivet. By using thick cotton or twine and a slightly modified, larger version of the Crochet star – Pattern, you create a heat-resistant surface for mugs or teapots. It’s a practical way to show off your crochet skills during a coffee break with friends.
If you are feeling ambitious, you can combine multiple Crochet star – Pattern units into a “starburst” blanket. This involves making many individual stars and then joining them together with a contrasting yarn color. This type of project turns the simple Crochet star – Pattern into a complex, heirloom-quality quilt that can be passed down through generations.
Lastly, the Crochet star – Pattern makes for an excellent “worry stone” or sensory toy for children. By making two stars and sewing them together with a bit of padding or a lavender sachet inside, you create a tactile object that is soothing to hold. The points of the Crochet star – Pattern provide different textures for little fingers to explore, making it a thoughtful gift for new parents.
1. How long does it take to finish a Crochet star – Pattern?
A basic, small star usually takes between 10 to 20 minutes for an intermediate crocheter. If you are a beginner, it might take 30 to 45 minutes as you familiarize yourself with the counting and stitch transitions.
2. Why is my Crochet star – Pattern curling at the edges?
Curling usually happens if your tension is too tight or if there aren’t enough increase stitches at the points. Try using a larger hook or making sure you aren’t pulling the yarn too hard when completing your double crochets.
3. Can I wash an item made with a Crochet star – Pattern?
Yes, but it depends on the yarn. If you used cotton or acrylic, you can usually machine wash on a delicate cycle. However, to keep the points of your Crochet star – Pattern sharp, hand washing and laying flat to dry is always the best option.
4. What is the best yarn for a Crochet star – Pattern ornament?
Mercerized cotton is generally considered the best choice. It has a slight sheen that looks great under lights, and it is very sturdy, meaning your star will hold its shape for many years without fuzzing or pilling.
5. How do I make my Crochet star – Pattern points sharper?
The trick to sharp points is the “picot” stitch or a tight chain at the peak. Also, when you finish the star, use your fingers to physically “pull” and shape the points while the yarn is still slightly flexible.
In this article, we have explored the wonderful world of the Crochet star – Pattern, covering everything from the initial material selection to the advanced techniques that give the star its iconic shape. We learned that the Crochet star – Pattern relies on a balance of stitch heights and tension to create a symmetrical, beautiful design.
Whether you are using it for home decor, fashion, or gifts, the versatility of the Crochet star – Pattern makes it a must-have skill for any enthusiast. We hope this guide inspires you to pick up your hook and reach for the stars!