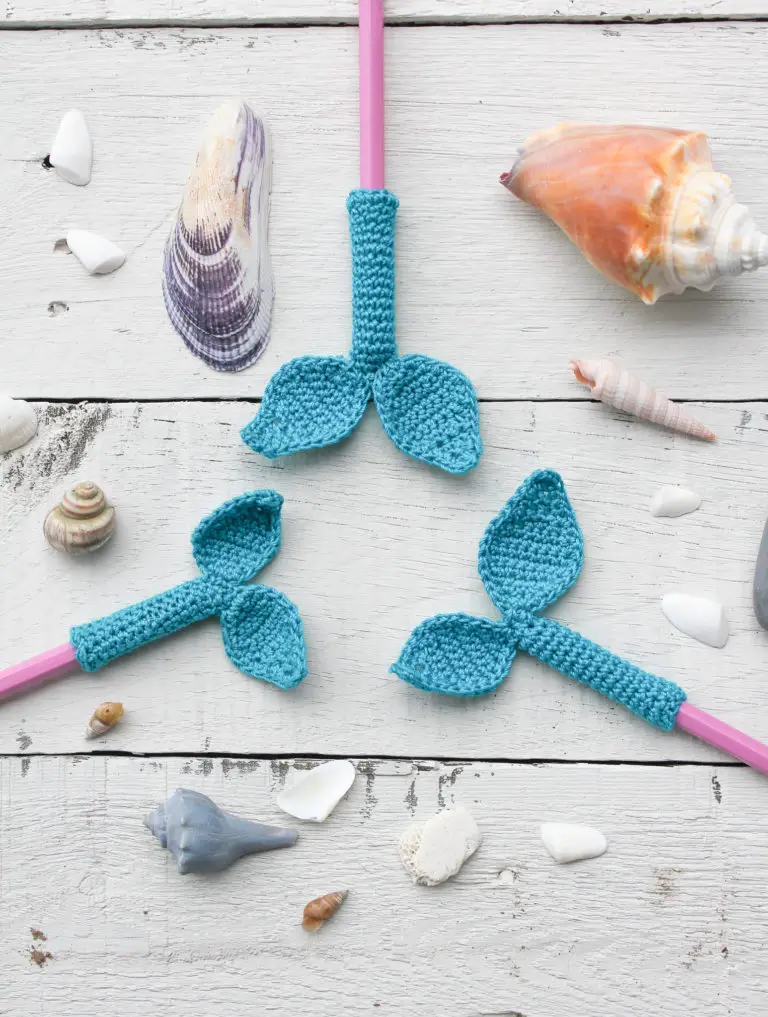
Mermaid Tail Pencil Topper Crochet - Pattern

Making your own crochet water bottle holder – pattern is one of the most rewarding and practical DIY projects you can undertake today. In a world increasingly focused on sustainability and reducing single-use plastics, carrying a reusable bottle is a must, and having a custom-made crochet water bottle holder makes it both stylish and hands-free. This article will provide you with a comprehensive pattern and guide to creating your very own accessory that blends fashion with functionality.
The beauty of a crochet water bottle holder – pattern lies in its versatility and the ability to customize it to fit any bottle size, from a small flask to a large insulated canteen. Whether you are a beginner looking for your first functional project or an experienced crafter wanting a quick gift idea, following a well-structured pattern ensures your bottle stays secure and insulated. This guide is designed to walk you through the essential steps, materials, and stitches needed to master the crochet water bottle holder.
By choosing to follow this crochet water bottle holder – pattern, you are participating in the slow fashion movement and creating a durable item that can last for years. We will explore how different yarn types, such as cotton yarn, affect the durability of your crochet water bottle holder, and how to adjust the strap length for maximum comfort. Get your hooks ready as we dive into the details of crafting the perfect crochet water bottle holder – pattern for your daily adventures.
When you start your crochet water bottle holder – pattern, the first decision you need to make is selecting the right yarn. For a water bottle carrier, 100% cotton yarn is the gold standard because it is sturdy, doesn’t stretch excessively when wet, and is very easy to wash. Synthetic fibers might sag under the weight of a full bottle, so sticking to natural, breathable fibers ensures your crochet water bottle holder maintains its shape over time.
The hook size is another critical component of a successful crochet water bottle holder – pattern. Typically, a 4.0mm or 5.0mm crochet hook works best with medium-weight yarn to create a fabric that is tight enough to hold the bottle but flexible enough to be lightweight. If your stitches are too loose, the bottle might slip through or the holder might become misshapen, so maintaining a consistent stitch tension is vital for a professional look.
Don’t forget the importance of notions and tools like stitch markers and a tapestry needle. Using a stitch marker is essential when working in the round, which is the primary technique used in this crochet water bottle holder – pattern. It helps you keep track of the beginning of each row, preventing mistakes in the increase rounds that form the base of your crochet water bottle holder.
Color selection can turn a simple pattern into a high-fashion accessory. Many crafters enjoy using variegated yarn to create a self-striping effect without having to weave in dozens of ends. Since the crochet water bottle holder – pattern uses a relatively small amount of yarn, it is also a fantastic “stash-buster” project to use up leftovers from previous crochet projects.
Durability is the name of the game when it comes to a hand-made water bottle holder. Since it will be exposed to moisture from condensation and outdoor elements, choosing a yarn that is machine washable is a smart move. This ensures that your crochet water bottle holder – pattern remains a hygienic and fresh-looking part of your hiking or walking gear for a long time.
Lastly, consider the weight of the bottle you intend to carry. If you are using a heavy stainless steel flask, you might want to double the yarn or use a thicker cotton twine to reinforce the crochet water bottle holder – pattern. A sturdy foundation is what separates a decorative piece from a truly functional crochet water bottle holder that can withstand the rigors of daily use.
The foundation of any good crochet water bottle holder – pattern begins with a solid circular base. Most patterns start with a magic ring (or magic circle), which allows you to pull the center tight and eliminate any holes at the bottom. This technique is preferred for a crochet water bottle holder because it ensures that even the smallest bottles won’t lean or poke through the bottom of the pattern.
In the initial rounds of the crochet water bottle holder – pattern, you will focus on flat circle increases. This usually involves working double crochet or half double crochet stitches into the ring and then doubling the number of stitches in subsequent rounds. By following the math of circular crochet, you ensure that the bottom of your crochet water bottle holder stays perfectly flat and fits the diameter of your specific bottle.
Measuring as you go is a key tip for customizing your crochet water bottle holder – pattern. Once your crocheted circle matches the diameter of the bottom of your bottle, you stop increasing. This is the moment your crochet water bottle holder begins to take its cylindrical shape, as you transition from working flat to working up the sides of the pattern without adding any more stitches.
The transition row is often worked in the back loops only (BLO). This specific technique in the crochet water bottle holder – pattern creates a sharp “corner” or ridge that helps the holder sit upright. It marks the boundary between the base and the body of the crochet water bottle holder, giving the finished product a more structured and “store-bought” appearance while still being unique.
Stitch choice for the body of the crochet water bottle holder – pattern can vary based on your preference for breathability versus coverage. A mesh stitch or v-stitch is popular because it uses less yarn and allows the bottle’s design to peek through. However, if you want more insulation, a solid single crochet or waistcoat stitch can be used throughout the crochet water bottle holder body.
Consistency is key when working the sides of the pattern. You want the height of your crochet water bottle holder to reach just below the “shoulder” of the bottle where it begins to narrow toward the cap. This ensures that the bottle is held securely within the crochet water bottle holder – pattern but remains easy to drink from without removing the carrier entirely.
The strap is arguably the most important part of the crochet water bottle holder – pattern because it bears all the weight. Many beginners make the mistake of crocheting a simple chain, but a thermal stitch or a foundation single crochet strap is much better. These techniques prevent the crochet water bottle holder from stretching down to your knees once you fill the bottle with water.
You must decide whether you want a crossbody strap or a shorter wristlet strap for your project. A standard crossbody length for a crochet water bottle holder – pattern is usually between 40 to 50 inches, but remember that even the best cotton will stretch slightly. It is often recommended to crochet the strap about 10% shorter than your desired final length to account for the weight of the water bottle.
Attaching the strap securely to the crochet water bottle holder is a critical safety step. Instead of just slip-stitching it on, use a tapestry needle to sew the strap onto the body of the pattern using a “box stitch” or multiple passes of yarn. This ensures that your crochet water bottle holder won’t snap while you are out on a hike or walking through a crowded festival.
For those who want extra functionality, you can add a drawstring closure to the top of your crochet water bottle holder – pattern. By weaving a simple crocheted cord through the final row of stitches, you can cinch the top of the holder shut. This is particularly useful if you use the crochet water bottle holder for different sized bottles or even as a small bag for your phone and keys.
Embellishments can add a personal touch to your crochet water bottle holder – pattern. You might consider adding crochet flowers, beads, or even a leather brand tag to the side. These small details transform a basic crochet water bottle holder into a statement piece that reflects your personal style and your skill as a crochet artist.
Final blocking is the last step that many crafters overlook. By wetting your finished crochet water bottle holder – pattern and letting it dry around the bottle it was made for, you “set” the stitches. This gives the crochet water bottle holder its final shape and professional finish, ensuring that the pattern looks its absolute best when you finally put it to use.
One of the best things about the crochet water bottle holder – pattern is how easy it is to maintain. Because you used cotton yarn, you can simply toss it in the wash if it gets dirty from outdoor use. To keep your crochet water bottle holder looking new, it is often best to air dry it, which prevents the fibers from shrinking and helps the pattern retain its original dimensions.
The crochet water bottle holder – pattern is not just for water; it is a multi-purpose accessory. Many people find that this pattern also works perfectly as a wine bottle gift bag or a carrier for a reusable coffee tumbler. The flexibility of the crochet stitches allows the holder to expand slightly, making it a versatile tool for anyone who loves eco-friendly living.
Teaching others how to use this crochet water bottle holder – pattern is a great way to build community. Since it is a relatively fast project, it is perfect for crochet workshops or as a “make-along” with friends. Sharing your version of the crochet water bottle holder on social media can inspire others to ditch plastic bags and start using their own crochet accessories.
If you sell your crafts at markets, the crochet water bottle holder – pattern is a top-selling item. They are eye-catching, practical, and have a low material cost, allowing for a good profit margin. By offering the crochet water bottle holder in various trendy colors, you can appeal to a wide range of customers, from fitness enthusiasts to festival-goers looking for a boho accessory.
Adaptability is another strength of this pattern. You can easily modify the crochet water bottle holder – pattern to include a small pocket on the side for a credit card or lip balm. This turns the crochet water bottle holder into a mini-purse, perfect for quick trips to the park where you want to carry the bare essentials without a bulky backpack.
Ultimately, completing a crochet water bottle holder – pattern gives you a sense of accomplishment. You have created something with your own hands that is useful, beautiful, and environmentally friendly. Every time you take a sip of water from your crochet water bottle holder, you’ll be reminded of the creativity and effort you put into following the pattern and making it your own.
1. What is the best yarn for a crochet water bottle holder?
The most recommended yarn is 100% cotton. Cotton is durable, has minimal stretch compared to acrylic, and handles moisture well, which is important for a crochet water bottle holder – pattern that might get damp from condensation.
2. How long should I make the strap for a crossbody holder?
For an average adult, a strap length of 40 to 45 inches is standard. However, keep in mind that yarn stretches when a heavy bottle is inside, so it is often better to crochet it slightly shorter than you think you need.
3. Can a beginner follow this crochet water bottle holder – pattern?
Yes! This project primarily uses basic stitches like single crochet (sc), double crochet (dc), and increasing. It is an excellent project for a beginner to practice working in the round.
4. How do I make the holder fit a larger bottle?
To adjust the size, simply continue the increase rounds at the base until the circle matches the bottom of your larger bottle. From there, you just continue the side rounds until you reach the desired height.
5. Will my bottle fall out of the crochet holder?
As long as you follow the crochet water bottle holder – pattern and ensure the sides are high enough (reaching the neck of the bottle) and the base is solid, your bottle will stay securely inside.
6. Is it okay to use acrylic yarn for this pattern?
While you can use acrylic, it tends to stretch significantly more than cotton. If you choose acrylic, you may need to use a smaller hook to create a very tight tension to help the crochet water bottle holder keep its shape.
In this article, we have explored the comprehensive journey of creating a crochet water bottle holder – pattern, from selecting the perfect cotton yarn to mastering the strap construction and finishing techniques.
We learned that the key to a functional crochet water bottle holder lies in the sturdy base and the choice of non-stretch stitches for the handle. This project is not only a great way to improve your crochet skills, but it also promotes a sustainable lifestyle by making it easier to carry your reusable bottle everywhere you go.


