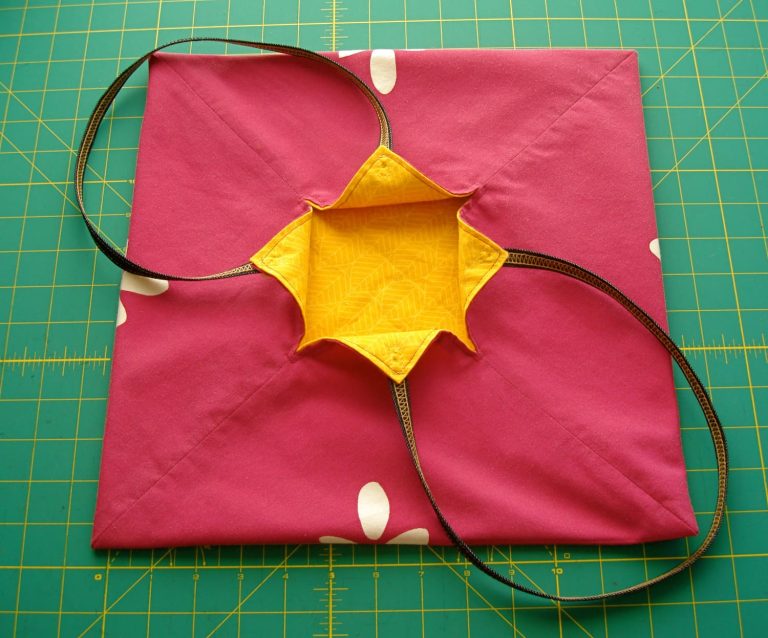
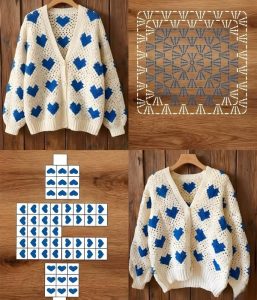
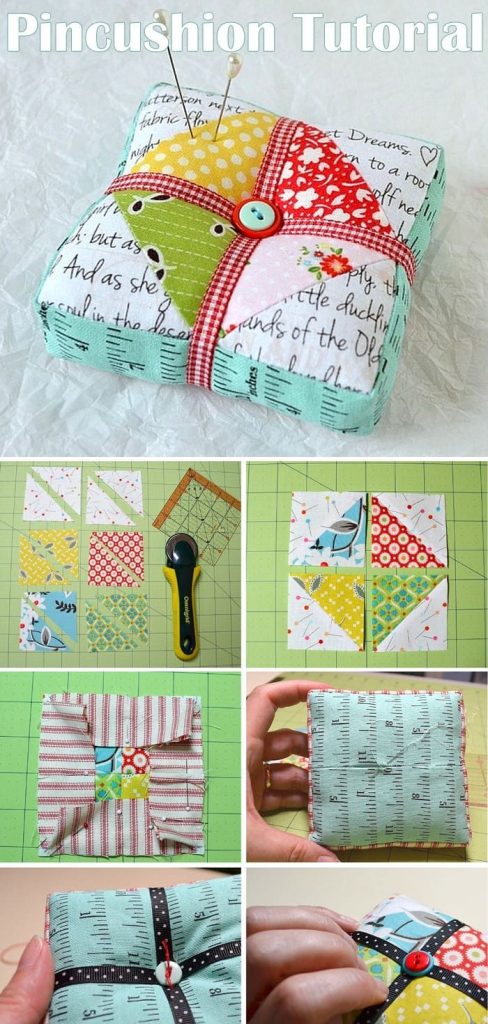
Kawaii Bag - Pattern

Finding a reliable Headphone cord holder – Pattern is the first step toward reclaiming your sanity from the tangled mess of wires that often populates the bottom of your backpack or desk drawer. In an era where we are constantly on the move, having a dedicated Headphone cord holder – Pattern allows you to combine functionality with personal style, ensuring that your expensive audio gear remains protected and ready for use at a moment’s notice. Whether you are a seasoned crafter or a beginner looking for a quick weekend project, understanding the nuances of a good cord management design is essential for long-term durability.
The beauty of choosing a specific Headphone cord holder – Pattern lies in the versatility of materials and shapes you can utilize, ranging from rustic leather cord organizers to vibrant fabric scrap projects. By following a well-structured pattern, you bypass the frustration of trial and error, moving straight to a finished product that keeps your earbuds or studio monitor cables neatly coiled. This guide is designed to walk you through the most effective designs, ensuring your DIY cord holder is both aesthetically pleasing and highly practical for daily travel.
When we talk about a Headphone cord holder – Pattern, we are essentially looking at a blueprint for organization that prevents cable fraying and internal wire damage. Using a template helps maintain consistent tension on the cord without pinching the delicate copper interior, which is a common issue with cheap, mass-produced plastic clips. Throughout this article, we will explore various sewing patterns, leathercraft techniques, and crochet designs that serve as the perfect cable management solution for any tech enthusiast or music lover.

The foundation of any successful Headphone cord holder – Pattern begins with selecting a material that offers both flexibility and strength. Genuine leather is a top choice for many because it ages beautifully and provides a natural grip that keeps the wires from slipping out of place during transit. If you prefer a more animal-friendly or colorful approach, heavy-duty felt or reinforced cotton fabric can work wonders, provided you use a stiffening interface to keep the shape intact.
When selecting your fabric for a sewing pattern, consider the thickness of the headphone wire you intend to store, as thicker audiophile cables require a more robust closure system. Snaps and rivets are generally preferred over Velcro, which can snag on the delicate mesh of some earphone covers or accumulate lint over time. A well-chosen material ensures that your Headphone cord holder – Pattern isn’t just a one-time craft but a long-lasting tech accessory.
For those interested in sustainable crafting, upcycling old leather belts or scrap denim is a fantastic way to execute a Headphone cord holder – Pattern without spending extra money. These materials are inherently durable and provide a “broken-in” feel that makes the cord organizer easy to open and close. Always remember to pre-wash fabrics to prevent shrinking, especially if you plan on adding decorative embroidery or topstitching to your final design.
The weight of the material also plays a role in the portability of your cable holder; you want something heavy enough to feel premium but light enough not to add bulk to your pocket. Synthetic materials like neoprene are also gaining popularity for a Headphone cord holder – Pattern because they offer water resistance and a bit of “bounce” to protect against drops. No matter the choice, the material must complement the geometric shape of the pattern to ensure a snug fit for the coiled wire.
If you are a beginner, starting with a felt pattern is highly recommended because it does not fray, meaning you won’t need to worry about complex hemming or finishing edges. You can simply cut the shape according to the Headphone cord holder – Pattern, punch a hole for the fastener, and you are ready to go. This simplicity allows you to focus on the ergonomics of the design rather than struggling with technical textile difficulties during your first attempt.
Lastly, consider the aesthetic impact of your material choice; a minimalist leather wrap looks professional in an office setting, while a brightly patterned fabric makes your headphones easy to spot in a dark bag. The Headphone cord holder – Pattern serves as a canvas for your personal expression, allowing you to match your audio accessories with your luggage or daily outfit. High-quality materials translate to a higher user experience, making the daily act of unwrapping your music a small moment of joy.
To bring a Headphone cord holder – Pattern to life, you need a specific set of tools that guarantee precision and a professional finish. For leather patterns, a sharp rotary cutter or a specialized utility knife is indispensable for achieving clean, straight edges that won’t require excessive sanding. A self-healing cutting mat is also a vital piece of equipment, protecting your work surface while providing a grid for accurate measurement and alignment.
If your Headphone cord holder – Pattern involves sewing, a heavy-duty needle (size 90/14 or 100/16) is necessary to pierce through multiple layers of fabric or leather without snapping. Using polyester thread or bonded nylon provides the tensile strength required to withstand the constant opening and closing of the cord wrap. A thimble can also be a lifesaver if you are hand-stitching, especially when navigating the tighter corners of a circular pattern.
Fasteners are the “engine” of your Headphone cord holder – Pattern, so investing in a snap setter tool or a rivet kit is a wise move for any serious crafter. These tools allow you to attach metal hardware securely, ensuring that the cord holder stays shut even when tossed around inside a cluttered backpack. For those making a crochet cord holder, a set of ergonomic hooks and a tapestry needle will be your primary instruments for weaving in ends.
Accuracy in your Headphone cord holder – Pattern is often determined by your marking tools; use a tailor’s chalk or a silver leather marking pen to trace the template onto your material. These marks should be easily removable or hidden within the seams to keep the finished product looking pristine. A metal ruler is also superior to plastic ones, as it provides a stable edge for cutting and won’t be easily nicked by your blades.
Don’t overlook the importance of edge finishing tools like burnishers or edge paint if you are working with leather on your Headphone cord holder – Pattern. These small details elevate a simple DIY project into something that looks like it was bought at a high-end boutique. Smoothing the edges prevents the material from irritating your hands and adds a level of water resistance to the most vulnerable parts of the organizer.
Finally, having a hole punch with multiple size settings allows you to customize the fit of your snaps or buttons based on the specific Headphone cord holder – Pattern instructions. Being able to create clean, circular holes is much better than trying to “poke” a hole with scissors, which can lead to tearing. With the right toolkit, the process of creating your cable management device becomes a therapeutic and rewarding experience rather than a chore.
The actual assembly of your Headphone cord holder – Pattern starts with the precise tracing of the template onto the back (flesh side) of your material. Once the shape is cut, it is helpful to do a “dry fit” by coiling your headphone cord and wrapping the material around it to ensure the dimensions are correct. If the wrap is too tight, it might strain the jack connector; if it’s too loose, the cord will simply slip out and tangle.
After confirming the fit, the next stage of the Headphone cord holder – Pattern is preparing the attachment points for your snaps or buttons. Mark the exact center for your hardware, ensuring that the two sides of the fastener align perfectly when the holder is folded. This alignment is the most critical part of the pattern execution, as even a few millimeters of deviation can cause the cord holder to look crooked or function poorly.
If you are adding a decorative element, such as a monogram or a stamped design, do this before the final assembly while the material is still flat. This is the stage where the Headphone cord holder – Pattern truly becomes unique to you, reflecting your personality through embossed leather or quilted fabric. Small details like rounded corners not only look better but also prevent the holder from catching on other items in your bag.
The sewing or assembly phase of the Headphone cord holder – Pattern should be done slowly to maintain a straight line, especially on curved edges. If you are using a sewing machine, a walking foot can help move thicker materials through the feed dogs evenly, preventing “bunching” or skipped stitches. For hand-stitched leather, using a saddle stitch technique provides the most durable bond, ensuring the Headphone cord holder – Pattern lasts for years.
Once the stitching is complete, it is time to install the hardware according to the Headphone cord holder – Pattern specifications. Use a firm surface and a mallet to set your snaps, being careful not to strike too hard and deform the metal. A successful installation results in a satisfying “click” every time you secure your earphone wires, providing a tactile sense of organization and security.
The final step in completing your Headphone cord holder – Pattern is a thorough inspection and “break-in” period. Gently flex the material to soften it up, and check for any loose threads or sharp edges that need to be trimmed or sanded. Your handmade cord organizer is now ready for its first trip, providing a stylish and effective tangle-free solution for your daily commute or travel adventures.
Maintaining your Headphone cord holder – Pattern creation ensures that it continues to protect your gear for the long haul. For leather organizers, applying a small amount of leather conditioner every few months keeps the material supple and prevents cracking from sun exposure or dry air. If you used fabric, a quick spot clean with a damp cloth is usually enough to remove any dust or oils transferred from your hands.
Customization is where the Headphone cord holder – Pattern truly shines, as you can adapt the size to fit everything from small in-ear monitors to large charging cables. Many users find that creating a “family” of holders in different colors helps them quickly identify which cord is which inside a dark backpack. This color-coding system is a simple but effective way to enhance your personal productivity and organization.
You can also modify the Headphone cord holder – Pattern to include a small keyring attachment or a carabiner clip. This allows you to hook your headphones directly to the outside of your bag or your belt loop, making them incredibly accessible for people who are constantly on the move. Adding a functional loop ensures that you never lose the holder itself while the headphones are actually in use.
For tech lovers who use wireless earbuds but still carry a charging cable, the Headphone cord holder – Pattern can be scaled down to a “mini” version. These smaller wraps are perfect for preventing those short, fragile USB-C or Lightning cables from getting lost in the depths of a laptop sleeve. Consistency in your cable management style brings a sense of order to your entire digital workspace.
Advanced crafters might experiment with multi-cord designs based on a single Headphone cord holder – Pattern. By adding extra “wings” or internal dividers, you can store both your headphones and your phone charger in one compact unit. This all-in-one organizer is a game-changer for minimalist travelers who want to reduce the number of individual items they need to track.
Ultimately, the Headphone cord holder – Pattern is more than just a craft project; it is a commitment to taking care of the technology that connects us to our music and our world. By taking the time to DIY your own cord management tools, you create a high-quality, bespoke accessory that far outclasses any plastic alternative. Share your results with the crafting community and continue to iterate on the pattern to find the perfect balance of form and function.
What is the best material for a Headphone cord holder – Pattern? The best material depends on your skill level and style. Genuine leather is highly durable and professional, while felt is excellent for beginners because it doesn’t fray. Cotton fabric offers the most variety in terms of colors and prints but requires an interface for stability.
How do I prevent my headphone wires from breaking inside the holder? To prevent damage, never wrap the cord too tightly. The Headphone cord holder – Pattern should allow for a loose coil. Avoid sharp folds near the jack or the earbuds, as these are the most common points of internal wire failure.
Can I use this pattern for USB charging cables? Yes! A Headphone cord holder – Pattern is very versatile. You may just need to scale the size up slightly for thicker power cables or braided USB-C wires to ensure the snap can still close securely.
What is the best way to clean a leather cord holder? Use a slightly damp cloth to wipe away surface dirt. Avoid soaking the leather. Use a specialized leather cleaner for deep stains and follow up with a conditioner to keep the material from becoming brittle over time.
Are snaps or Velcro better for a cord organizer? Snaps are generally better for a Headphone cord holder – Pattern because they are more durable and don’t attract lint or hair. Velcro can eventually lose its “stickiness” and can sometimes scratch the delicate coating of your headphone cables.
How long does it take to make one? If you have your Headphone cord holder – Pattern ready and your tools laid out, a basic version can be completed in about 15 to 30 minutes. It is a perfect project for using up scrap materials from larger crafts.
In conclusion, creating your own Headphone cord holder – Pattern is a simple yet highly effective way to organize your digital life while protecting your investment in high-quality audio gear. We have covered everything from selecting the right durable materials like leather and felt to the essential crafting tools and step-by-step assembly techniques required for a professional finish.
By following a structured pattern, you ensure that your cables remain tangle-free, extending their lifespan and saving you from the daily frustration of knotted wires. This DIY project is a perfect blend of functionality and personal style, allowing you to customize your tech accessories to fit your unique needs.
