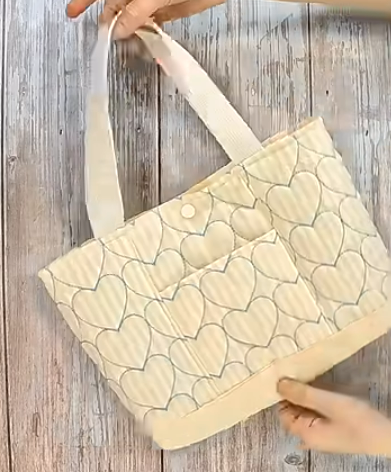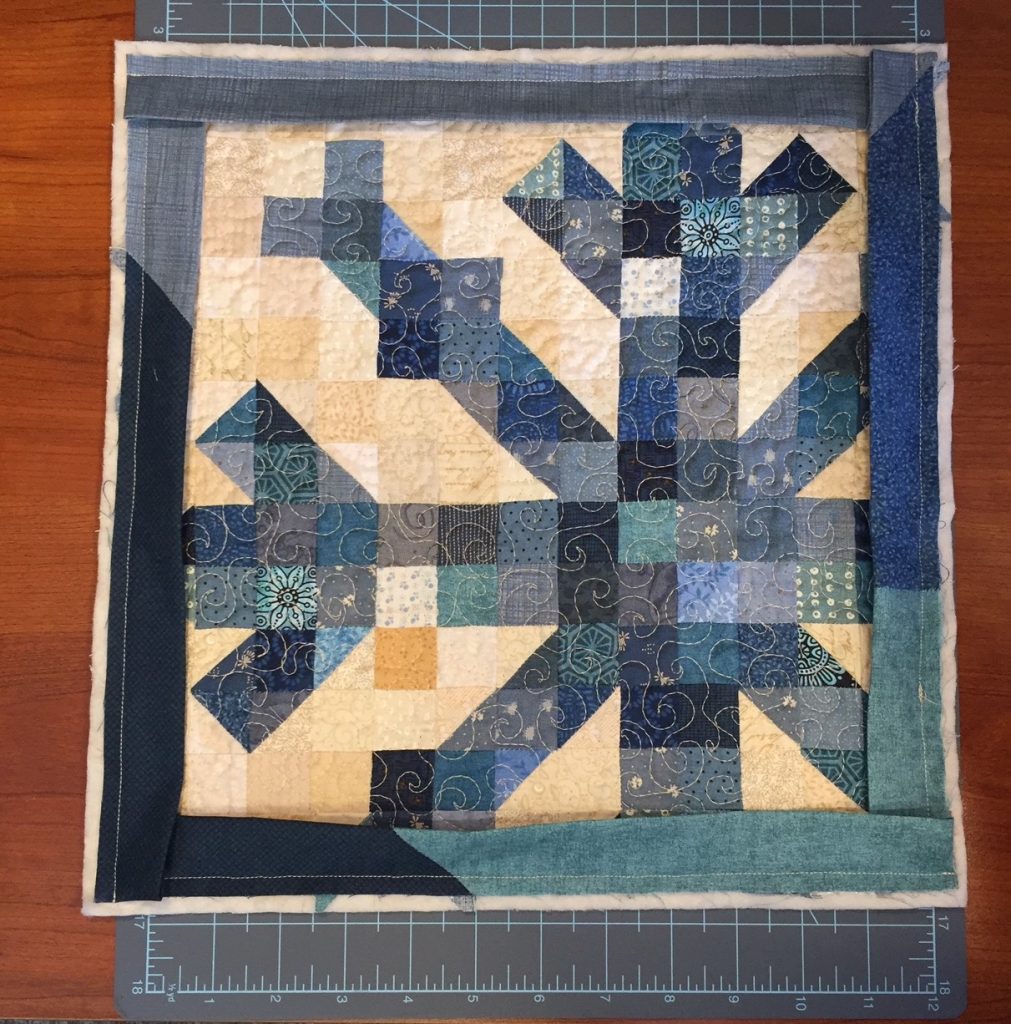
The Scrappy Mini Quilt Pattern is a delightful and creative way to use up your leftover fabric scraps while making something truly beautiful and practical. These small quilts are full of charm, personality, and color, making them perfect for beginners and experienced quilters alike. Whether you’re decorating a wall, gifting a handmade treasure, or simply experimenting with new techniques, a scrappy mini quilt offers a low-pressure and rewarding sewing experience.
One of the best things about a Scrappy Mini Quilt Pattern is its flexibility. There are no strict rules about matching colors or sticking to a theme. You can mix bold prints, solids, vintage scraps, and even fabric from old clothes. These quilts are often built organically, which means you can let your creativity flow without worrying too much about precision.
In this article, we’ll explore how to create your own Scrappy Mini Quilt Pattern, from choosing fabrics to layout design, assembly, quilting, and finishing. With detailed tips and structured guidance, this tutorial is perfect for anyone looking to dive into a fun and fulfilling project.

Before diving into the sewing process, the first step to creating a Scrappy Mini Quilt Pattern is to gather your materials. The most important component, of course, is your collection of fabric scraps.
Look through your scrap bin for pieces that are at least 2” square or larger. You’ll want a mix of colors, prints, and fabric types for variety. Don’t worry about matching colors perfectly — the beauty of a scrappy quilt lies in its unexpected combinations.
Press all your scraps so they are smooth and easy to cut. Ironing not only makes sewing easier but also helps you assess the size and usability of each piece. Trim any frayed edges or odd shapes to create clean cuts.
You’ll also need basic quilting supplies: a rotary cutter, quilting ruler, cutting mat, sewing machine, thread, pins or clips, batting, backing fabric, and binding. If you plan to hand quilt, gather your needle and thimble too.
Choose a neutral or light-colored thread to help blend the stitches across various fabrics. This will give your quilt a cohesive look even with diverse materials.
Lastly, decide on the final size of your mini quilt. Common sizes range from 12″x12″ to 24″x24″, but it’s entirely up to you. Smaller quilts make lovely mug rugs or wall art, while slightly larger ones can be used as table toppers or baby doll blankets.
Once your materials are prepped, it’s time to think about the layout of your Scrappy Mini Quilt Pattern. This is where your vision comes to life, and you can begin arranging your scraps into something truly unique.
There are endless layout possibilities. You might opt for a simple grid using squares or rectangles, or choose a more intricate design like log cabins, flying geese, or half-square triangles. For a true scrappy feel, a wonky or improv layout works beautifully.
Lay out your pieces on a flat surface or design board. Play with color placement and value (light vs. dark) to create movement and balance. You don’t need to follow any strict rules—just trust your eye and what looks good to you.
If you’re using a repeated block pattern, try alternating colors or flipping block orientations to add visual interest. Even with repetition, small changes can make your quilt dynamic and exciting.
Take a quick photo of your layout before sewing. This helps you remember your arrangement and keeps everything consistent during piecing. You might also refer back to it later if something needs to be adjusted.
If you’re new to mini quilts or want a quick finish, consider a simple checkerboard or strip layout. These classic styles are fast to sew and still allow for lots of creative variation.
Now it’s time to bring your Scrappy Mini Quilt Pattern to life with stitching. This part of the process is where the scattered scraps transform into a cohesive, quilted masterpiece.
Begin sewing your scraps together in rows or blocks, depending on your layout. Use a consistent 1/4″ seam allowance for even assembly. Press your seams open or to the side, whichever helps reduce bulk.
Continue assembling your rows or blocks until your quilt top is complete. Keep checking alignment and trim as needed to keep your edges square. Accuracy matters less in scrappy quilts, but you still want your final quilt to lay flat.
Next, prepare your quilt sandwich. Lay your backing fabric right-side down, followed by the batting and the quilt top right-side up. Baste the layers using safety pins, basting spray, or hand-stitching.
Now it’s time to quilt. For mini quilts, straight-line quilting works well and is easy to do with a regular sewing machine. Try crosshatch designs, diagonal lines, or echo stitching around shapes for added texture.
If you’re feeling adventurous, try free-motion quilting for added flair. Small quilts are great practice pieces for free-motion techniques because they’re manageable and quick to finish.
After quilting, trim the edges and square up your quilt. Add a binding using matching or contrasting fabric to frame the quilt beautifully. You can hand stitch the binding for a clean finish or machine sew it for speed.
Once your Scrappy Mini Quilt Pattern is complete, it’s time to show it off or give it as a heartfelt handmade gift. Mini quilts may be small, but their impact is big — they brighten spaces and bring joy to others.
Hang your mini quilt on a wall using a dowel, clips, or a hanging sleeve. This is a great way to display your art and enjoy your hard work every day. Quilted wall hangings also add warmth and texture to your home décor.
Use your mini quilt as a decorative table topper. Place it under a vase, candle display, or seasonal centerpiece. It protects your surfaces and adds a cozy handmade touch to any table.
Gift your mini quilt to a friend, teacher, or loved one. Because they’re small, these quilts make perfect thoughtful gifts for birthdays, holidays, or “just because.” Add a personalized label with your name and the date.
If you enjoy making mini quilts, consider joining a swap group online or in your local quilting guild. Swaps are fun, social ways to share your creations and receive one in return.
Frame your mini quilt in a shadow box or embroidery hoop. These creative presentation options elevate your quilt to true textile art and make wonderful keepsakes.
Finally, keep your favorite minis for yourself! Display them throughout your home, rotate them seasonally, or use them as inspiration for larger quilt projects in the future.
Q: What size qualifies as a mini quilt?
A mini quilt typically ranges from 12″ to 24″ in size, but there’s no strict rule. Anything smaller than a lap quilt can be considered “mini.”
Q: Can I use any type of fabric scraps?
Yes, but it’s best to stick to quilting cottons for consistency. Avoid stretchy or thick fabrics unless you’re comfortable adjusting your technique.
Q: Is the Scrappy Mini Quilt Pattern good for beginners?
Absolutely! Mini quilts are quick, forgiving, and perfect for learning basic quilting skills without committing to a large project.
Q: Do I need to use a pattern?
Not necessarily. While patterns can help guide beginners, you can also improvise and create your own design using fabric scraps.
Q: How should I quilt a mini quilt?
Straight-line quilting is the easiest option. You can also try free-motion quilting for added detail. Hand quilting is great for a traditional touch.
Q: Can I machine wash my mini quilt?
Yes, if all fabrics were prewashed. Use gentle settings and mild detergent. Air drying helps maintain its shape and color.
The Scrappy Mini Quilt Pattern is a wonderful blend of creativity, sustainability, and handmade beauty. Whether you’re making one to practice techniques, use up scraps, or create something heartfelt for someone special, each mini quilt tells a story through fabric and stitches.
Throughout this article, we explored how to gather materials, design layouts, assemble blocks, and quilt your mini masterpiece. We also shared ideas for displaying or gifting your finished project in meaningful ways.
Now it’s your turn—start stitching your own Scrappy Mini Quilt Pattern today! If you found this guide helpful or have tips and stories to share, we’d love to hear from you in the comments below. Your feedback and suggestions help build a stronger quilting community, one stitch at a time. Happy quilting!