Stained Glass Block Made From Scraps - Tutorial

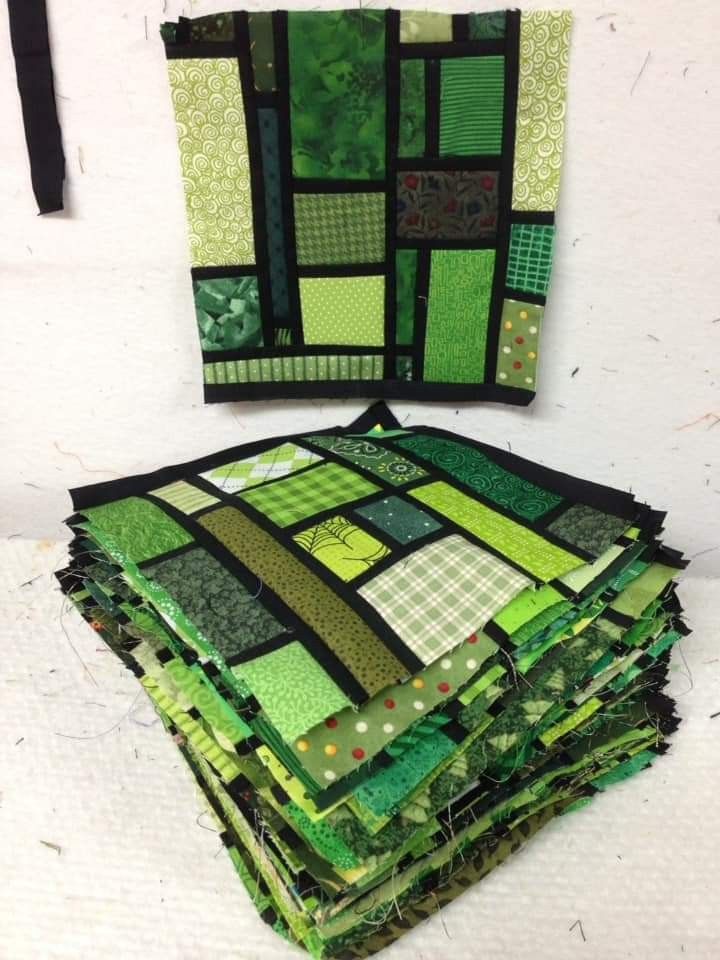
This Stained Glass Block Made From Scraps – Tutorial is a transformative journey for any quilter looking to turn their overflowing bin of fabric remnants into a luminous work of art. The “Stained Glass” technique is a beloved method in the quilting community because it mimics the dramatic contrast and vibrant glow of cathedral windows using only fabric and thread. By using this specific Stained Glass Block Made From Scraps – Tutorial, you can take those tiny, irregularly shaped pieces of cotton and frame them against a dark background to create a visual masterpiece that looks far more complex than it actually is.
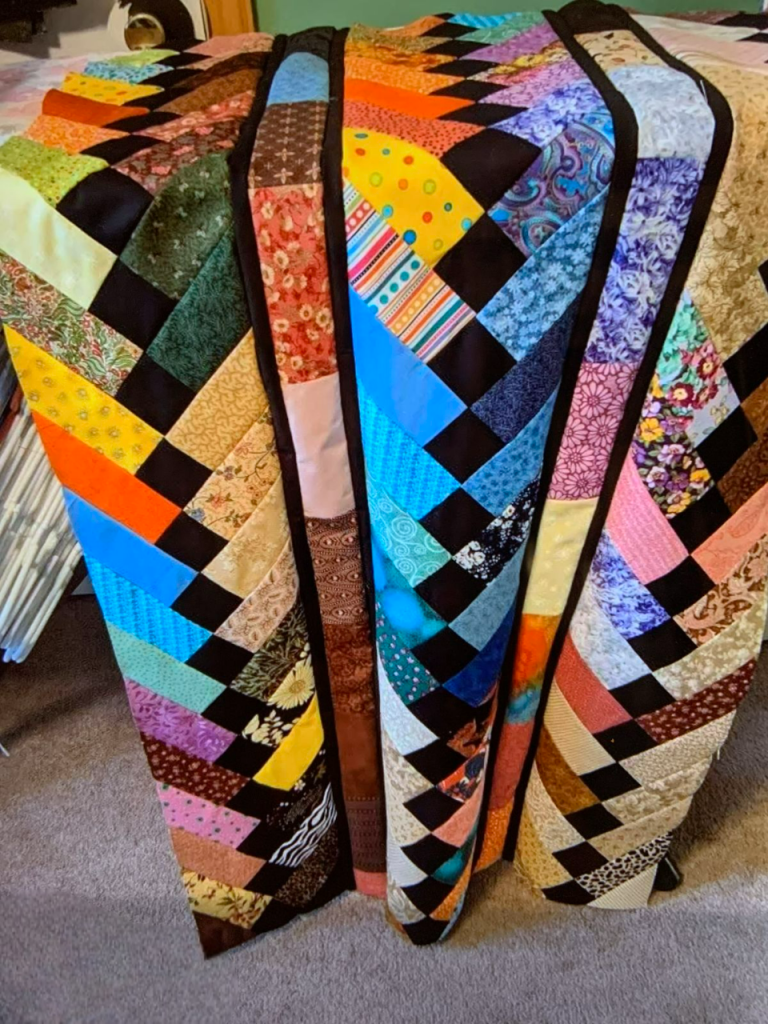
In this detailed Stained Glass Block Made From Scraps – Tutorial, we will focus on the “lead line” effect, which is typically achieved using thin strips of black or very dark navy fabric. The secret to a successful stained glass quilt lies in the selection of colors; you want your scraps to be as bright and saturated as possible to provide a stark contrast against the “leading.” This project is not only an excellent way to practice sustainable sewing by reducing waste, but it also allows for total creative freedom, as there are no “wrong” colors when you are aiming for a mosaic effect.
Whether you are planning to make a single decorative pillow or a full-sized heirloom quilt, following this Stained Glass Block Made From Scraps – Tutorial will equip you with the technical skills needed for precision appliqué and color theory. We will explore the best ways to stabilize your base, how to arrange your “glass” fragments for maximum impact, and the stitching techniques that ensure your block stays flat and durable. Grab your scrap bag and a fresh spool of black thread, because it is time to turn your textile “trash” into a shimmering treasure that captures the light.
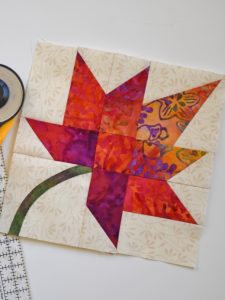
The first step in our Stained Glass Block Made From Scraps – Tutorial is the sorting process, which is often the most therapeutic part for a crafter. To achieve that authentic glass look, you should look for batik fabrics or high-quality saturated solids. Batiks are particularly effective because their mottled, hand-dyed appearance mimics the bubbles and imperfections found in real hand-blown glass, adding a layer of sophisticated texture to your quilt block.
When organizing your materials for this Stained Glass Block Made From Scraps – Tutorial, try to categorize your scraps by color family rather than size. You will need a variety of “shards”—some long and thin, others small and triangular—to fill the different sections of your mosaic. If you have scraps that are too small to be sewn traditionally, don’t worry; the stained glass method is incredibly forgiving and actually thrives on a “fragmented” aesthetic that utilizes every square inch of fabric.
A crucial component of this project is the “leading” fabric, which acts as the frame for your colors. In this Stained Glass Block Made From Scraps – Tutorial, we highly recommend using a solid black Kona cotton or a very dark charcoal. This dark frame is what creates the illusion of light passing through the block. You can either use bias tape for a traditional curved look or cut your own 1/2-inch strips for a more modern, geometric mosaic quilt pattern.
Preparation also involves choosing a foundation fabric. Since we are working with many small pieces, sewing them onto a lightweight muslin or stabilizer will prevent the block from distorting as you add more layers. This foundation acts as the “canvas” for your stained glass art. Make sure your foundation is cut slightly larger than your intended final block size to allow for trimming and squaring up later in the process.
You will also need a high-quality fusible web if you prefer the raw-edge appliqué method, which is the most common way to complete a Stained Glass Block Made From Scraps – Tutorial. The fusible web allows you to “glue” your scraps into place with an iron before you ever touch the sewing machine. This prevents the small pieces from shifting and ensures that your “lead lines” remain perfectly straight and crisp throughout the assembly.
Finally, consider the lighting in your workspace. Because you will be working with dark leading and bright scraps, good visibility is essential for matching up your edges. Using a light box can be a huge help during this stage of the Stained Glass Block Made From Scraps – Tutorial, as it allows you to see the placement of your “lead lines” through the foundation fabric, making the arrangement process much faster and more accurate.
Before you start sewing your Stained Glass Block Made From Scraps – Tutorial, it helps to have a vision for the geometry of your block. Some quilters prefer a “crazy quilt” style where the shapes are completely random, while others prefer a structured kaleidoscope or rose window design. You can draw your pattern directly onto the foundation fabric using a permanent marker, creating the “cells” where each piece of fabric glass will live.
In this Stained Glass Block Made From Scraps – Tutorial, the key to a professional look is ensuring that your “lead lines” are of a consistent width. If you are drawing your own pattern, remember that the black strips will cover the raw edges of your scraps. Therefore, each “glass” piece should be slightly larger than the cell it fills to ensure there are no gaps or “light leaks” between the fabric and the black border.
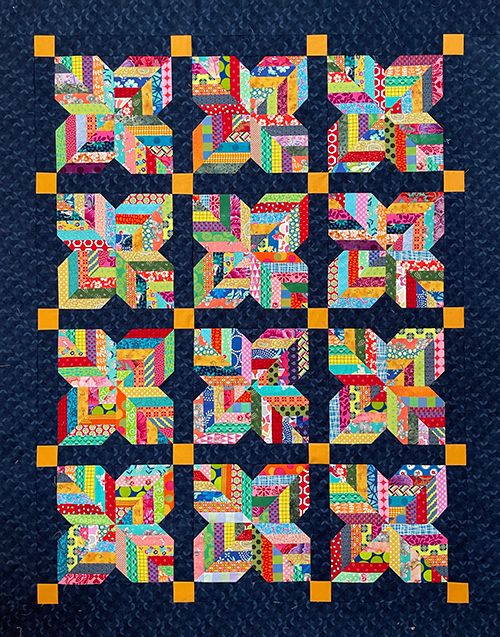
Once your pattern is drawn, start placing your scraps. A helpful tip from this Stained Glass Block Made From Scraps – Tutorial is to distribute your colors evenly across the block. If you put all your reds in one corner, the block will feel heavy on that side. Aim for a balanced “shattering” of color that draws the eye across the entire surface. This is where your color theory skills really come into play.
As you arrange the pieces, use a small amount of fabric glue or the aforementioned fusible web to tack them down. Don’t worry about the raw edges yet; the “leading” will hide all of that later. This stage of the Stained Glass Block Made From Scraps – Tutorial is very much like putting together a puzzle where you get to create the pieces as you go. It is a deeply creative and satisfying process.
If you find a “cell” that is particularly large, consider “breaking” it into two smaller ones by adding an extra lead line. This adds to the complexity and realism of the stained glass effect. The more intersections and lines you have, the more the block will resemble a traditional window. Just be mindful of the added bulk at the intersections, which we will address in the sewing phase of the tutorial.
Once you are happy with the layout, give the entire block a firm press with a hot iron. This sets the fusible material and prepares the block for the most iconic part of the Stained Glass Block Made From Scraps – Tutorial: adding the black leading. Take a photo of your layout before you start the final press, just in case a stray piece of fabric shifts and you need to remember exactly where it belonged.
The application of the black strips is what truly defines the Stained Glass Block Made From Scraps – Tutorial. You will start by covering the longest lines first, then working your way down to the shorter “connector” lines. By layering the strips in a specific order, you can hide the raw ends of the shorter strips under the longer ones, creating a seamless and clean textile architecture that looks incredibly professional.
As you pin or fuse the black strips over the raw edges of your scraps, ensure they are centered over the “seams” of your mosaic. In this Stained Glass Block Made From Scraps – Tutorial, we recommend using a narrow zigzag stitch or a blanket stitch to secure the lead lines. Using a matching black thread is non-negotiable here; you want the thread to disappear into the fabric, leaving only the textured line behind.
Slow and steady is the motto for this part of the Stained Glass Block Made From Scraps – Tutorial. When you reach an intersection where multiple black strips meet, your needle will be going through several layers of fabric and stabilizer. A 90/14 topstitch needle is ideal for this, as it has a larger eye and a sharper point to handle the density without skipping stitches or breaking the thread.
To add even more realism, some quilters choose to use a satin stitch for the leading. This involves a very tight, dense zigzag that completely covers the black fabric strip, giving it a raised, three-dimensional look similar to actual lead cames in a window. While this takes more time and consumes more thread, the result is a high-end art quilt finish that is sure to impress anyone who sees it.
If your block begins to “wave” or ripple during the stitching process, it is likely due to the tension of your machine. Since the Stained Glass Block Made From Scraps – Tutorial involves many lines of stitching in different directions, it is easy for the fabric to get pulled. Using a walking foot and decreasing your upper thread tension slightly can help keep the block perfectly flat and square.
Once all the lines are stitched, flip the block over to inspect the back. You should see a beautiful “map” of your stitching. Trim any long thread tails and give the block a final press from the back side first, then the front. This helps the stitches sink into the fabric, making the stained glass motif appear as one unified piece of cloth rather than a collection of separate layers.
The final phase of our Stained Glass Block Made From Scraps – Tutorial is squaring up the block to its finished size. Over the course of all that stitching, the edges may have become slightly uneven. Use a rotary cutter and a square ruler to trim the block, ensuring that you leave at least a quarter-inch of “leading” or background fabric on all sides to act as your seam allowance for joining.
Adding a border can dramatically enhance the “window” effect of your Stained Glass Block Made From Scraps – Tutorial. A simple, wide black border acts as the “wall” around the window, making the colors in the center appear even brighter. Alternatively, you could use a “floating” border with a thin strip of accent color to pick up one of the brighter shades from your fabric scraps.
For those who want to turn their block into a wall hanging, this Stained Glass Block Made From Scraps – Tutorial suggests using a hidden sleeve on the back for a hanging rod. This allows the art to speak for itself without visible clips or hooks. If you are making a quilt, consider using “stitch in the ditch” quilting around the lead lines to emphasize the 3D nature of the mosaic design.
Care for your finished project is simple but important. Because of the density of the stitching and the black fabric, we recommend using color catcher sheets the first time you wash the item. This prevents any of the black dye from bleeding onto your bright, “glass” scraps. A gentle cycle and air-drying will ensure your handmade masterpiece stays vibrant and structural for years.
In this Stained Glass Block Made From Scraps – Tutorial, we have focused on the traditional aesthetic, but don’t be afraid to innovate. You can use metallic threads for a “gold leaf” look or even add beadwork to the intersections of the lead lines. The “Stained Glass” technique is a gateway to experimental textile art that bridges the gap between quilting and traditional stained glass craftsmanship.
Congratulations on completing your block! You have successfully turned a pile of useless leftovers into a stunning piece of fabric art. This Stained Glass Block Made From Scraps – Tutorial is a testament to the fact that with a little creativity and a dark background, every piece of fabric has the potential to shine. We hope this inspires you to keep exploring the endless possibilities of scrap quilting.
1. Can I use this Stained Glass Block Made From Scraps – Tutorial with silk or polyester?
Yes! While cotton is the easiest to work with, shiny fabrics like silk, satin, or even organza can add a beautiful “glass-like” sheen to the project. Just be sure to use an appropriate needle and perhaps a bit more stabilizer to prevent slipping.
2. What happens if my black fabric bleeds into the bright scraps?
This is a common concern. Always pre-wash your black fabric or use a dye fixative. If bleeding occurs after the project is finished, soak it in cold water with a color catcher immediately. Avoid using hot water on high-contrast quilts.
3. Is it possible to do this without a sewing machine?
While a machine is much faster, you can absolutely complete this Stained Glass Block Made From Scraps – Tutorial using hand-appliqué techniques. You would use a “hidden stitch” or a decorative “buttonhole stitch” to secure the lead lines by hand.
4. How small can the scraps be for this tutorial?
You can use scraps as small as half an inch, as long as they are large enough to be partially covered by the leading on all sides. This makes it the ultimate “crumb quilting” project for those tiny, precious remnants.
5. Do I have to use black for the lead lines?
Not at all! While black is traditional, you can use dark navy, deep forest green, or even a dark variegated thread. The key is to use a color that is significantly darker than your “glass” pieces to maintain the stained glass illusion.
6. Can I make this block into a pillow cover?
Absolutely! This is one of the most popular uses for a single stained glass block. Simply add a backing and a zipper or envelope closure, and you have a stunning, customized home decor piece.
In this Stained Glass Block Made From Scraps – Tutorial, we have explored the intricate and rewarding process of turning simple fabric leftovers into a glowing mosaic. We covered the importance of high-contrast fabric selection, the drafting of a balanced mosaic layout, and the technical precision required for stitching lead lines.
This project is a perfect marriage of organization and creativity, allowing you to clean out your scrap bin while producing a piece of textile art that carries deep visual impact. By following these steps, you have mastered a technique that can be applied to everything from small coasters to massive art quilts, all while embracing a “humanized” and sustainable approach to crafting.


