
Patchwork Bird Tutorial

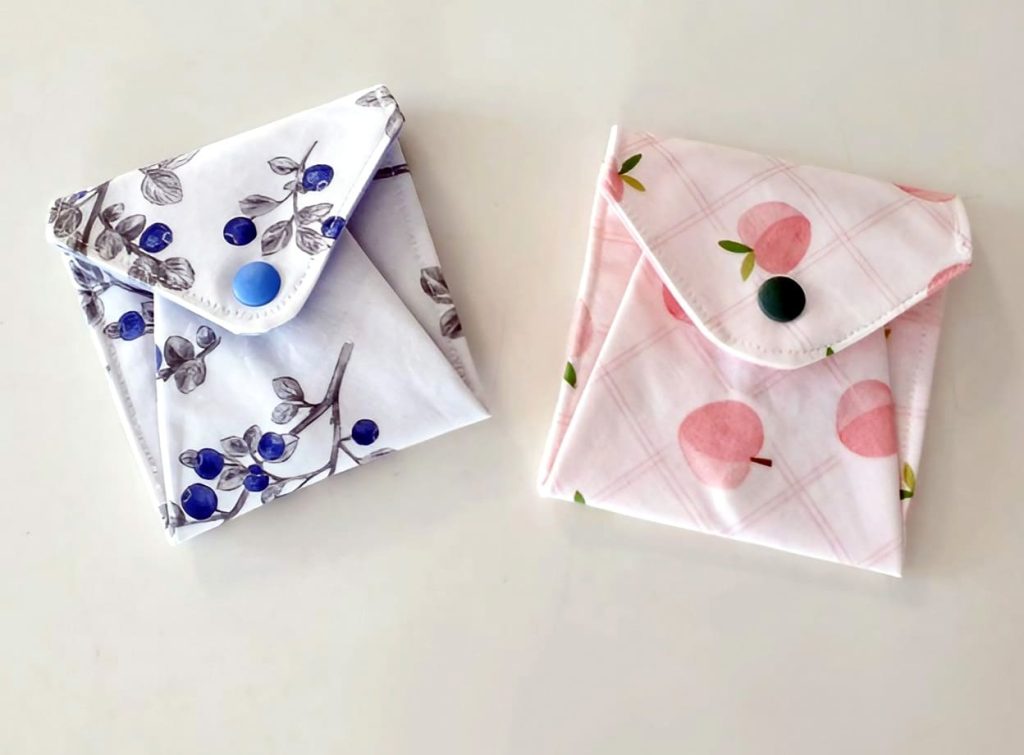
Finding the perfect DIY Easy Card Holder – Pattern is the first step toward creating a functional, stylish, and handmade accessory that simplifies your daily life. In a world where we are constantly moving toward digital payments, having a slim, reliable way to carry your essential physical cards is more important than ever. Whether you are a seasoned sewist or a complete beginner looking for your first project, a DIY Easy Card Holder – Pattern offers a satisfying balance of simplicity and utility that few other crafts can match.
Many people find themselves overwhelmed by bulky wallets that take up too much space in pockets or small handbags. By utilizing a high-quality DIY Easy Card Holder – Pattern, you can customize your carry to fit exactly what you need—nothing more, nothing less. This project is not just about utility; it is about the joy of making something with your own hands that looks professional and serves a clear purpose in your routine.
When you dive into the world of handmade accessories, you realize that the DIY Easy Card Holder – Pattern is the ultimate “scrap-buster” project. You don’t need yards of expensive fabric to get started; often, the most beautiful results come from small leftovers of leather, cork, or sturdy cotton. Over the next few sections, we will explore the best materials, the step-by-step assembly process, and the professional finishing touches that will make your DIY Easy Card Holder – Pattern stand out as a piece of functional art.
Selecting the right textile is the foundation of any successful DIY Easy Card Holder – Pattern project because the thickness determines how many cards it can comfortably hold. For those who want a classic, rugged look, vegetable-tanned leather is an excellent choice as it ages beautifully and provides natural structure without needing extra stabilizers.
If you prefer working with a sewing machine and standard fabrics, heavy-duty canvas or denim works wonderfully for a DIY Easy Card Holder – Pattern. These materials are durable enough to withstand constant friction inside a pocket while being thin enough to sew through multiple layers without breaking needles.
Interfacing is a hidden hero when you are using a lightweight DIY Easy Card Holder – Pattern design. Adding a layer of firm fusible fleece or woven interfacing to cotton fabrics ensures that your card holder doesn’t become floppy or lose its shape after just a few weeks of use.
Sustainability is another great angle to consider when selecting your DIY Easy Card Holder – Pattern supplies. Upcycling old leather jackets or sturdy upholstery samples not only gives your project a unique character but also reduces waste, making your craft as eco-friendly as it is stylish.
Hardware can elevate a simple DIY Easy Card Holder – Pattern from basic to boutique-quality. Consider adding a small metal snap, a magnetic closure, or even a grommet for a keychain attachment to increase the functionality of your finished piece.
Finally, don’t forget the importance of high-quality thread; when you are sewing a DIY Easy Card Holder – Pattern, the seams are under significant tension from the cards being inserted and removed. Using a polyester or nylon bonded thread ensures that your handmade accessory stays together for years to come.
The beauty of a DIY Easy Card Holder – Pattern lies in its minimalist construction, usually involving just a few precisely cut rectangles. Start by printing your pattern at 100% scale to ensure that standard credit cards and IDs will actually fit into the finished slots with a tiny bit of “wiggle room.”
Once your pieces are cut, the first active step in the DIY Easy Card Holder – Pattern process is preparing the pockets. Folding the top edges of the card slots and top-stitching them provides a clean, professional finish that prevents the fabric from fraying over time.
Alignment is critical when stacking the layers of your DIY Easy Card Holder – Pattern. Use wonder clips instead of pins if you are working with leather or vinyl, as pins will leave permanent holes in the material that can ruin the aesthetic of your project.
Basting the side seams of your DIY Easy Card Holder – Pattern before the final stitch helps keep all the internal pockets from shifting. This is a “pro-tip” that ensures your card slots remain perfectly symmetrical and that the final dimensions stay true to the original design.
When it comes to the final perimeter stitching, slow and steady wins the race for a DIY Easy Card Holder – Pattern. If you are using a sewing machine, use a longer stitch length (around 3.0mm to 3.5mm) to create a clean, modern look that mimics high-end leather goods.
To finish the main body of the DIY Easy Card Holder – Pattern, make sure to backstitch securely at the beginning and end of your seams. This prevents the most high-stress areas of the card holder from unraveling when you are pulling out your bank cards in a hurry.
Personalization is where your DIY Easy Card Holder – Pattern truly comes to life, allowing you to move beyond the basic template. You can experiment with “color-blocking” by using different colored fabrics for each card slot, creating a vibrant and modern visual contrast.
Adding an RFID-blocking lining is a smart upgrade for any DIY Easy Card Holder – Pattern. By sandwiching a layer of specialized shielding fabric between your outer material and the lining, you add a layer of digital security to your handmade wallet.
Embroidery and monogramming are fantastic ways to make a DIY Easy Card Holder – Pattern a perfect gift for friends or family. Small initials stitched into the corner add a touch of luxury and show that the item was crafted specifically for the recipient.
If you are following a leather DIY Easy Card Holder – Pattern, you can explore the art of edge burnishing. Using a wooden slicker and some beeswax, you can turn raw, fuzzy edges into smooth, shiny perimeters that look like they came from a high-end fashion house.
For those who need to carry more than just cards, you can slightly modify the DIY Easy Card Holder – Pattern to include a central “cash “pocket.” By adding just a few millimeters to the width, you create enough space for folded bills without ruining the slim profile of the design.
Don’t be afraid to experiment with the pocket shapes within your DIY Easy Card Holder – Pattern. Instead of straight horizontal lines, you can cut thumb-slides or slanted angles to make it easier to grab your most-used cards while adding a unique geometric flair.
Making a DIY Easy Card Holder – Pattern is only half the journey; knowing how to care for it ensures it lasts. If you chose a fabric-based design, applying a fabric protectant spray can help repel dirt and liquids, keeping the colors bright and clean.
For leather versions of the DIY Easy Card Holder – Pattern, occasional conditioning with a specialized balm prevents the material from drying out and cracking. This is especially important if you keep the holder in a back pocket where body heat and friction are constant.
If your DIY Easy Card Holder – Pattern begins to stretch over time—a common occurrence with natural materials—try to avoid overstuffing it. Most card holders are designed for 2 to 4 essential cards; forcing more can permanently distort the shape and weaken the stitching.
Inspect the seams of your DIY Easy Card Holder – Pattern every few months for signs of wear. If a thread pops, it is much easier to fix a single stitch immediately than to wait until the entire pocket falls apart, requiring a total reconstruction.
Cleaning your DIY Easy Card Holder – Pattern should be done gently; for fabric, a damp cloth with mild soap is usually enough. Never put a handmade card holder in the washing machine or dryer, as the high heat and agitation can ruin the structural integrity of the internal stabilizers.
Finally, remember that the more you use your DIY Easy Card Holder – Pattern, the more character it develops. The small scratches, the softening of the fabric, and the slight patina are all marks of a well-loved, handmade item that serves you every single day.
How much fabric do I need for a DIY Easy Card Holder – Pattern?
Usually, you only need about a fat quarter or even smaller scraps (roughly 10×10 inches). It is one of the most efficient projects for using up leftover materials from larger sewing tasks.
Is a DIY Easy Card Holder – Pattern suitable for beginners?
Absolutely! Most patterns involve only straight lines and basic folding. It is an ideal project for practicing seam allowance and layered stitching without the commitment of a large garment.
Can I sew a leather DIY Easy Card Holder – Pattern on a domestic sewing machine?
Yes, provided the leather is thin (around 1-2 oz or 0.8mm-1.0mm). You will need a specific leather needle and a Teflon foot to help the material glide through the machine without sticking.
How do I make the card slots tighter in my DIY Easy Card Holder – Pattern?
If the cards feel loose, you can increase your seam allowance by 1/8th of an inch. This will slightly reduce the internal width of the pocket, creating a more snug fit for your cards.
Will standard credit cards fit in this DIY Easy Card Holder – Pattern?
Standard credit cards are approximately 3.375 x 2.125 inches. Most patterns are designed with a 1/4 inch seam allowance to ensure these cards fit perfectly while leaving room for the thickness of the material.
What is the best way to print the DIY Easy Card Holder – Pattern?
Always print at “Actual Size” or “100% Scale.” Most patterns include a 1-inch or 2-centimeter test square that you should measure with a ruler after printing to ensure the dimensions are accurate before you start cutting fabric.
In this guide, we have explored everything you need to know about creating a high-quality DIY Easy Card Holder – Pattern. From selecting durable materials like leather or reinforced cotton to mastering the art of precise assembly and personalization, you now have the tools to create a functional accessory that rivals store-bought versions.
We covered the importance of interfacing for structure, techniques for clean stitching, and how to maintain your creation for years of use.


