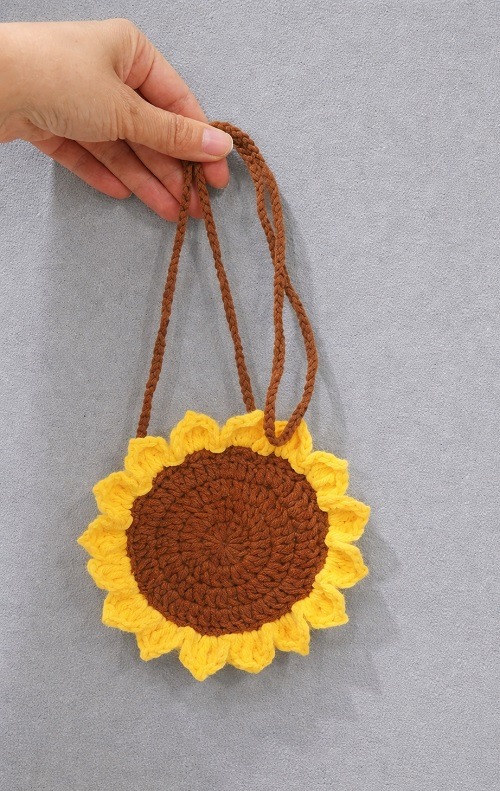
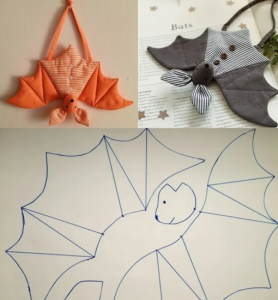
String Bag With Floral Motif - Tutorial

If you’re looking to add a touch of fun and Disney magic to your home decor, then Mickey Mouse Coasters for Beginners – Pattern is the perfect place to start. These adorable coasters not only serve a practical purpose but also bring a nostalgic and playful vibe to any table setting. Whether you’re an absolute crochet beginner or someone just looking for a cute weekend project, this pattern is both easy and enjoyable to follow.
Creating Mickey Mouse coasters is a great way to build your crafting confidence while making something that’s both decorative and functional. Since the shapes are relatively simple—mostly circles with some added ears—it’s an ideal first project for those new to crochet or crafting in general. Plus, they’re small, which means they work up quickly and are incredibly satisfying to complete.
This guide will walk you through the best tips, tools, and techniques for mastering the Mickey Mouse Coasters for Beginners – Pattern. We’ll also share how to personalize your coasters, where to find beginner-friendly resources, and why this project is a great starting point for anyone entering the world of handmade home decor.

The design of Mickey Mouse Coasters for Beginners – Pattern is beginner-friendly for several reasons, starting with its simplicity. You don’t need advanced techniques or tools—just basic crochet knowledge, a few materials, and a willingness to learn.
First, the pattern mostly uses basic stitches such as single crochet and slip stitch. These are often the first stitches taught in beginner courses, making this project a natural extension of early learning.
Second, each coaster consists of three main parts: one large circle for the head and two smaller circles for the ears. This repetition makes it easier to practice consistent tension and stitch count without overwhelming complexity.
Another advantage is the small size of the project. You can complete a single Mickey Mouse coaster in under an hour once you get the hang of the pattern. This offers a rewarding experience without a huge time commitment, which is ideal for keeping motivation high.
Additionally, the coasters are incredibly forgiving. Minor mistakes won’t ruin the look, and slight differences in stitch size can often be hidden or corrected during the final stitching and shaping phase.
You also don’t need to invest in expensive yarn or tools. A basic cotton yarn in black (and optionally red or yellow) along with a 4mm crochet hook will get the job done. Many beginners already have these items in their starter kits.
Lastly, the final result is fun and functional. It’s exciting to see your work come to life in the shape of the iconic Mickey silhouette, and it’s even more rewarding when you can use it around the house or give it as a gift.
To get started with the Mickey Mouse Coasters for Beginners – Pattern, you’ll need just a few basic tools and materials. Most of them are likely already in your stash if you’ve tried crochet before.
First, choose the right type of yarn. Cotton yarn is the most recommended for coasters because it’s absorbent and holds its shape well. Stick with black for a classic Mickey look, or add red and yellow for extra character.
Next, you’ll need a crochet hook that matches the yarn size. For most cotton yarns, a 4mm (G-6) hook works perfectly. Always check your yarn label for the recommended hook size.
You’ll also want a yarn needle for weaving in ends. Since the coaster involves stitching the ears to the main head piece, the yarn needle will help you do this neatly and securely.
Having scissors on hand is a must, especially for cutting yarn ends and trimming after weaving. A small, sharp pair is best for precision work on smaller projects like coasters.
Some crafters also like to use stitch markers to keep track of the rounds. While not absolutely necessary for this pattern, they can help beginners stay on track and avoid losing count of stitches.
Lastly, consider using a blocking mat if you want the coaster to have a super polished look. After finishing, you can pin the coaster into shape and lightly steam it to set the stitches evenly.
One of the joys of working with the Mickey Mouse Coasters for Beginners – Pattern is the endless opportunity for customization. Even though the base pattern is simple, a few creative tweaks can turn each coaster into something totally unique.
Start with color. While black is the standard choice for Mickey’s silhouette, you can play with vibrant shades like red, white, or pastel tones for themed variations. Consider making a set with different colors to match holidays or room decor.
You can also add details like a small red bow for a Minnie Mouse version. This requires only a few extra stitches and transforms the coaster into a lovely gift idea for Disney fans.
For added texture and fun, try using different yarn types. While cotton is recommended for practicality, experimenting with textured or glitter yarn can give your coasters a whimsical flair—just note they may not be as absorbent.
Consider personalizing the coasters by stitching initials or dates into the back. This is a thoughtful touch, especially if you’re giving them as party favors or holiday gifts.
Some crafters add a felt backing for extra stability. This helps the coaster lay flat and adds an extra layer of protection to your surfaces. Make sure to choose felt in matching or contrasting colors to complement your design.
Lastly, if you’re confident with your crochet skills, consider scaling the pattern up to create a matching placemat set. Simply increase the stitch count proportionally, and you’ll have a full Mickey Mouse-themed table setting in no time.
When working with the Mickey Mouse Coasters for Beginners – Pattern, a few smart tips can help ensure success and a professional-looking result. Let’s explore how to avoid common beginner pitfalls.
First, read through the entire pattern before starting. This helps you understand the construction and anticipate what comes next. It’s much easier to crochet with confidence when you know the full scope of the steps involved.
Second, practice the basic stitches if you’re still new. The pattern relies mostly on single crochet, so getting consistent tension and clean rows will improve your final product.
Third, use a stitch counter or tally system to track your rounds. Losing count can affect the shape of your coaster, especially with circular designs.
Fourth, join your ears carefully. Attaching the smaller circles to the main one should be done with symmetry in mind. Use pins or stitch markers to lay out placement before sewing to avoid lopsided results.
Fifth, block your coasters if needed. Blocking helps the final product sit flat and look polished. Light steam blocking is enough for cotton yarn—just be cautious not to overdo it.
Lastly, enjoy the process and don’t worry about perfection. The charm of handmade items lies in their uniqueness. Even if it’s not 100% symmetrical, your Mickey Mouse coaster will still bring joy and serve its purpose beautifully.
Q1: Can complete beginners make Mickey Mouse coasters?
Absolutely! The Mickey Mouse Coasters for Beginners – Pattern is designed to be simple, using basic stitches that most beginners can master quickly.
Q2: What yarn is best for Mickey Mouse coasters?
Cotton yarn is ideal because it’s absorbent and holds shape well. Stick with medium-weight (worsted) yarn for best results.
Q3: How many coasters can I make with one skein of yarn?
One skein of 100g cotton yarn can typically make 4 to 6 coasters, depending on your stitch tension and coaster size.
Q4: Can I wash the coasters?
Yes! If you use cotton yarn, the coasters can be hand or machine washed. Lay flat to dry to keep their shape intact.
Q5: Where can I find the pattern?
There are many free and paid versions of the Mickey Mouse Coasters for Beginners – Pattern available on platforms like Etsy, Ravelry, and craft blogs.
Q6: Can I sell the coasters I make?
Yes, but be sure to check if the pattern you’re using allows for commercial use. Also, be mindful of Disney’s trademark when marketing them.
The Mickey Mouse Coasters for Beginners – Pattern is a delightful and accessible project for anyone looking to dip their toes into crafting or crochet. With just a few tools, a bit of yarn, and some creativity, you can bring this beloved character to life in a fun and functional way.
We hope this guide has helped you understand the steps, tools, and customization ideas that make this pattern so enjoyable. Whether you’re crafting solo, with kids, or for gifts, these coasters are sure to be a hit.
Have you tried this pattern? We’d love to hear your thoughts! Leave a sincere comment below with your experience or any suggestions you have for future guides. Your feedback helps us continue creating content that inspires and supports creative minds like yours.

