
Crochet Flower - Tutorial

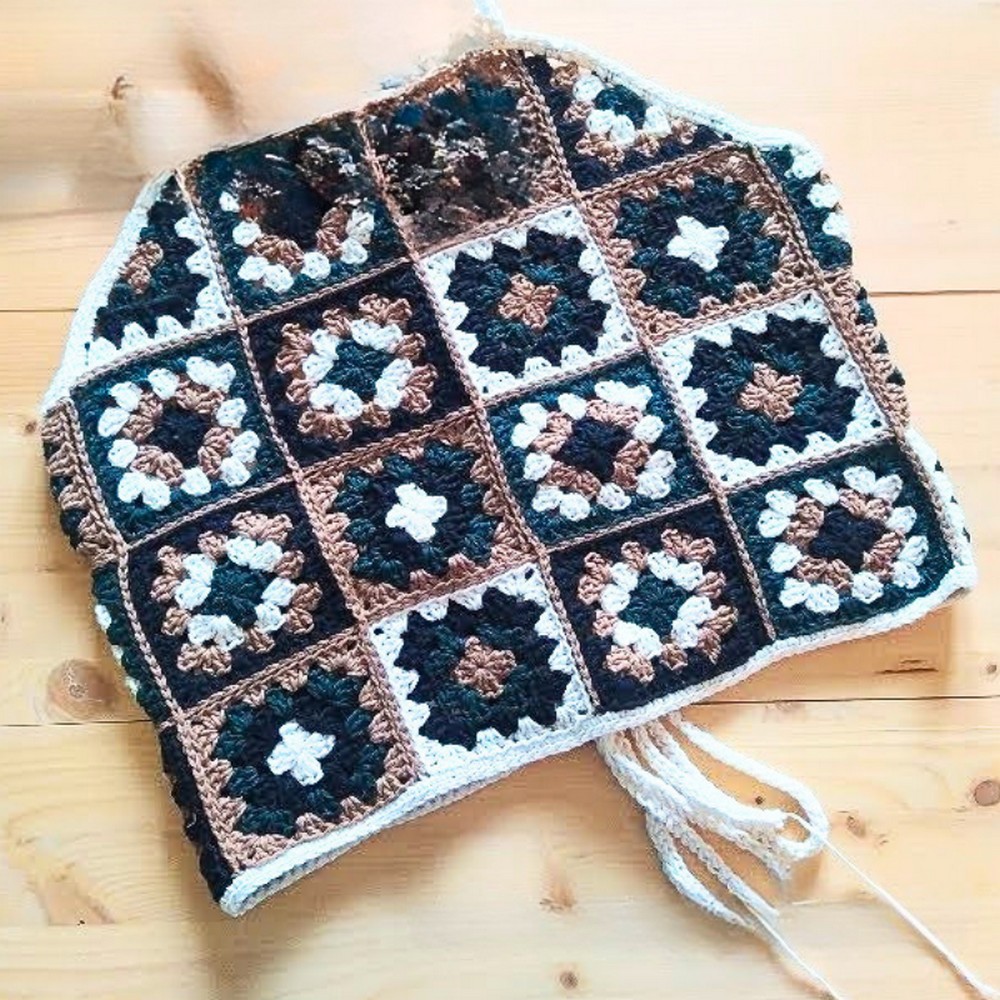
This Crochet Granny Square Top – Tutorial is your ultimate guide to creating one of the most iconic and timeless pieces in the world of handmade fashion. Whether you are aiming for a bohemian summer look or a cozy layered vest for the cooler months, mastering the art of the granny square allows you to build a garment that is entirely unique to your personal style. In this article, we will break down the construction process, from selecting the right crochet hooks to joining your motifs into a flattering, wearable silhouette that looks professionally made.
Starting a Crochet Granny Square Top – Tutorial is an excellent project for those who want to move beyond simple scarves and blankets and dive into the world of crochet garment construction. The beauty of the granny square is its modular nature; you can work on individual pieces while traveling or relaxing, and then bring them all together for a satisfying assembly phase. By using high-quality cotton yarn or soft acrylic blends, you ensure that your top is not only beautiful to look at but also comfortable enough for all-day wear against the skin.
In this comprehensive Crochet Granny Square Top – Tutorial, we are focusing on a design that is inclusive and easily adjustable for all body types. We will explore how to calculate the number of squares needed for different sizes and how to choose a color palette that reflects current fashion trends. As we progress through each step, you will learn technical tips for maintaining perfect gauge, ensuring that your squares are uniform in size, which is the secret to a well-fitting, symmetrical handmade crochet top that you will be proud to wear or gift.
The first step in our Crochet Granny Square Top – Tutorial is selecting a yarn that offers both durability and drape. For a summer top, a 100% mercerized cotton or a cotton-bamboo blend is ideal because it is breathable and holds its shape well after washing. If you prefer a softer, more rustic look, a lightweight wool blend (Category 3/DK) can provide a beautiful texture that feels high-end and artisanal.
Selecting the correct crochet hook size is just as important as the yarn itself. Most DK weight yarns pair perfectly with a 4.0mm (G/6) hook, but if you tend to crochet tightly, you might want to size up to a 4.5mm hook to ensure your squares don’t become too stiff. A flexible, soft square is essential for a top that moves with your body rather than feeling like a rigid piece of armor.
In this Crochet Granny Square Top – Tutorial, we also recommend having a variety of stitch markers and a sharp pair of embroidery scissors on hand. When working with multiple colors, you will have many yarn tails to manage, so a high-quality tapestry needle is a must-have for weaving in ends securely. Organizing your materials before you start will make the creative process much more enjoyable and efficient.
Color theory plays a massive role in the visual impact of your granny square motif. You can go for a “scrap-buster” look by using various leftover colors for a retro 70s vibe, or choose a sophisticated monochromatic palette for a modern, minimalist aesthetic. Planning your colors row-by-row before you begin the first square will help you maintain a cohesive look throughout the entire crochet project.
Don’t forget to check your yarn dye lots if you are buying multiple skeins of the same color. Even a slight variation in shade can be noticeable when squares are joined together in a large garment like a Crochet Granny Square Top. Buying all your yarn at once ensures that the “background” color of your motifs remains perfectly consistent from the front panel to the back panel.
Lastly, consider the weight of the finished garment. Since a top requires many squares, using a yarn that is too heavy (like bulky or super bulky) can result in a garment that feels weighed down. A lightweight yarn ensures that your Crochet Granny Square Top – Tutorial results in a piece that is airy, comfortable, and suitable for layering over dresses or wearing as a standalone summer piece.
The core of our Crochet Granny Square Top – Tutorial is the classic motif, which usually starts with a magic ring or a small chain loop. The standard pattern consists of “clusters” of three double crochets separated by chain spaces. This creates the breathable, lace-like structure that makes the granny square so famous and recognizable in the fiber arts community.
During this phase of the Crochet Granny Square Top – Tutorial, consistency is your best friend. You must ensure that every square has the exact same number of rounds and the same stitch tension. If one square is even half an inch larger than the others, the entire top will look distorted once it is assembled. Measuring your first few squares against a blocking template is a great way to stay on track.
When changing colors between rounds, use a secure slip stitch or the “invisible join” method to keep the transitions seamless. This is a key part of making a professional-looking crochet garment. In this crochet tutorial, we emphasize the importance of weaving in your ends as you go; there is nothing more daunting than finishing 20 squares and realizing you have 80 yarn tails to hide!
To add a modern twist to your Crochet Granny Square Top, you can experiment with the “solid granny square” variation. This eliminates the large gaps and creates a more opaque fabric, which is perfect for the bust area of the top. Mixing traditional lace squares with solid crochet squares is a fantastic way to play with texture and transparency in your fashion designs.
As you work through your squares, keep an eye on your corner increases. Each corner should consist of two clusters separated by two or three chains. This creates the sharp 90-degree angle needed for a perfect square. If your corners are too tight, the square will begin to curl or “bowl,” making it difficult to join later in the Crochet Granny Square Top – Tutorial process.
Remember that the number of squares you need depends on your desired length and width. A typical cropped crochet top might require 12 to 16 large squares, while a full-length tunic could require 30 or more. Laying your finished squares out on a flat surface in a grid will help you visualize the final dimensions and ensure you have enough crochet motifs before you start the joining phase.
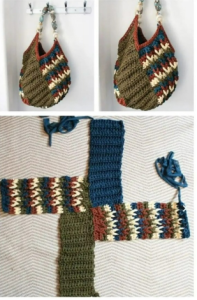
The joining stage is where your Crochet Granny Square Top – Tutorial really comes to life. There are several ways to connect your squares, but the most popular for garments is the slip stitch join or the invisible mattress stitch. The slip stitch join creates a slightly raised, decorative ridge on the outside, while the mattress stitch provides a flat, nearly invisible seam that feels smooth against the skin.
For those who want a more decorative finish, the “join-as-you-go” (JAYG) method is a game-changer. This technique involves connecting the squares during the final round of crochet, which eliminates the need for sewing later. It creates a beautiful, cohesive lace mesh between the squares that adds an extra layer of detail to your Crochet Granny Square Top – Tutorial project.
When joining, always start with the horizontal rows and then move to the vertical seams. This systematic approach prevents the fabric from bunching and ensures that the corners align perfectly. Use locking stitch markers to pin the squares together at the corners before you start sewing or crocheting them together; this keeps everything in place and prevents lopsided seams.
The fit of your Crochet Granny Square Top can be adjusted during the joining phase by adding “filler” rows of double crochet along the sides if you need a bit more width. This is a common crochet hack for making garments that are custom-sized. If the top feels too loose, you can use a smaller hook for the joining stitches to pull the fabric in slightly for a more tailored look.
Don’t forget to leave openings for the head and arms! In this Crochet Granny Square Top – Tutorial, we recommend trying the garment on frequently as you join the panels. You can use temporary safety pins to hold the shoulder and side seams together to check the drape and length. This “measure twice, sew once” philosophy is vital for successful handmade fashion.
The final structure usually consists of two main panels—the front and the back. Once these are joined at the shoulders and sides, you will see the silhouette of the top emerge. If you want a more modest look, you can add a scalloped border or a few rows of single crochet around the armholes and neckline to provide a clean, finished edge that prevents the garment from stretching out over time.
Every Crochet Granny Square Top – Tutorial must conclude with the essential step of blocking. Blocking is the process of wetting your finished garment and pinning it to a specific shape to dry. This relaxes the yarn fibers, evens out the stitches, and ensures that the seams lay flat. It transforms a “homemade” looking item into a high-quality boutique-style garment.
To block your crochet top, soak it in lukewarm water with a bit of wool wash, gently squeeze out the excess moisture (never wring it!), and lay it flat on a blocking mat. Use rust-proof pins to secure the edges, making sure the squares are perfectly aligned. This step is especially important if you used cotton yarn, as it tends to “settle” into its final shape during the drying process.
Once the top is dry, you can add final embellishments like tassels, a fringe along the bottom hem, or even delicate crochet ties at the neck. Adding a ribbed hem using front-post and back-post double crochets can give your Crochet Granny Square Top a more structured, store-bought appearance while maintaining the charm of a handmade creation.
Care instructions are vital for the longevity of your Crochet Granny Square Top – Tutorial masterpiece. Always recommend hand-washing and laying flat to dry. Because crochet items can be heavy when wet, hanging them on a hanger can cause the shoulders to stretch out and lose their shape. Treating your top with care will ensure it remains a staple in your wardrobe for many years.
If you find that the neckline is too wide, you can easily “fix” it by weaving a thin crochet chain or a ribbon through the stitches to create a drawstring effect. This flexibility is what makes crochet garments so wonderful—they are completely adaptable to your body’s unique shape and your personal comfort preferences.
Congratulations! You have completed the Crochet Granny Square Top – Tutorial. You now possess a piece of wearable art that carries the history of traditional crochet and the energy of your own hard work. Whether you’re heading to a festival or a brunch with friends, your handmade top is sure to be a conversation starter and a source of immense pride.
1. How many squares do I need for a medium-sized Crochet Granny Square Top?
For a standard medium-sized top, you usually need between 12 to 18 squares, depending on the size of each motif. If your squares are 5×5 inches, a grid of 4×2 for both the front and back (16 total) is a common starting point.
2. Can I use acrylic yarn for this Crochet Granny Square Top – Tutorial?
Yes, you can! Premium acrylic is soft, affordable, and easy to care for. However, keep in mind that it doesn’t breathe as well as cotton, so it might be better suited for a vest or a top intended for cooler weather.
3. How do I make the top larger or smaller?
The easiest way is to change the number of rounds in each square. Adding one extra round to every square will significantly increase the overall width and length of the top. Alternatively, you can use a larger or smaller crochet hook to alter the gauge.
4. Will the squares stretch out over time?
Crochet fabric naturally has some “give.” To prevent excessive stretching, use a tighter tension and always block your garment. Adding a row of single crochet around the neckline and armholes also provides structural integrity that helps hold the shape.
5. Is this project suitable for absolute beginners?
If you know how to do a double crochet and a chain stitch, you can definitely do this! The granny square is one of the first things many people learn. The most “complex” part is the assembly, which we have simplified in this Crochet Granny Square Top – Tutorial.
6. Do I need to line the top?
This is a personal preference. Many people wear a camisole or bralette underneath because of the “holy” nature of the granny square. If you want more coverage, you can sew a simple fabric lining inside or use the “solid square” method for certain sections.
This Crochet Granny Square Top – Tutorial has guided you through the entire journey of creating a stylish and personalized garment.
From the initial excitement of choosing vibrant yarn colors and the right crochet hook, to the rhythmic process of crafting individual motifs and the technical skill of joining them together, you have learned the essential building blocks of crochet fashion. We explored how blocking can elevate your work and how small details like ribbed borders or decorative joins can make your piece truly stand out.


