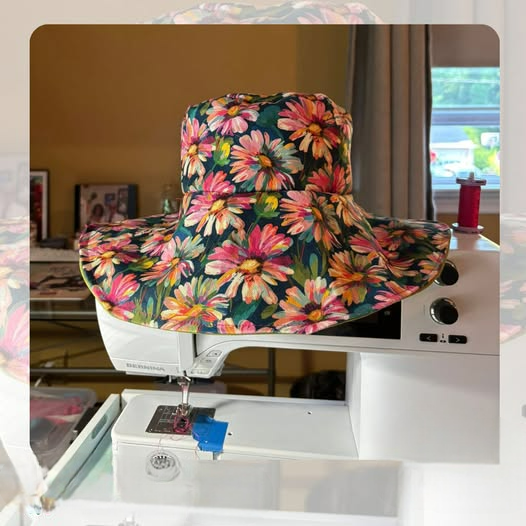
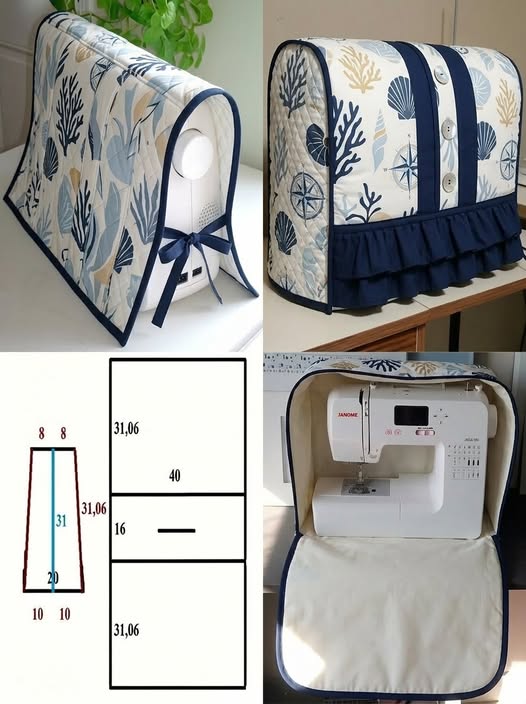
Fabric Hat - Tutorial

Fabric Elastic Pencil Case – Tutorial: If you are tired of rummaging through the bottom of your bag for a stray pen, learning how to make a fabric elastic pencil case is the ultimate game-changer for your daily organization. This clever, budget-friendly accessory slides right over the cover of your favorite notebook, planner, or bullet journal, ensuring that your essential writing tools are always exactly where you need them. Whether you are a student rushing between classes, a busy professional heading into meetings, or a passionate crafter keeping track of your sketches, this project blends functionality with style seamlessly.
The beauty of creating a custom fabric elastic pencil case lies in its absolute versatility and simplicity, making it an ideal weekend project for sewists of all skill levels. By choosing your own materials, you can match your case to your planner’s aesthetic, experiment with vibrant patterns, or even upcycle cherished fabric scraps that are too small for larger garments. In this comprehensive step-by-step guide, we will walk you through the entire process of drafting, cutting, and assembling your own planner pouch from scratch.
Beyond being incredibly practical for personal use, a handmade fabric elastic pencil case makes for a thoughtful, personalized gift for teachers, coworkers, or stationery enthusiasts in your life. This tutorial is specifically designed to be easy to follow, requiring only basic sewing supplies, a small amount of fabric, and a strip of sturdy elastic. Let us gather our materials, set up the sewing machine, and dive into this fun and rewarding DIY journey that will elevate your stationary game instantly.
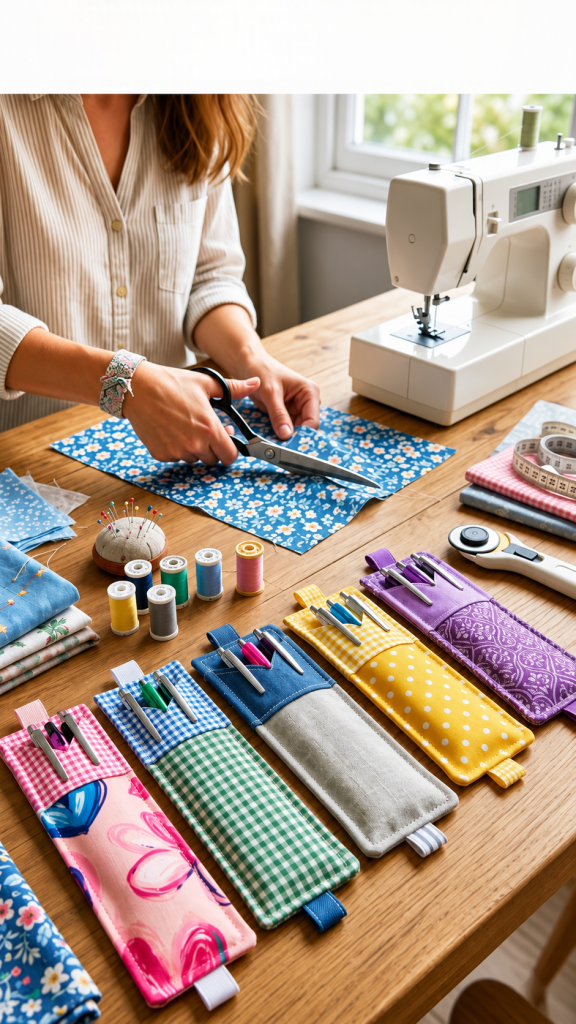
Before you begin stitching your brand new fabric elastic pencil case, it is crucial to gather all the necessary supplies to ensure a smooth, uninterrupted sewing experience. For the main body, you will need two small pieces of woven cotton fabric: one for the exterior and one for the lining, allowing you to play with contrasting colors.
The star of this fabric elastic pencil case – tutorial is, undoubtedly, the elastic band, which allows the pouch to stretch securely around your notebook cover. We highly recommend using a high-quality 1-inch wide elastic, as it provides the perfect balance of strength and flexibility without warping your planner pages.
In addition to your fabrics and elastic, you will need a standard nylon coil zipper that measures at least 8 inches in length to ensure easy access to your pens. Don’t worry if the zipper is longer than your fabric pieces, as we will teach you how to trim it down safely during the construction process.
To give your fabric elastic pencil case a professional, sturdy structure, a small piece of light-to-medium weight fusible interfacing is highly recommended for this project. This hidden layer stabilizes the cotton fabric, prevents sagging, and helps the pouch maintain its crisp shape even when packed with heavy markers.
Naturally, you will also need basic sewing notions including a sewing machine fitted with a universal needle, coordinating polyester thread, fabric shears, and sharp straight pins. A rotary cutter, self-healing mat, and acrylic quilting ruler are also incredibly helpful for achieving perfectly straight, precise cuts.
Lastly, do not forget to keep an iron and ironing board close to your sewing station throughout this entire fabric elastic pencil case project. Pressing each seam as you sew is the ultimate secret to achieving sharp corners, flat edges, and a polished look that rivals retail-store boutique items.
The next vital stage in our fabric elastic pencil case – tutorial involves measuring, cutting, and prepping your pieces to ensure everything aligns beautifully during assembly. For a standard A5-sized notebook, you will want to cut two exterior fabric rectangles and two lining fabric rectangles measuring 3.5 inches by 8.5 inches.
If you are using a larger or smaller journal, you can easily customize the dimensions of your fabric elastic pencil case by adjusting the width and length. Simply measure the height of your notebook and subtract half an inch to determine the ideal length for your fabric panels.
Once your cotton pieces are cleanly cut, cut two matching rectangles from your fusible interfacing and press them carefully onto the wrong side of your exterior fabrics. This step adds essential durability to your fabric elastic pencil case, protecting the fabric from the constant friction of inserting and removing pens.
Now, let us determine the correct length for your elastic band by wrapping it vertically around the front cover of your specific notebook or planner. You want the elastic to be pulled taut but not so tight that it bends or distorts the cardboard cover of your book.
For a standard A5 journal, a 10-inch strip of elastic is generally the perfect size to keep your completed fabric elastic pencil case snug and secure. Cut your elastic cleanly with fabric shears, ensuring the edges are straight and free from any fraying threads before moving forward.
Give all your prepared fabric panels one final press with the iron to remove any stubborn wrinkles or folds before we begin the actual sewing. Taking your time during this preparation phase guarantees that all your edges will match up perfectly when we start attaching the zipper.
Now we reach the exciting core of our fabric elastic pencil case – tutorial, where we assemble the zipper sandwich to create the main opening. Place one exterior fabric panel face up, then align your zipper face down along the top long edge, matching the raw edges carefully.
Next, place one lining fabric panel face down directly on top of the zipper, trapping the zipper perfectly between the two layers of fabric. Pin or clip all three layers securely in place along that upper edge, making sure everything is flat and flush.
Install a zipper foot on your sewing machine and stitch along the pinned edge, maintaining a consistent quarter-inch seam allowance throughout the line. Once stitched, flip both fabric pieces away from the zipper teeth, press the seam flat with your iron, and topstitch beautifully along the edge.
Repeat this exact sandwiching process for the remaining exterior and lining pieces on the opposite side of the zipper tape to complete the basic pouch structure. You should now have a zipper in the center with two fabric panels extending outwards from both sides of the teeth.
Before proceeding, open your zipper halfway; this is a critical step that allows you to turn your fabric elastic pencil case right side out later. Now, take your prepared elastic band and pin it horizontally or vertically across the right side of your exterior fabric, basting the ends in place.
Align the elastic so it sits centered on the back panel of your fabric elastic pencil case, ensuring it lies completely flat without any twists. Baste the elastic edges using a very narrow eighth-inch seam allowance to hold it securely in position for the final assembly steps.
With the elastic safely basted, we can now complete the final construction phase of our fabric elastic pencil case – tutorial with ease. Bring the two exterior fabric pieces right sides together, and bring the two lining fabric pieces right sides together, creating two distinct sections.
Match up the corners precisely and pin all the way around the perimeter, making sure the zipper teeth are pushed toward the lining fabric. Ensure that the loose loop of your elastic band stays tucked safely inside the middle, away from your outer perimeter stitching line.
Sew all the way around the outer rectangle using a standard quarter-inch seam allowance, but remember to leave a 3-inch opening at the bottom of the lining. This unsewn opening in the lining fabric is absolutely essential for turning the entire fabric elastic pencil case right side out.
Once stitched, carefully clip the four corners of the rectangle diagonally to reduce bulky fabric layers, being careful not to cut into your stitches. Reach through the opening in the lining fabric, grasp the open zipper, and carefully pull the exterior fabric through the gap.
Gently poke out the corners of your brand new fabric elastic pencil case using a blunt tool like a chopstick or a turning tool. Press the entire pouch flat with your iron, tucking the raw edges of the lining opening inside by a quarter of an inch.
To finish your fabric elastic pencil case, stitch the lining opening closed either by machine very close to the edge or with a neat hand stitch. Tuck the lining back into the main exterior pouch, give it one final, beautiful press, and slip it right onto your favorite notebook.
Woven quilting cotton is the absolute best choice for a fabric elastic pencil case because it is easy to cut, press, and sew without stretching. You can also use lightweight canvas, denim, or linen for a more rugged look, but beginners will find standard cotton easiest to handle.
Yes, you can absolutely sew this fabric elastic pencil case by hand using a strong backstitch for durability, though it will take a bit more time. If hand sewing, make sure to use high-quality thread and keep your stitches close together, especially around the elastic and zipper areas.
Since this fabric elastic pencil case is made from cotton and elastic, it can be gently hand washed in cold water with a mild detergent. Avoid machine drying, as high heat can degrade the elasticity of the band over time; instead, reshape the pouch and let it air dry completely.
A standard 8-inch or 10-inch nylon coil zipper works beautifully for this fabric elastic pencil case – tutorial. It is always better to use a zipper that is slightly longer than your fabric because you can easily sew over nylon teeth and cut away the excess length safely.
The dimensions provided in this fabric elastic pencil case guide are optimized for standard A5 notebooks, hardcovers, and medium journals. However, because the elastic stretches, it can accommodate slight variances, and you can easily shorten or lengthen the elastic band for pocket-sized or extra-large planners.
In this fabric elastic pencil case – tutorial, we have successfully explored how to select materials, prepare fabrics, install a zipper, and assemble a beautiful, functional planner pouch from scratch.
By reinforcing your cotton fabric with interfacing and using high-quality elastic, you have created a durable accessory that will keep your favorite writing tools organized and accessible for a very long time. This quick and rewarding DIY project is an excellent way to practice zipper installation while making a useful item for your daily routine.


